I have seen Sharpie mugs all over the internet. Basically, it is a simple coffee mug that is decorated with Sharpie Paint Pens. These mugs are easy to customize and make a simple, inexpensive gifts. Who doesn’t love something that is personalized just for them? You can literally put anything on your mug that you can draw, write or trace! I love a good, easy DIY project, so I’m sharing this Sharpie mug tutorial with you today.

For this particular project, I wanted to use my blog name. I thought that would be a great test-run for a Sharpie mug!
What you need
Coffee Mug
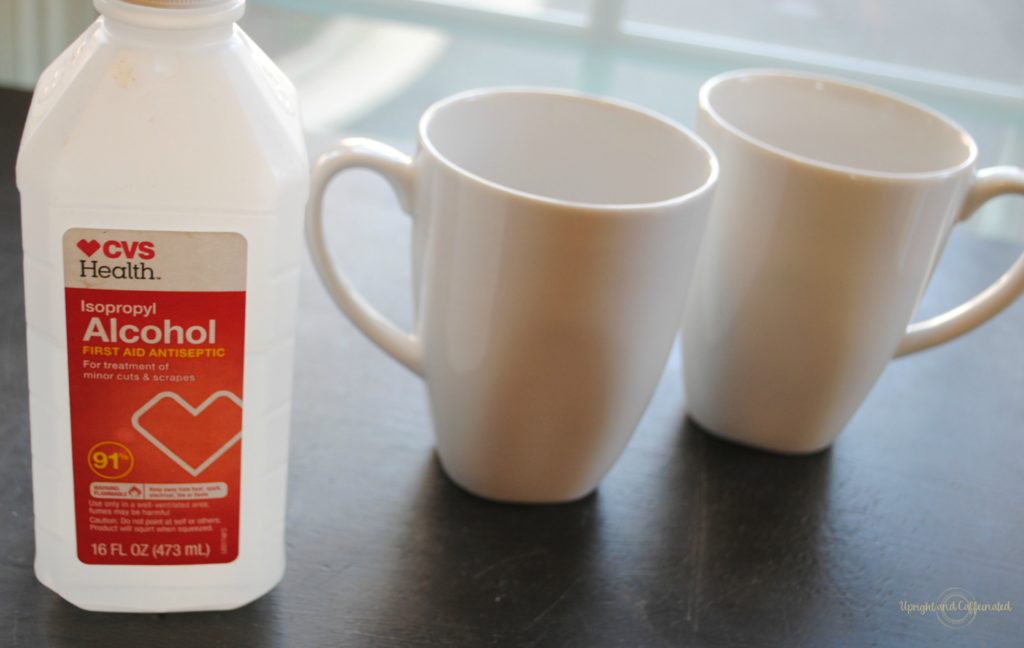
Rubbing Alcohol
Sharpie Paint Pens
Alphabet Stickers (optional)
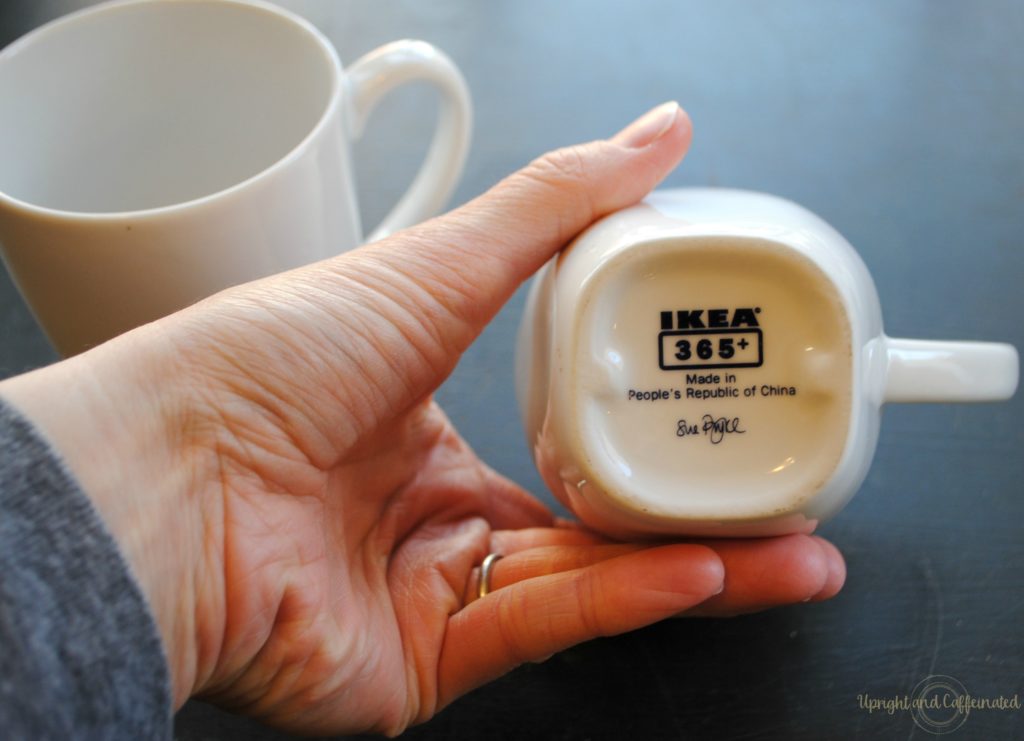
First of all, you can use any kind of coffee mug you’d like. I have heard that the cheaper the mug, the better your design will hold up. I haven’t done any testing on that theory, but I happened to have a few white IKEA coffee mugs that a friend had given us years ago when he was moving, so that’s what I used.
How to Make a Sharpie Mug
There are three basic steps to creating this mug- Clean, Design and Bake.
Clean
Start by cleaning your mug with alcohol. Simply put a little rubbing alcohol on a cotton swab or a paper towel and wipe the mug where you plan to “paint” your design. Make sure the alcohol is completely dry before you start designing.
Design
If you are simply writing (because you have awesome handwriting, unlike me) go ahead and start writing on your mug, taking care not to smudge your work. If you are tracing, place your stencil or stickers on the mug at this point.

For this project I decided to use the dot effect. I bought alphabet stickers at Michael’s and placed them on my mug.
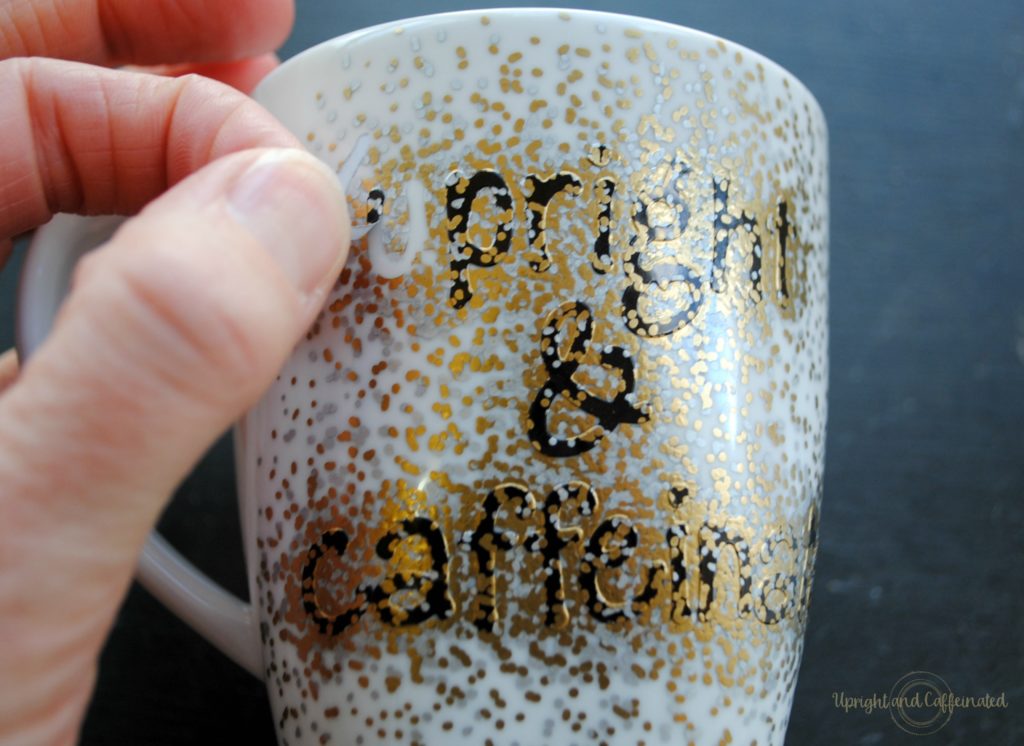
Next, I began dotting. I used the fine point Sharpie Paint Pens. Make sure to use the Sharpie Paint Pens as they are oil based. Do not use regular Sharpie markers for this project. I used a combination of silver and gold. I dotted all around the stickers and on top of the stickers to make sure that the entire letter would show up when I removed the sticker.

If you are using multiple colors, go back and forth between and two colors to make sure they are evenly dispersed. Again, take care not to smudge your work.

Once your design is how you want it, let it sit for a couple of hours. I left my mug on the kitchen counter for two full hours before trying to pull off the stickers. Carefully peel off the stickers to reveal a lovely negative image!
The next step will help ensure your design doesn’t rub off with soap a water. You will need to bake the mug, but wait at least three days to let the paint set. I actually waited a week before I baked mine.
Bake
To bake the mug, put it on a cookie sheet and pop it in a cold oven. Close the oven door, set the temperature to 400 degrees and set a timer for one hour. After one hour, turn the oven off and don’t open the oven door. Allow the mug to completely cool in the oven (leaving it in overnight is a common practice). You want the mug to heat slowly and cool slowly. If you have ever taken a pottery class, this is a similar technique to placing a glazed piece into a firing kiln. The key is to allow the mug to cool in the confines of the oven and not cool quickly if taken out of the oven.
For this project, I placed my mug in the oven in the morning and took it out at dinner time (about 7 hours later).
Finished Product

I love how this mug turned out! So much so that I used it as a prop when I had head shots taken. I don’t plan on placing it in the dishwasher since I don’t think the paint will hold up in our dishwasher. Hand-washing is the best bet for ensuring your design doesn’t get ruined.
The possibilities are endless with this project. Use different colored mugs or different colored Sharpie Paint Pens…whatever your heart desires!
Have fun creating!


Wow this is so awesome! I’ll have to try it soon!
http://www.delightfillycaffeinated.com
This is fantastic. Ready to go buy mugs and create awesome for my morning coffee or afternoon teas.