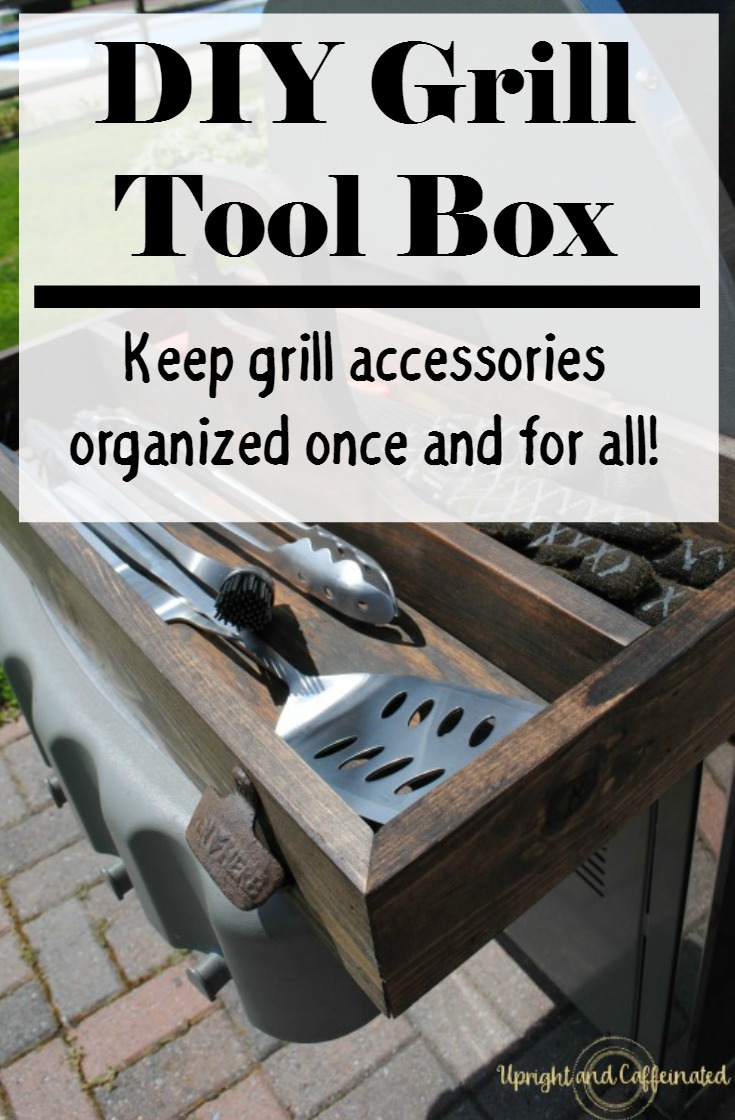
It is finally summertime and that means spending more time outside. If your family is anything like ours, we love spending time outside. With all of this outdoor time, it is easier to eat dinner outside too. My husband loves grilling, and he will grill anything! Really. If he could figure out how to grill pancakes, he would! Over the years my husband has collected all kinds of grill accessories. They are all in different drawers in the kitchen and it is pretty disorganized. This Father’s Day I decided to organize all of his grill accessories with a DIY grill tool box.
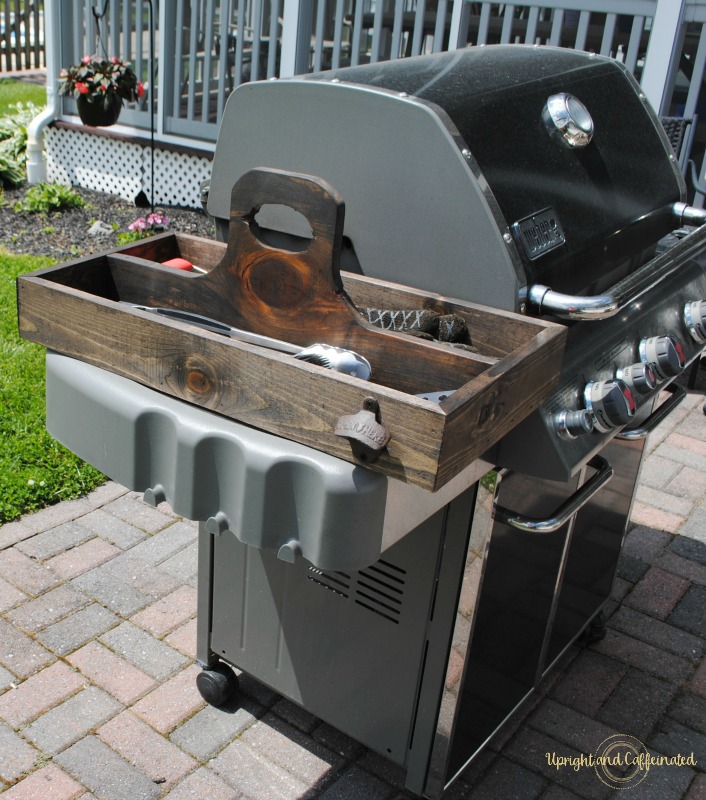
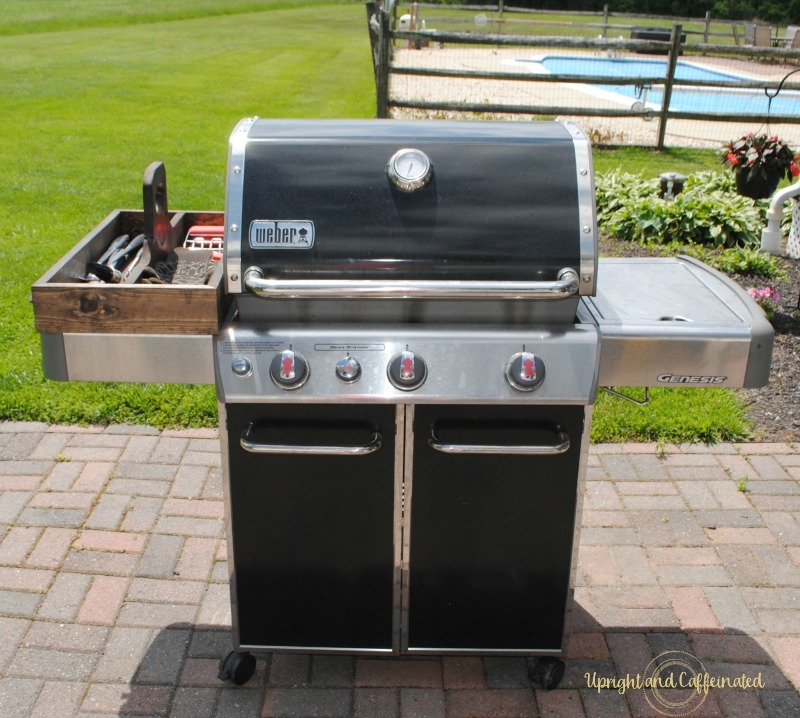
The tool box is a great solution for keeping my husband’s BBQ tools organized and easily accessible. I wanted to make something large enough for all of the grill tools, but also make it convenient for my husband to just grab it and go.
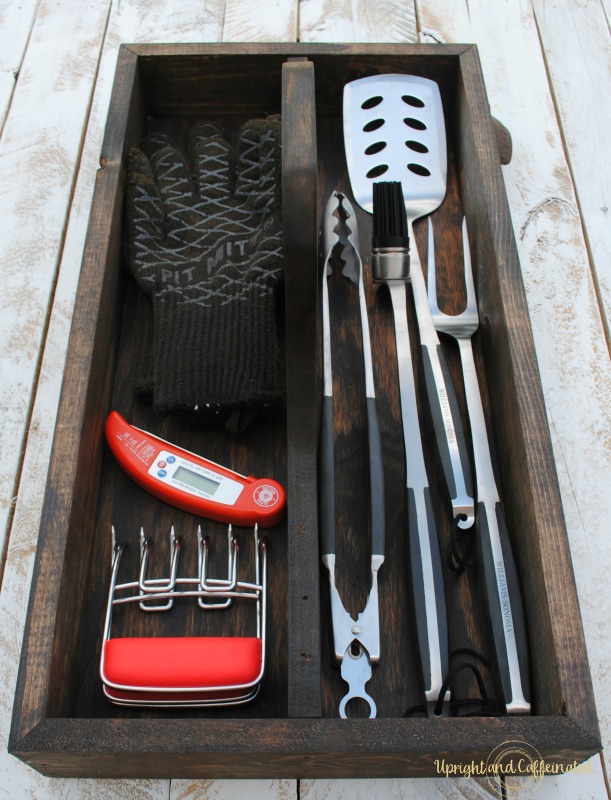
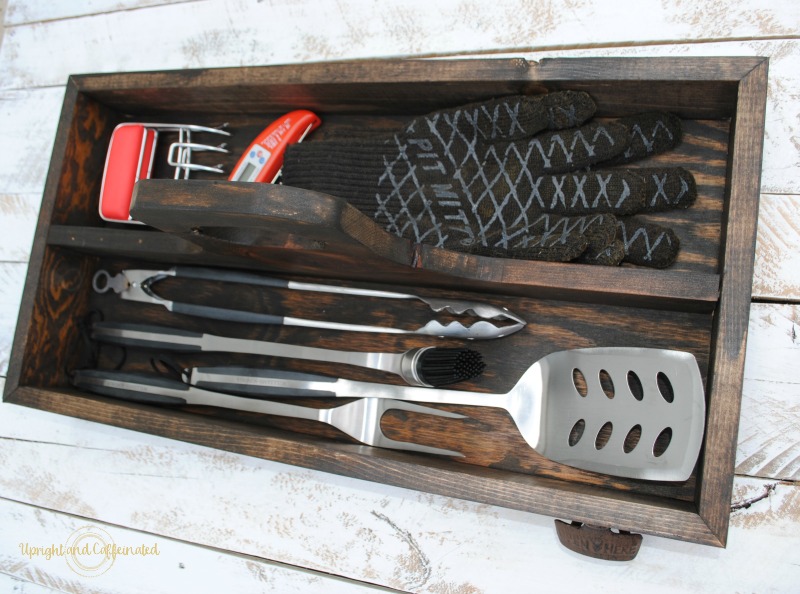
The design of the grill tool box is based off of a traditional tool box. I modified the design just slightly to make the box wide and long to accommodate the gigantic Williams Sonoma BBQ tools that my husband has. I wanted all of the grill tools to lay side-by-side for ease of access. No one wants to dig through a tool box looking for something at the bottom, and I didn’t want my husband to have to dig through BBQ tools to find the one that he was looking for.
Materials Needed
3/4 inch Plywood
1 x 4 board (8 feet)
1in x 5 in x 6 foot pine board
Wood Glue
Brad gun and brads
Bottle Opener
How to Make a DIY Grill Tool Box
Cut the plywood in a rectangle (I cut it 24 inches by 12 inches)
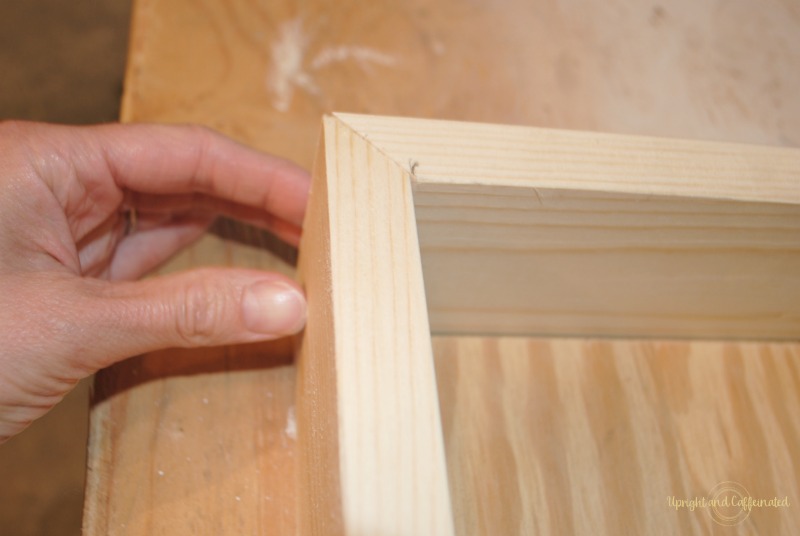
Measure and cut the 1 x 4 board to frame the plywood rectangle. Cut the 1 x 4 boards at a 45 degree angle. Use wood glue to hold the edges of the four corners together.
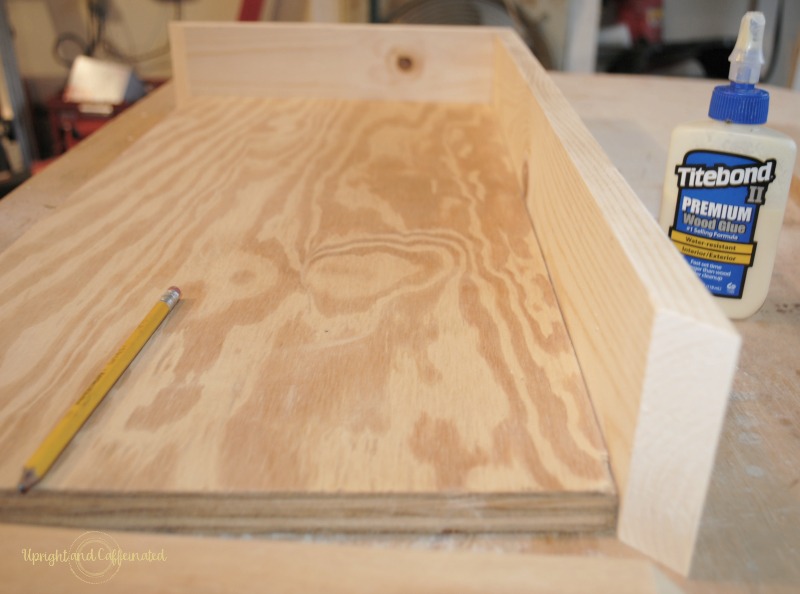
Using the brad gun, put a brad every 4 inches along the bottom of the 1 x 4 frame all around the rectangle, ensuring the frame is secured to the plywood bottom. I also added a few brads in the corners to reinforce where I had glued them.
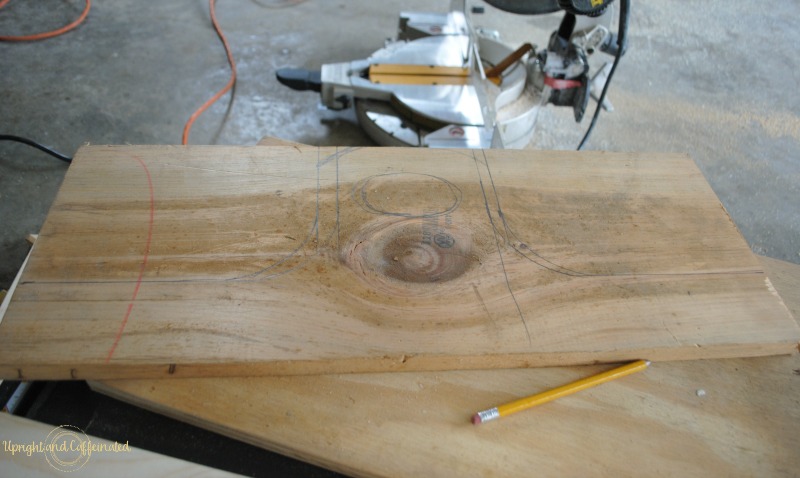
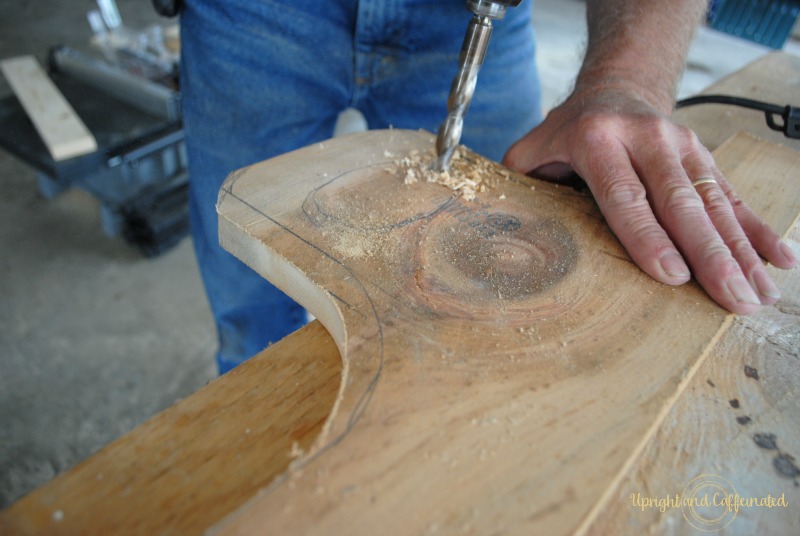
Next, cut the center piece (which will also be the handle). I used a jig saw to cut my pine board into the shape I wanted for the handle. Measure the bottom of the board so that it fits securely against the plywood bottom and in between the frame. To cut out the handle, use a large drill bit and make a hole as your starting point to insert your jig saw.
Sand the handle as it will be rough from the saw. Using the brad gun, secure the sides to the frame first and then turn the tool box over and secure the plywood bottom to the center partition of the handle piece.
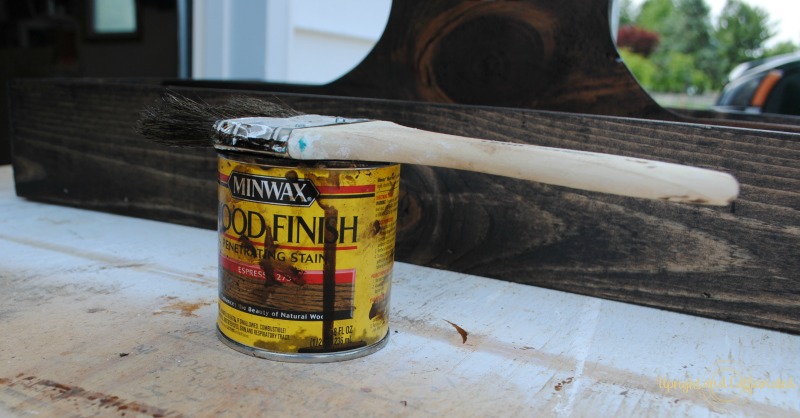
Once your grill tool box is put together, stain or paint it. I used Miniwax Wood Finish in Expresso.
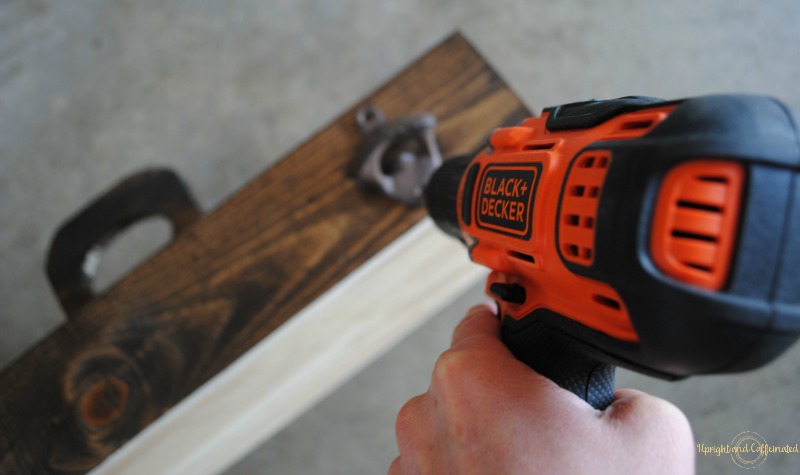
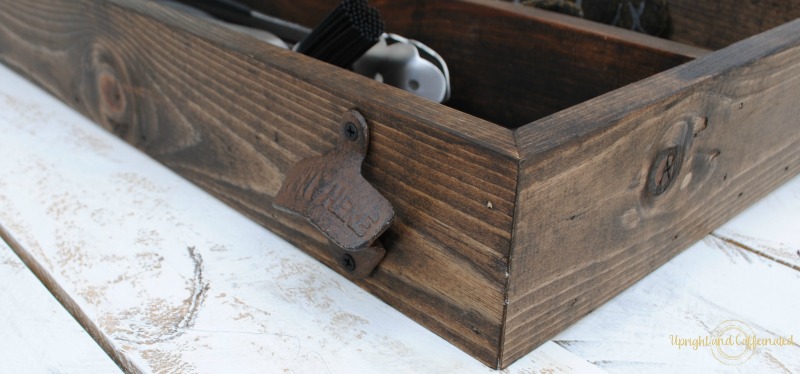
Finally, I added a bottle opener to the side of the tool box. I used a small drill bit to make the holes and then used the screw provided with the bottle opener to secure it to the tool box.
I love this DIY grill toolbox! It solves a problem of not having a place for all of my husband’s grill accessories and it looks good too! Now he can literally grab his grill tool box, a cold beer from the fridge and head outside to the grill.
Want to see what else is in the grill tool box?
Also in the DIY grill tool box are other grill accessories besides the Williams Sonoma BBQ tools. My husband absolutely loves this meat thermometer pictured below. We received the pit mits as a wedding gift and he uses them all the time. The meat claws are amazing and a must-have for any guy who wants to pull pork, chicken or beef!
My husband also has a few favorite grilling cookbooks that I’d love to share with you. These are his go-to cookbooks for smoking or grilling!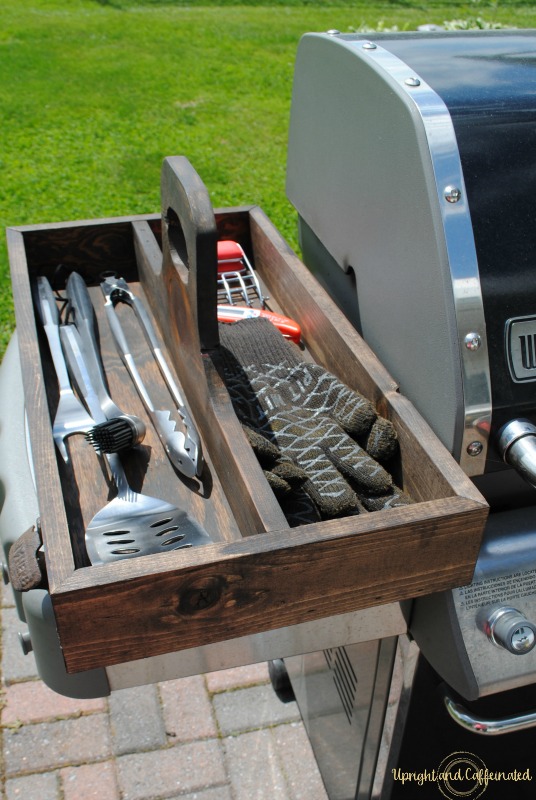
 Hope this gives you some inspiration to make a DIY grill tool box for the BBQ master in your life! I truly think some of the best DIY’s are those that are functional and solve a problem and this DIY grill tool box definitely fits the bill.
PIN IT ⇓
