I know I know- it’s not even Halloween and I’m already talking Thanksgiving! I promise, I’m not skipping over Halloween. But I wanted to share this tutorial on how to make a Thanksgiving farmhouse sign with you.
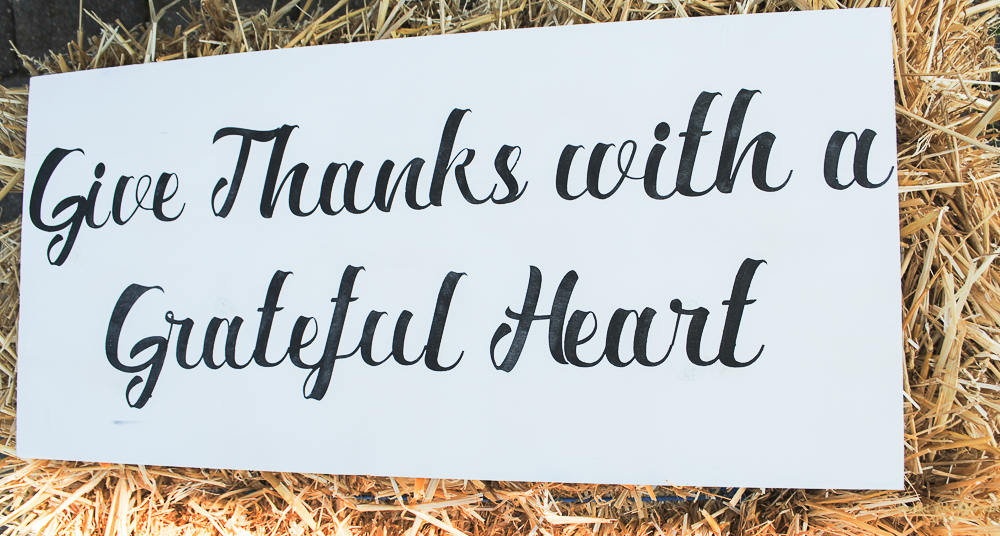
Y’all I whipped this sign out in just a couple of hours the other day. Our church is having a fundraiser and needed some items to be given away as door prizes, so I offered to make a farmhouse sign. This particular sign has a beautiful Thanksgiving message and is perfect for the giveaway at church.
I also want to tell you about the amazing deal that is going on right now! Cricut is having a huge sale on the Cricut Explore Air 2. This machine is amazing and allows me to truly explore my creative side. I have made signs, stencils, vinyl wording…the possibilities are endless.

My mom also bought one of these machines and simply loves it! She loves making cards and gift tags with her’s. If you are on the fence about buying one of these, now is a great time to do it so you can take advantage of the deal!
What You Need
Cricut Explore Air 2
12×24 inch pine board
Rust-Oleum Chalk Spray Paint
Black Chalk Paint
Foam Brush
Stencil Vinyl
Transfer Tape
How To Make a Farmhouse Sign
First, cut your pine board to the size you want. I chose to make this sign 12×24. The pine boards come in different sizes. I bought one in 6 feet, so I cut two 24 inch boards and two 12 inch boards to make four different signs.
If you don’t plan to put a frame around your sign, sand the edges smooth. Next, paint the board. I used Rust-Oleum Chalked Spray Paint for this sign and I loved it. It was easy to use and went on beautifully. I did use two coats and let each coat dry for about 20 minutes before touching it.
This is what the board looked like after the first coat. There were streaks where I sprayed the paint a little thicker in spots, but after the second coat, you couldn’t see any streaks.
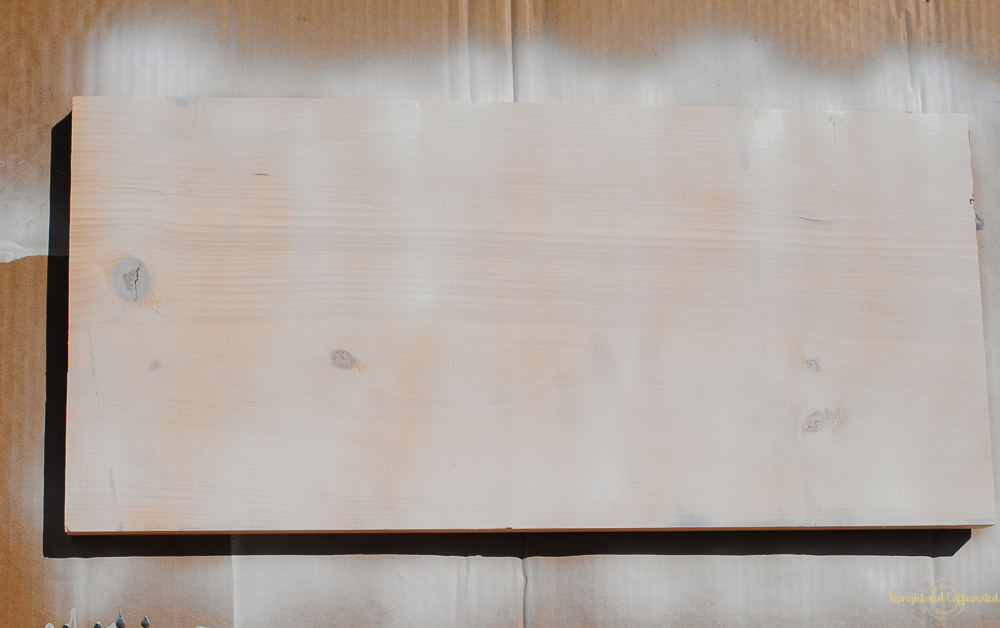
Here’s the board after the second coat.
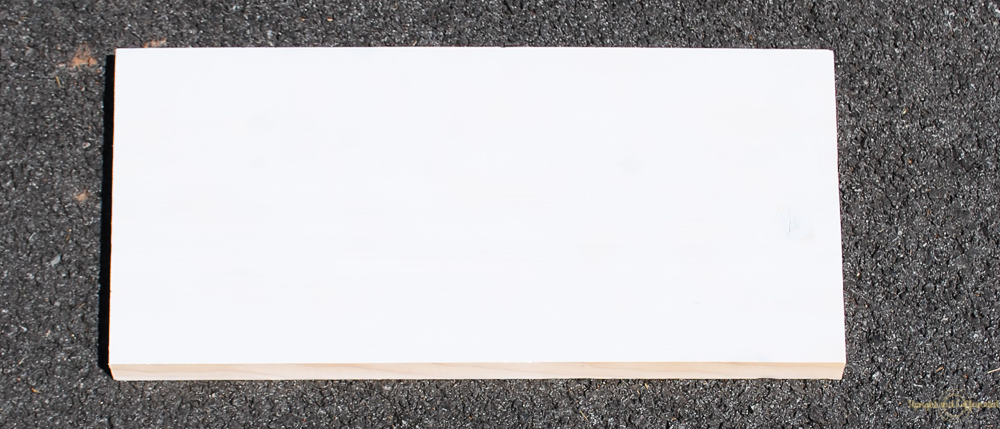
I have to say, using spray paint was quick and easy. There’s no cleaning brushes, stirring/mixing paint in a can and the process was simply fast!
At this point you can sand the board or distress it however you please.
Next, go into your Cricut Design Space and create the text you want displayed on your sign. Keep in mind, if you are making a larger sign (12×24) you need to have a larger mat.
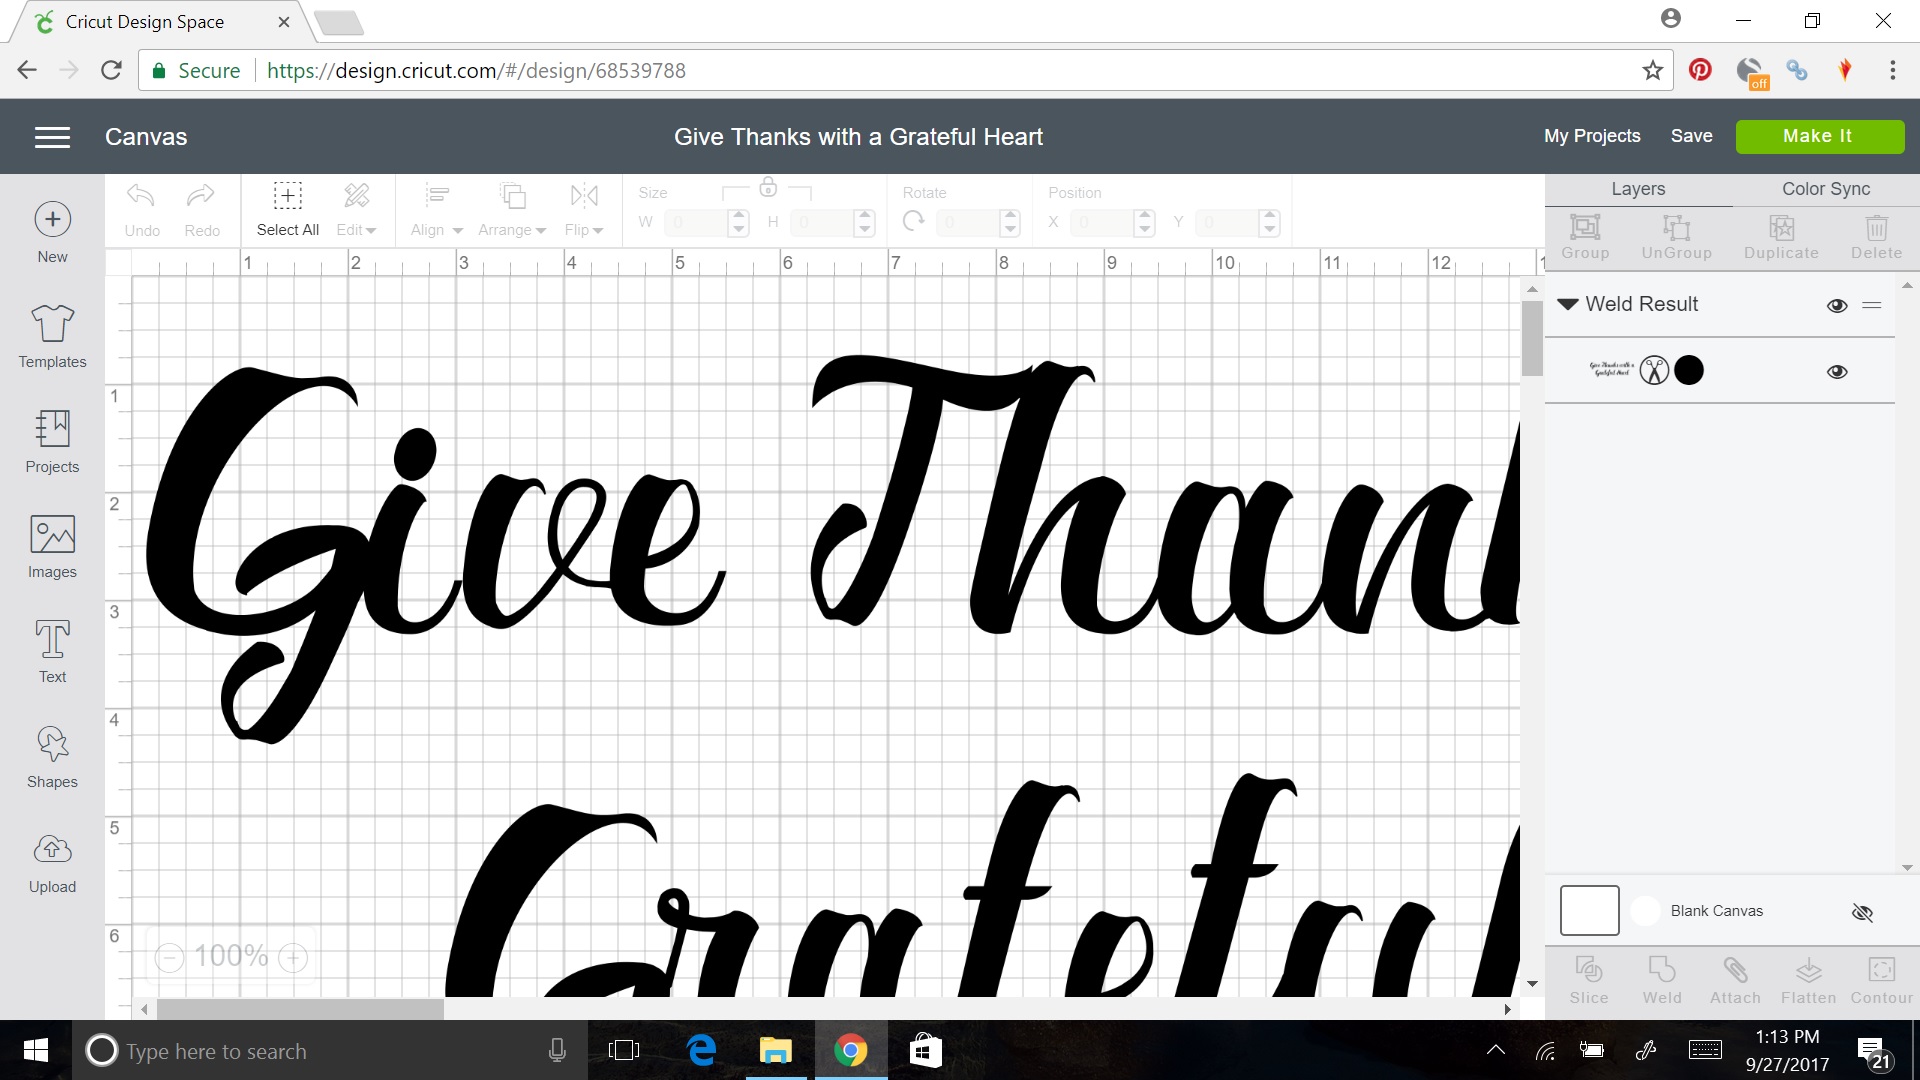
Once you have your lettering how you want it, use the Cricut to cut the words on the vinyl stencil. I just recently started using Oracal 813 stencil vinyl for these kind of projects and I love it! The vinyl is so easy to work with and it doesn’t allow the paint to bleed under the stencil.
Weed the inside of the letters of your vinyl, leaving just the stencil on the backing of the vinyl. Next, use transfer tape to remove the stencil from the vinyl backing to the pine board.
You must use transfer tape to transfer the vinyl to your sign. If you try to just simply peel the vinyl and lay it on the board, it will certainly crinkle, fold over or your letters will look wonky.
 Again, I can’t say enough great things about the Oracal 813 stencil vinyl. It was so easy to work with and the Cricut Explore Air 2 cut it beautifully.

If you don’t have the weeding tools, you can definitely use a toothpick.
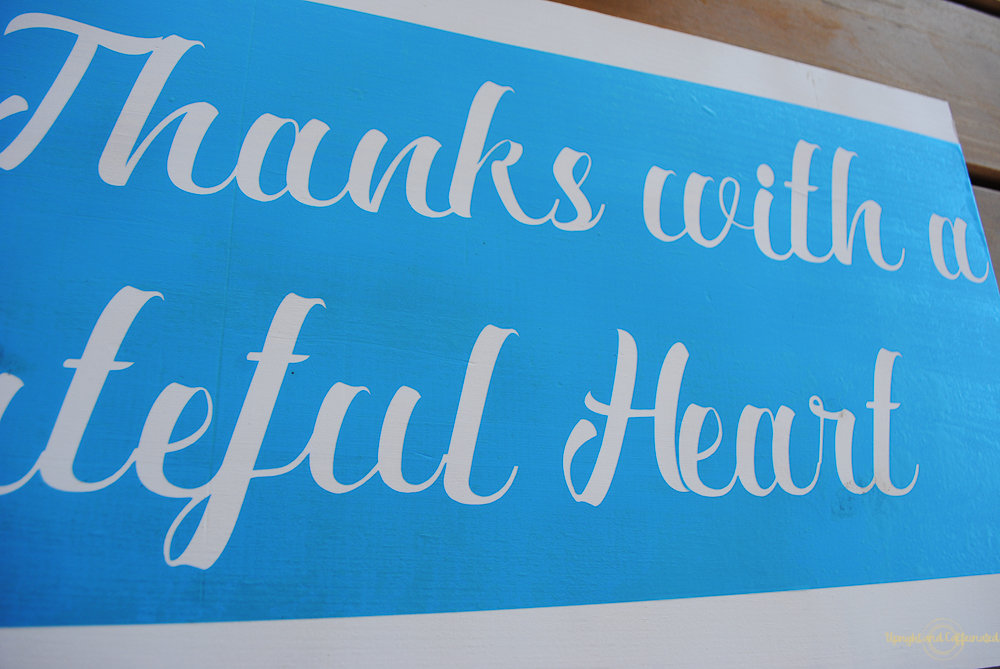
Once the vinyl is on the board, you are ready to stencil! I chose a black chalk paint. You can use acrylic paint, but the chalk paint is easy to work with and it dries very quickly.
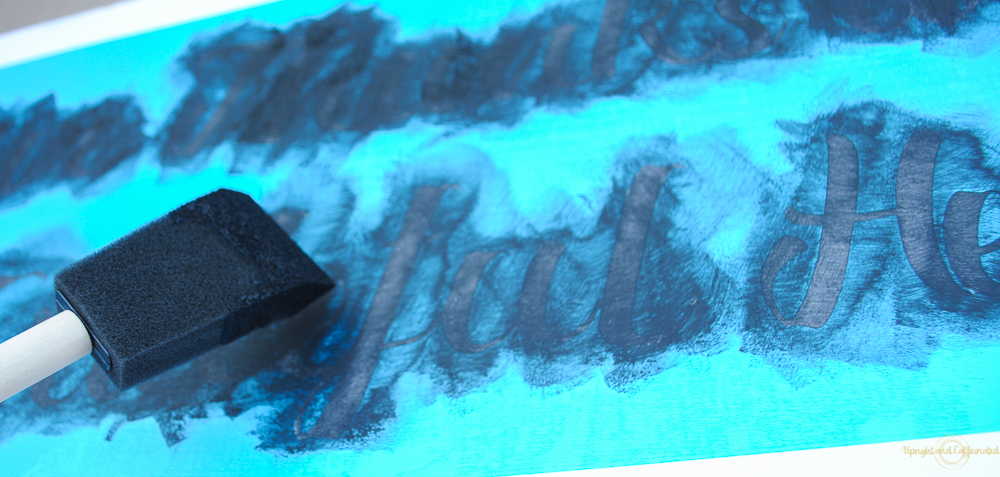
Use a foam brush and apply a very light coat by dabbing and gently brushing the paint on. I did two coats for this project. The chalk paint dries so quickly, once I was done with the first coat, I immediately began painting the second coat. 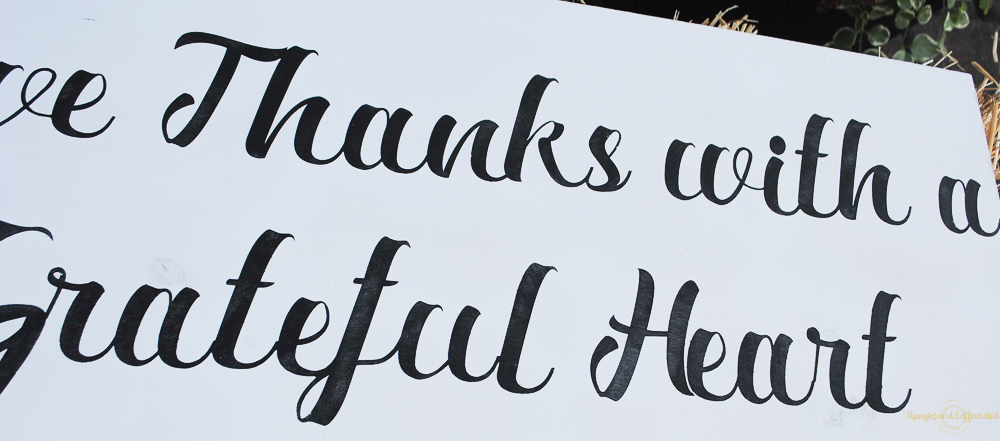
Wait about 20 minutes to ensure the paint has dried before you remove the stencil vinyl. 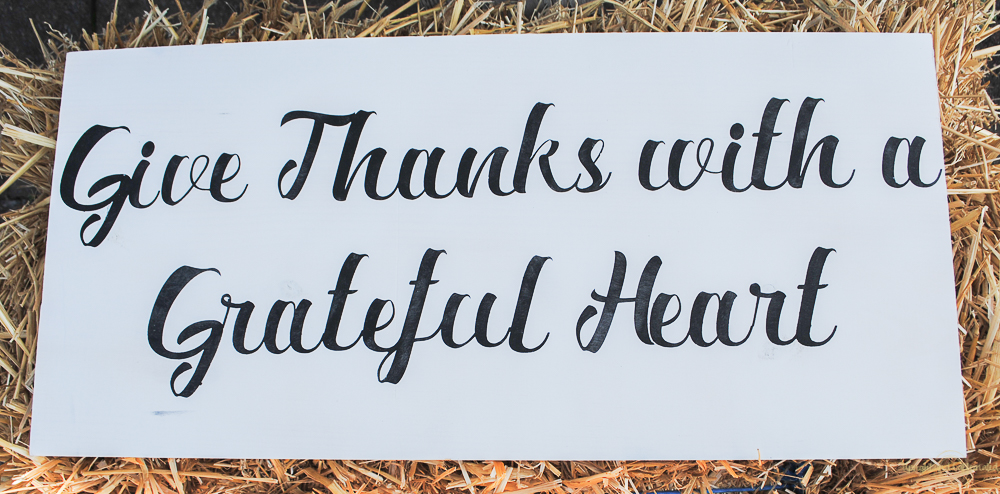
This is a beautiful and simple farmhouse sign that is perfect for Thanksgiving!
PIN IT⇓
