Summer, Summer, Summer Time! Summer means beach season and why not kick off summer and beach season with this simple beach art using a Cricut Explore Air 2! I love making signs with my Cricut and this beach canvas sign is one of my favorites. I actually made a few of them and gave them away as gifts! 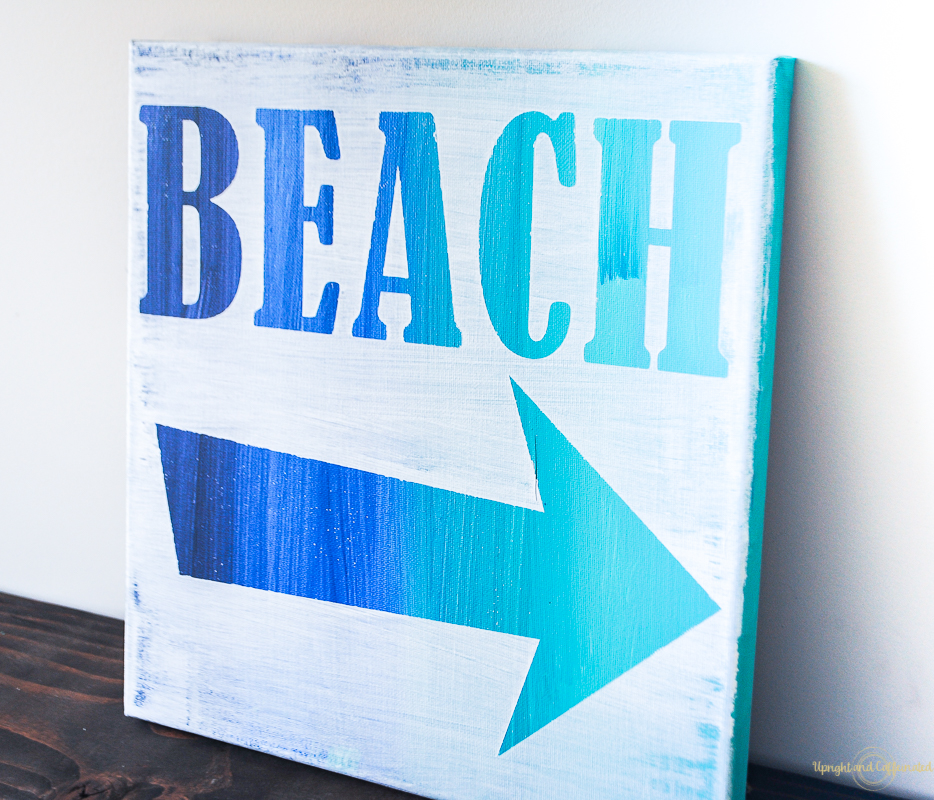
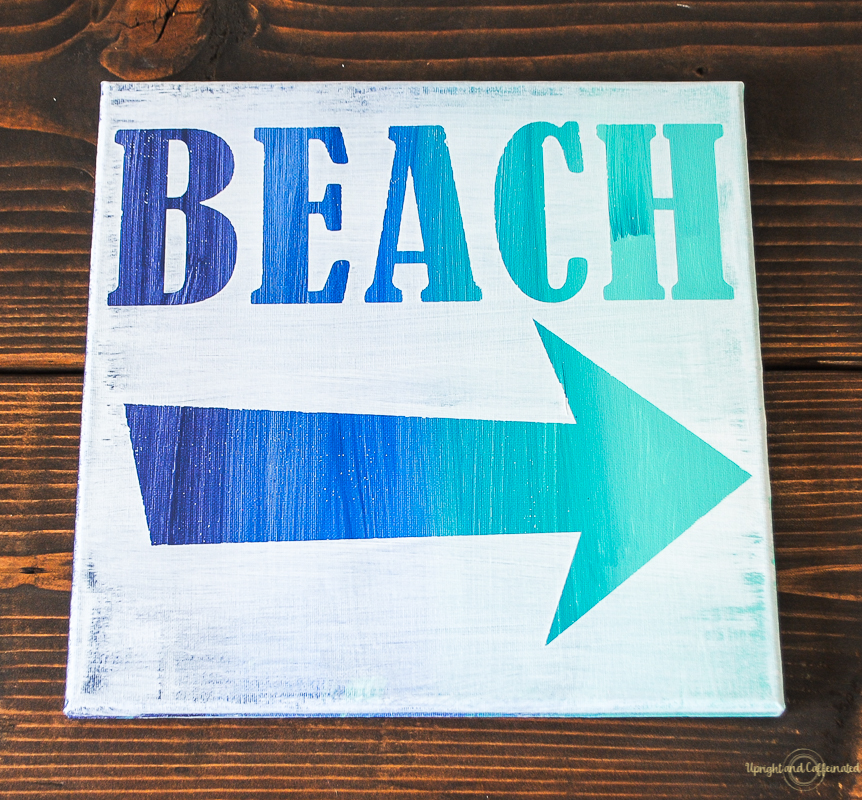
To make this canvas sign, I used acrylic paint and created an ombre effect (dark to light). I think this turned out so cool using four shades of blue. Want to see the easiest way to get a perfect ombre effect using paint? Check out this video.
This is another month of Craft & Create with Cricut where I join with some amazingly talented bloggers to create unique Cricut projects! Scroll down to see all of our Summer Cricut Projects.
What You Need To Make a DIY Beach Art Sign
Canvas
Acrylic Paint
Cricut Explore Air 2
Stencil Vinyl
Transfer Tape
White Paint
How To Make a DIY Beach Art Sign
Paint your canvas with the acrylic paint. I made an ombre effect using four shades of blue, from dark to light. The easiest way to make an ombre effect is to start with the darkest color and paint 1/4 of the canvas (don’t forget the edges of the canvas). With the next shade of blue, start painting where that color will end and blend the paint backwards into the darker shade. Repeat these steps with all four shades of blue. If this sounds a little confusing, watch the quick video here. 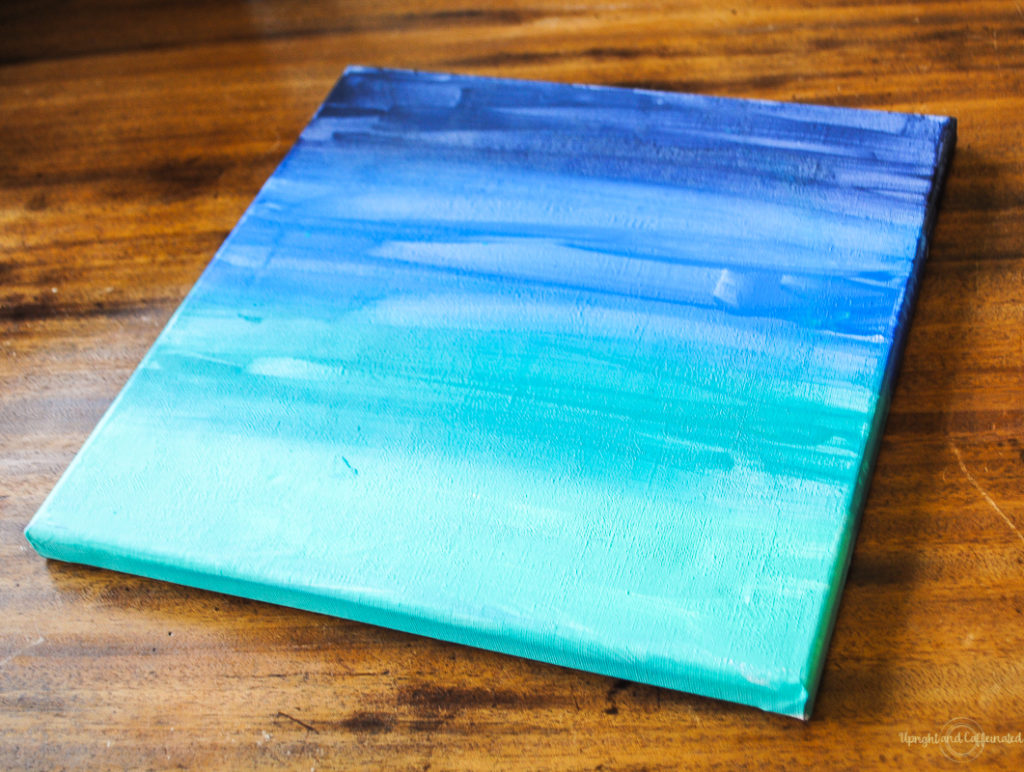
Once the canvas is covered with the paint, let it dry completely.
Meanwhile, cut the words and graphics you want on your canvas. For this particular beach art, I cut the word BEACH and an arrow. Using transfer tape, apply your words and graphic to the canvas and carefully remove the transfer tape.
Next, paint over the entire canvas with white paint. I used Annie Sloan Chalk Paint in Pure White because I had it on hand. I also painted the white a little sloppily to give the canvas a distressed look.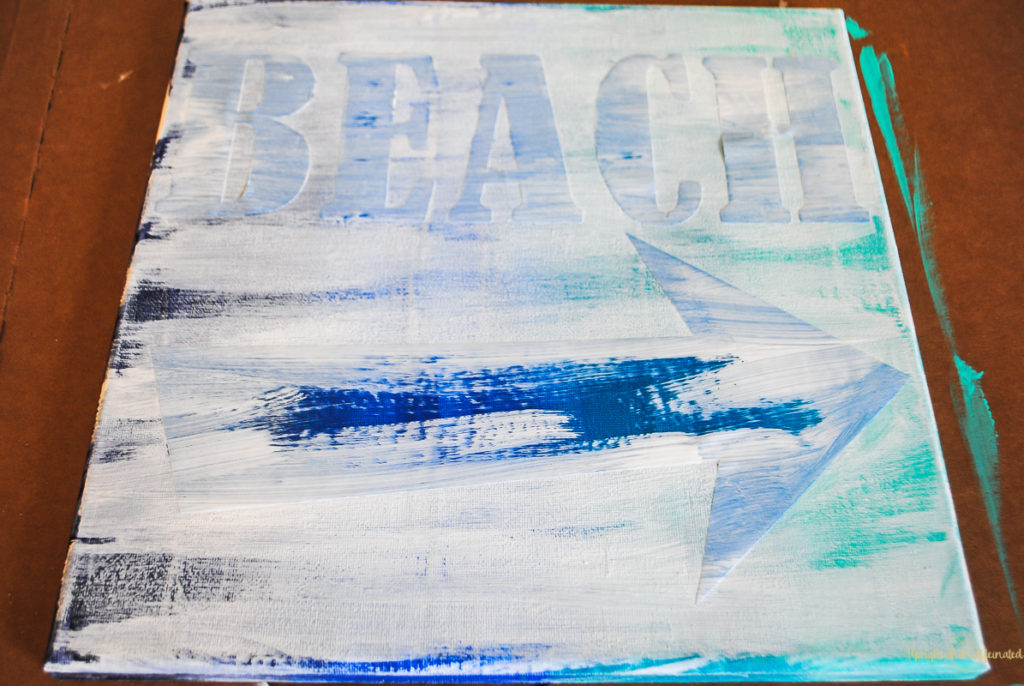
Once the white paint is dry, remove the vinyl and viola, you have a stunning summer sign! 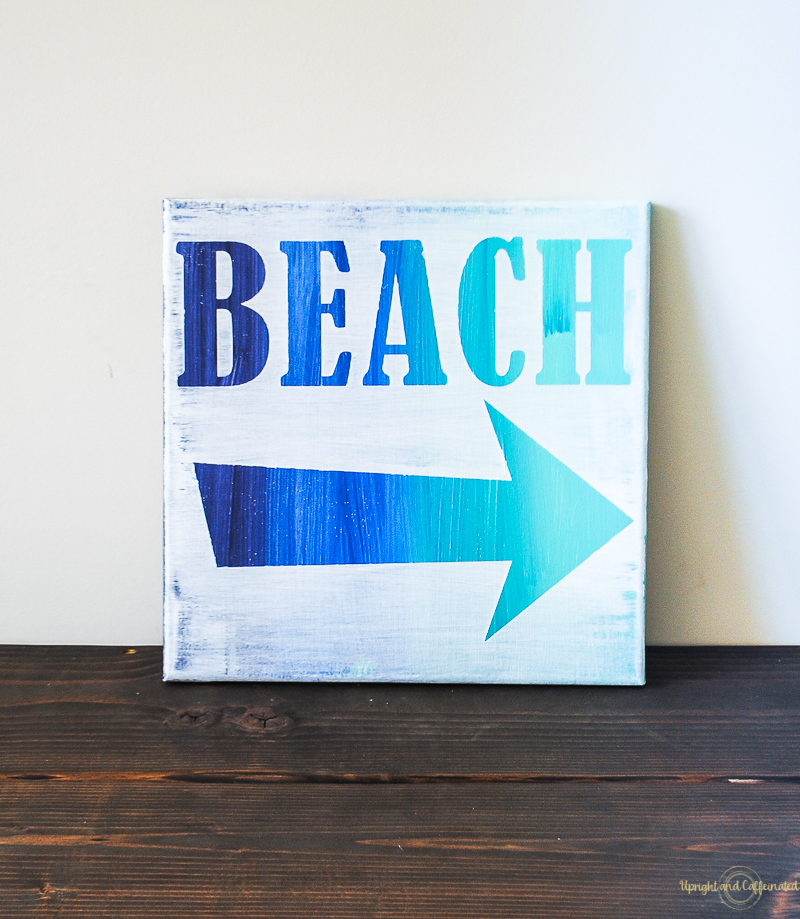
This is perfect for a beach house! My in-law’s have a beach condo, so I sent one of the signs I made with them to keep at their place for the summer. This tutorial is so simple and can be replicated to make so many other signs. Use your creativity and make your own unique canvas sign with an ombre effect! You can also do a rainbow effect using different colors. Just remember to follow the same technique of beginning the color where you want it to end and blend backwards into the previous color to get the best ombre effect!
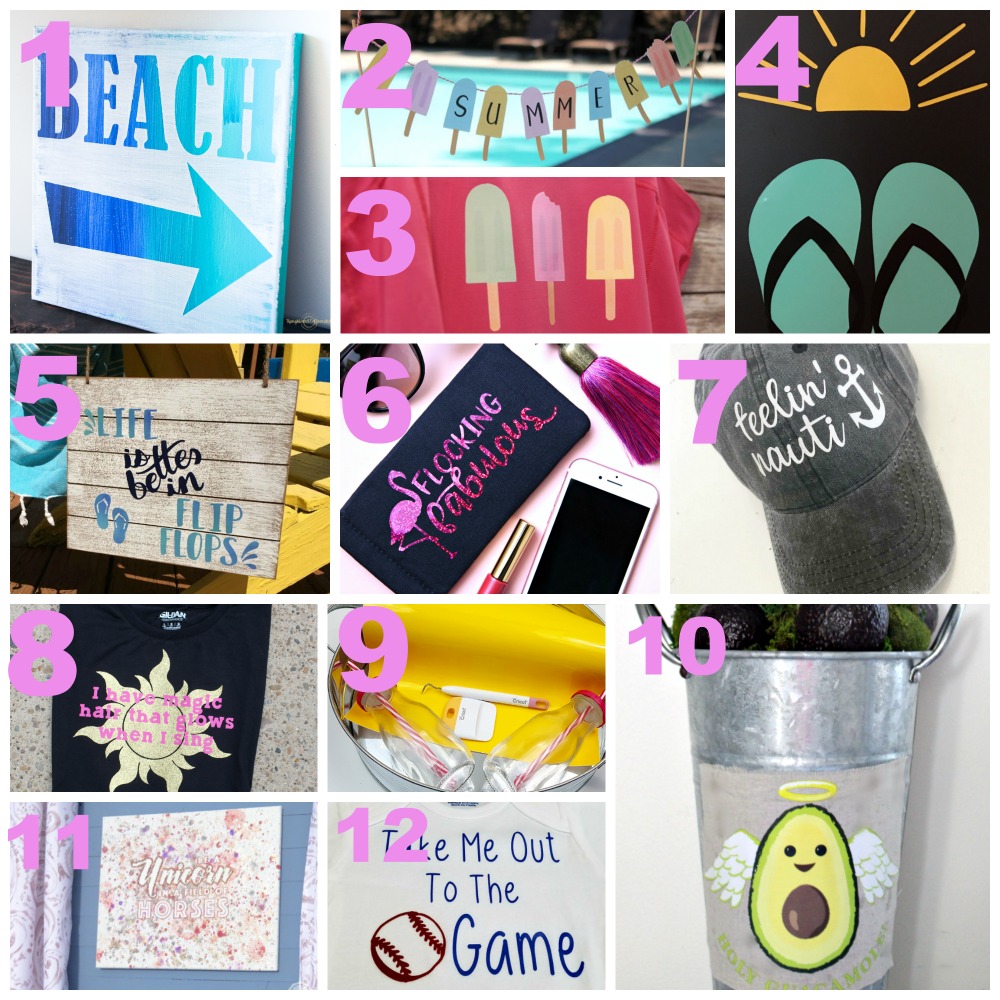
Want to see some other amazing summer projects? Check out the talented crafters in my Craft and Create with Cricut Group!
-
- DIY Beach Art
- Personalized Popsicle Banner
- Summer Tank Top using Printable Iron-On
- Flip Flop Summer Sign
- Wooden Summer Sign with Iron-On Vinyl
- Flocking Fabulous Sunglasses Case
- Summer Ball Cap DIY
- Rapunzel Magic Hair Disneyland Shirt
- Summer Sun Drink Tray
- Holy Guacamole! It’s An Avocado Topiary!
- Fun Summer Unicorn Canvas
- Dragonfly & LilyPads
PIN IT ⇓


I love the ombre painting technique and its looks awesome! This sign makes me want to run to the beach. Homemade signs make fantastic gifts
Love the ombre background! We live by the beach so I definitely need this sign.
I love the paint treatment! Its so pretty and beachy!
What a gorgeous sign! It would be fun to use this technique with other sayings, designs and colors, too. So many ideas!