Hello summer and hello friends! Are you ready for the warmer weather, long days and summer fun? I sure am! I am also putting out all of my patriotic decorations. Beginning with Memorial Day, then Flag Day and right through the 4th of July, we proudly display our red, white and blue. Today I am going to show you how to make a patriotic sign design in Cricut Design Space.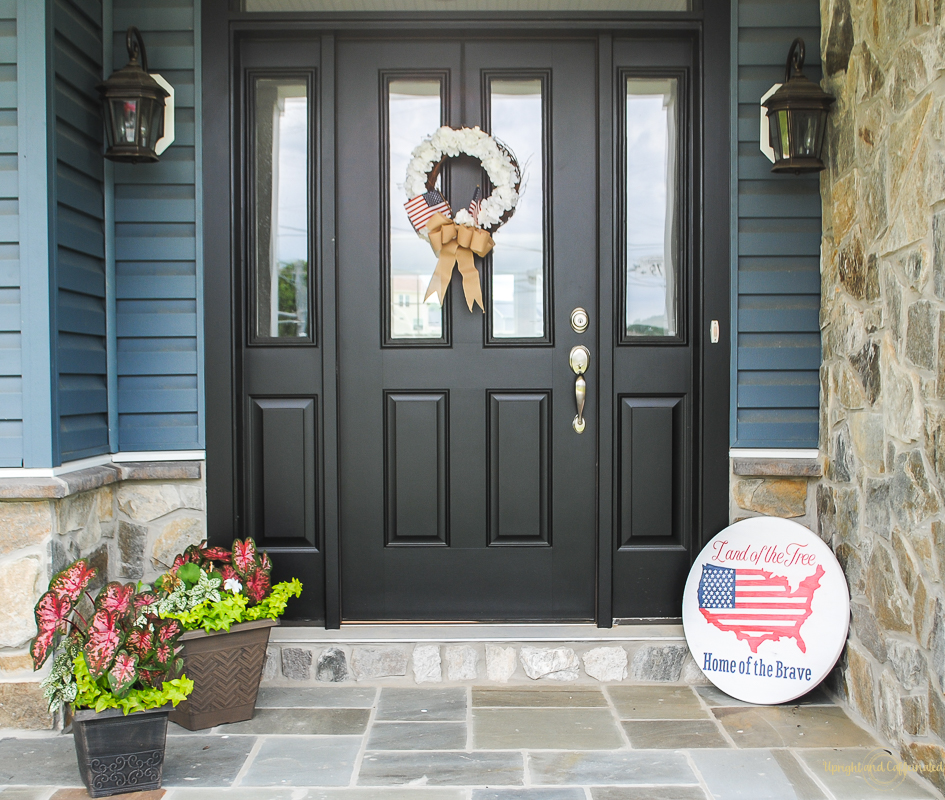
 Welcome to another month of Craft and Create with Cricut! This month, I joined with 11 other bloggers to bring you Patriotic Cricut Crafts! Click the links below to see the other projects.
Weekend Craft • DoodleCraft • Upright and Caffeinated • Create & Babble • Refresh Restyle • Cookies, Crafts and Coffee • seeLINDSAY • The Inspiration Vault • The How-To Home • Our Crafty Mom • Real Girls Realm • Dragonfly & Lily Pads
If you are new here, you might not know we just moved to Maryland after almost 10 years in Washington, DC and northern Virginia. We are still in the DC suburbs, but this is the first time we have lived outside the Beltway. My husband grew up in Maryland, in the same area where Francis Scott Key (who wrote the Star Spangled Banner) was born. In fact, my husband went to Francis Scott Key High School…Go Eagles!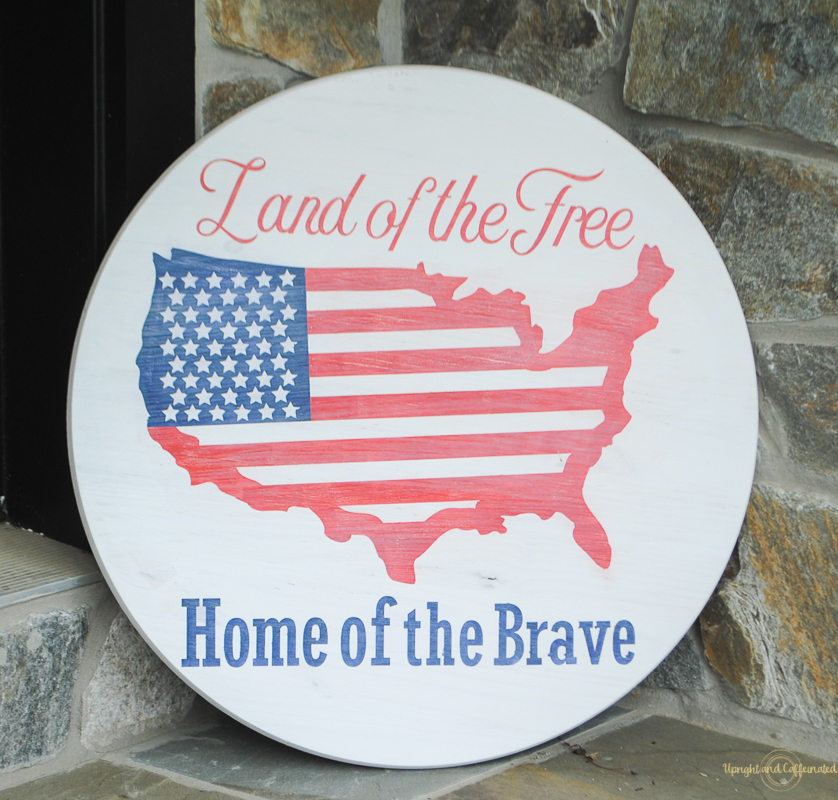
What you need
Cricut Explore Air 2
Stencil Vinyl
Paint (Red, White and Blue) and brushes
Weeding tools
Wood Board ( I picked up a round pine board at the local hardware store for around $10)
Mod Podge
PIN IT ⇓
How to Create a Patriotic Sign Design
I thought it would be fitting to create a sign design with the words from the Star Spangled Banner for our front porch. I started by looking through the images in Design Space for a simple cutout of the United States. Cricut Design Space has this image of the USA with the stripes and then added the stars myself.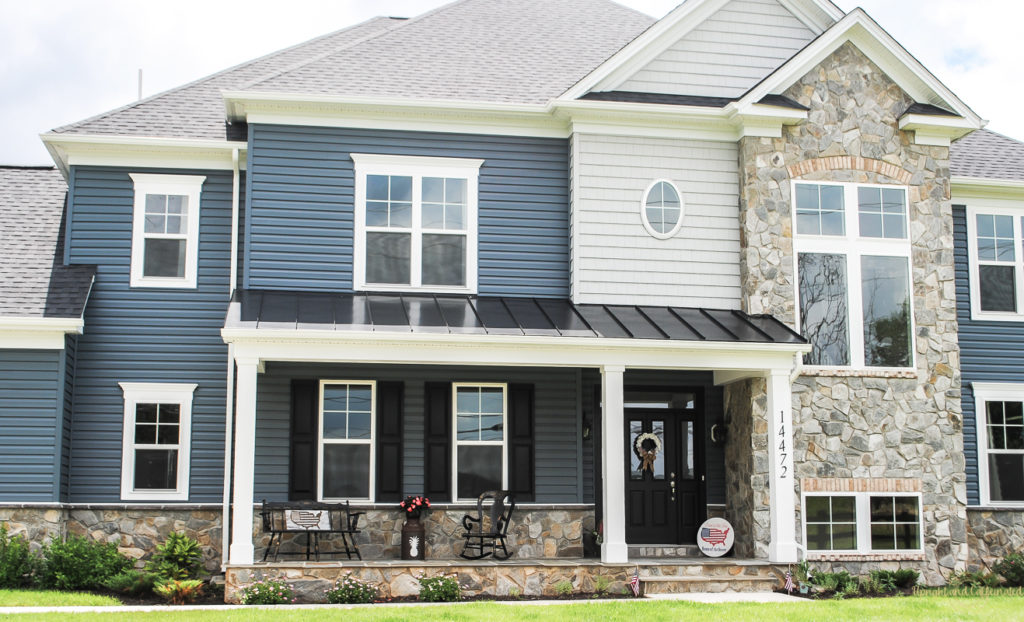
Here’s a tip…Use the duplicate option. Highlight the image you want to duplicate, hit the right click on your mouse and choose “duplicate”. I made a row of six stars, grouped five of them together, hit duplicate and then went back and added the sixth star to the group of five and hit duplicate on that group. That have me a group of five stars and a group of six stars. I was able to duplicate the rows of stars and line them up appropriately. By using the group and duplicate options, you can keep the spacing consistent.
Make sure you attach all of the parts of the country and flag before clicking “make it”.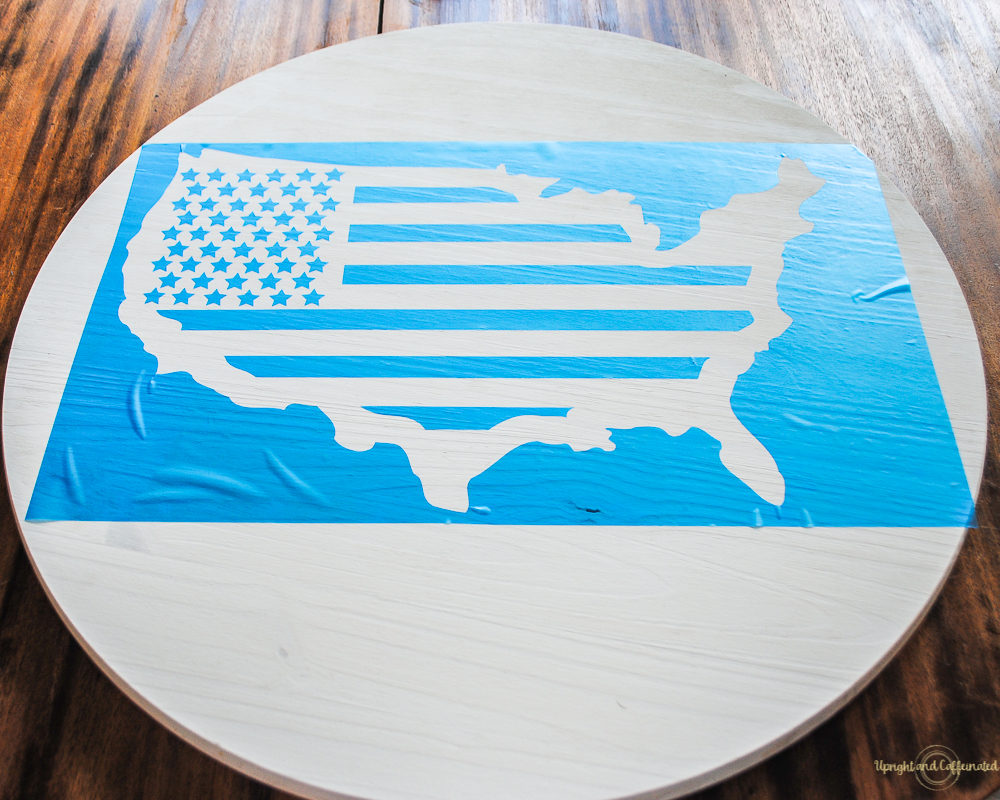
I cut the wording out separately because the round board was larger than my 12×24 mat!
Another tip- when you are making a stencil, you are left with the negative image on the transfer tape. Use that for another sign. Like this…
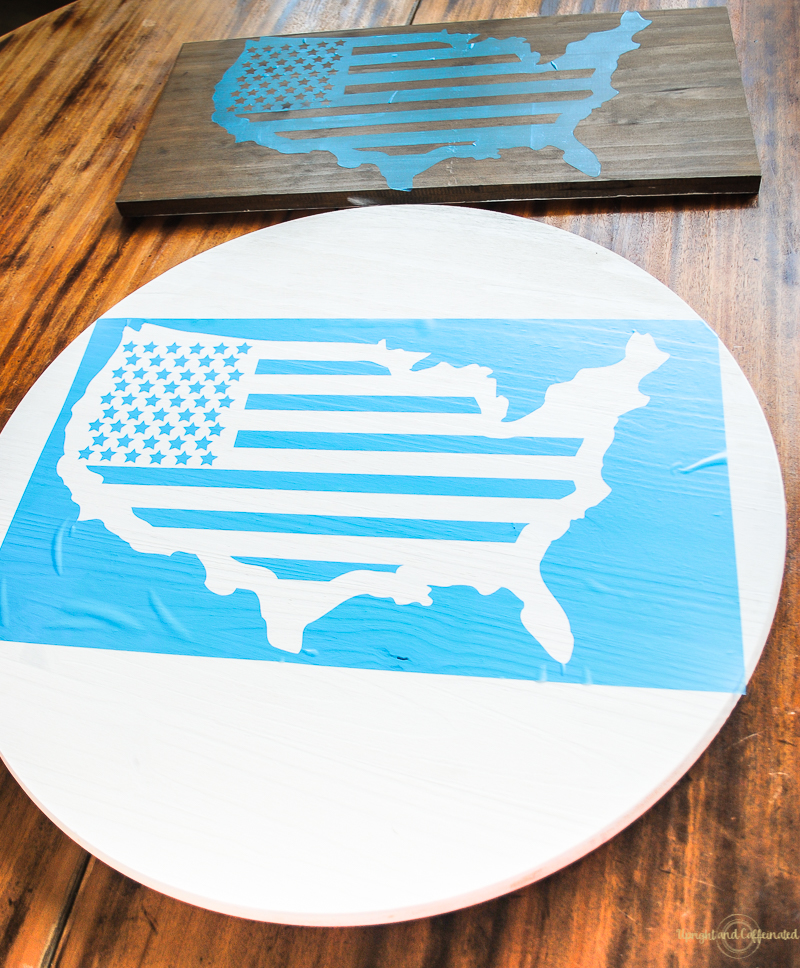
Start by painting your wood board. I used Annie Sloan Pure White Chalk Paint for this project. I also watered down my paint quite a bit and painted two coats on the board. Once the paint was completely dry, I began applying the vinyl stencil.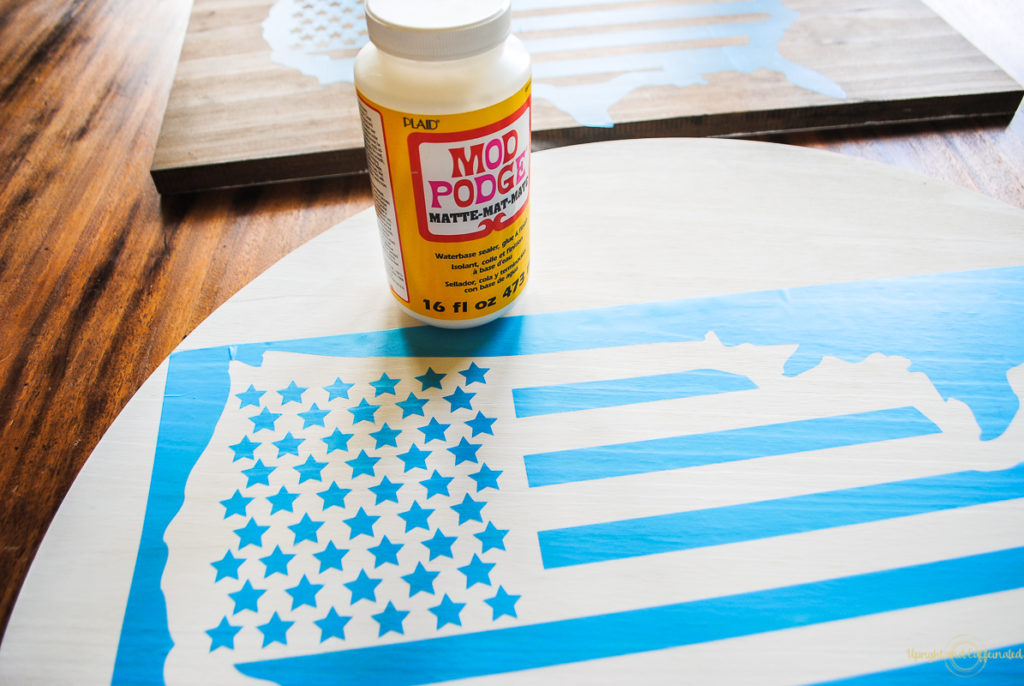
Once the vinyl was on the board, I applied a thin coat of Mod Podge around the inside edge of the stencil. This helps seal the edge of the stencil to the board and prevents bleeding under the stencil. This step is completely optional, but I really wanted crisp lines on this project.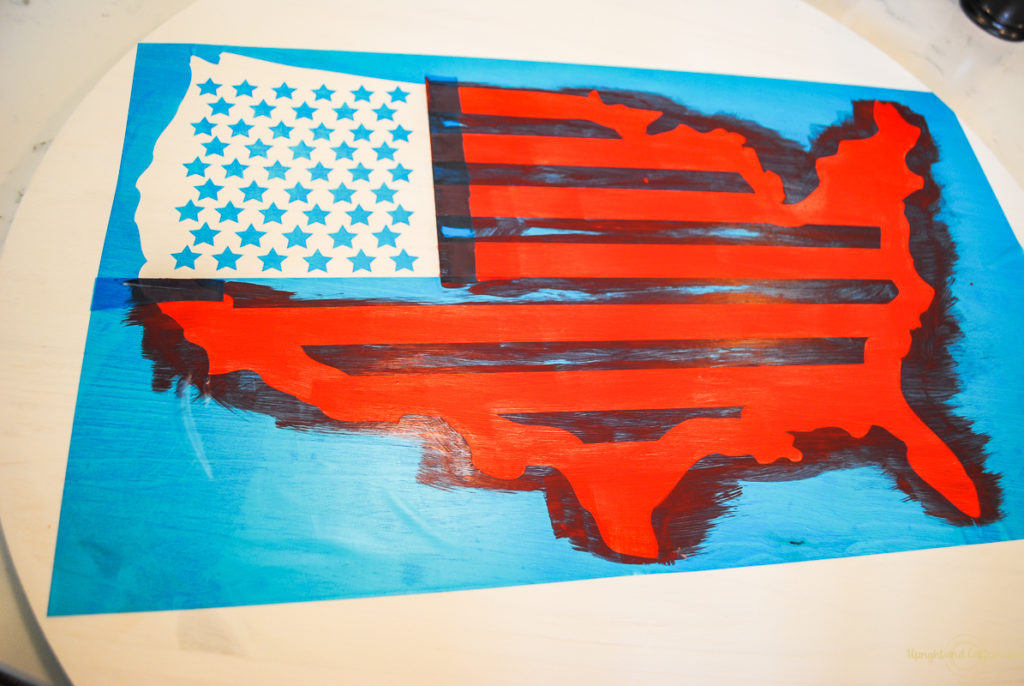
Next, I began painting the red and blue sections. I also lightly distressed the paint using sandpaper and then added a white wash to the entire sign.
Want to see a quick video of how I painted it?
While I was white washing, I put a couple of messy coats on the stained board with the left over vinyl from the transfer tape.
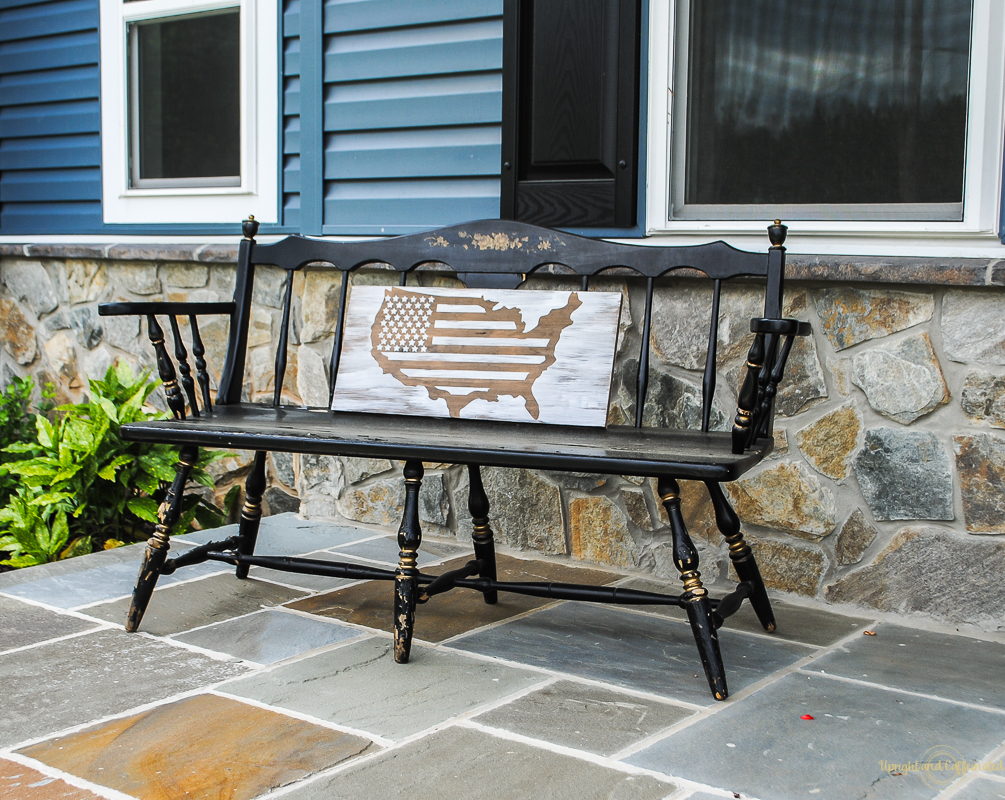
I love this sign design and I love being able to create custom signs and graphics in Cricut Design Space.
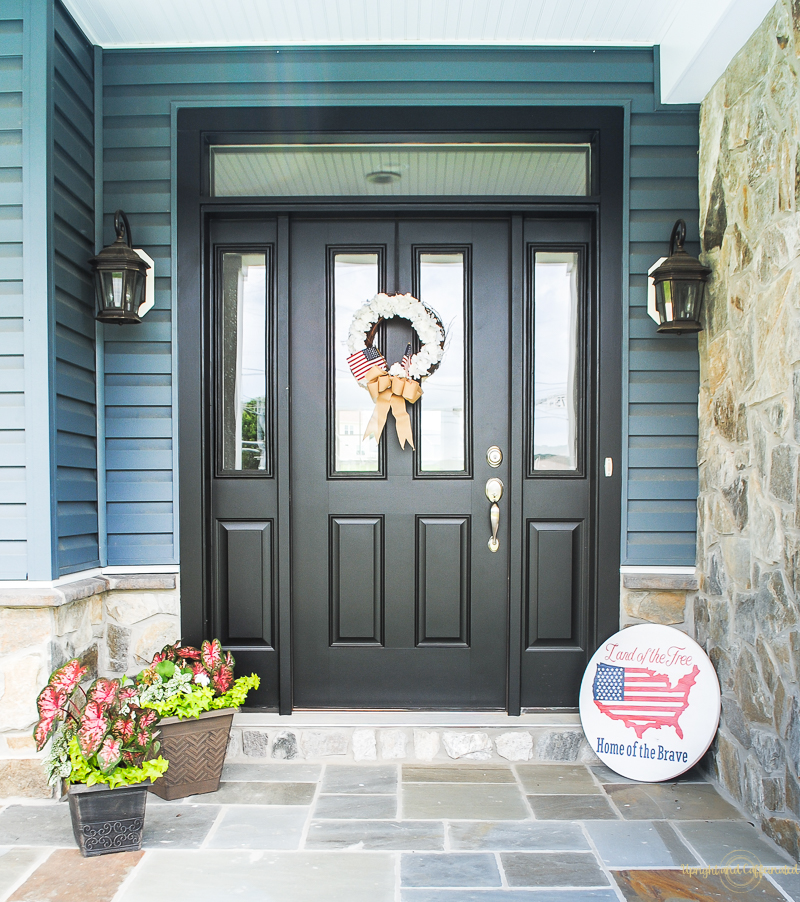 The fact that I got two signs out of this patriotic sign design is awesome! I love the simplicity of the stained one with the white wash, but I also love the round one with the words and red,white and blue!
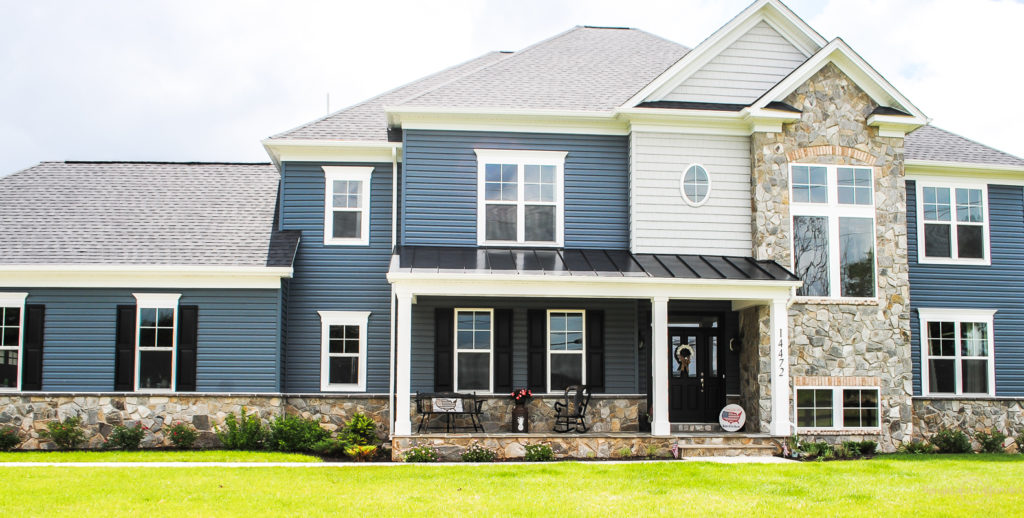
Which one is your favorite?
Don’t forget to check out the other 11 Patriotic Cricut Crafts this month!

This sign looks fantastic, what a great idea to use the round wood board. I’m always looking at them wondering what to make with them. That’s awesome you got 2 signs out of one piece of vinyl. I always save the pieces for my kids to use for art projects when I make stencils.
I love how you made 2 signs out of this project!