Happy Fall Y’all! I just love that saying! If you don’t know; I am from Texas where everyone is y’all…even just one person can be called “y’all”. I wanted to make an easy DIY Fall sign with my Cricut Explore Air 2 this week as we are having another collaboration with my crafty friends! This month’s craft and create with Cricut theme is Fall! Scroll all the way down to see the other projects!! 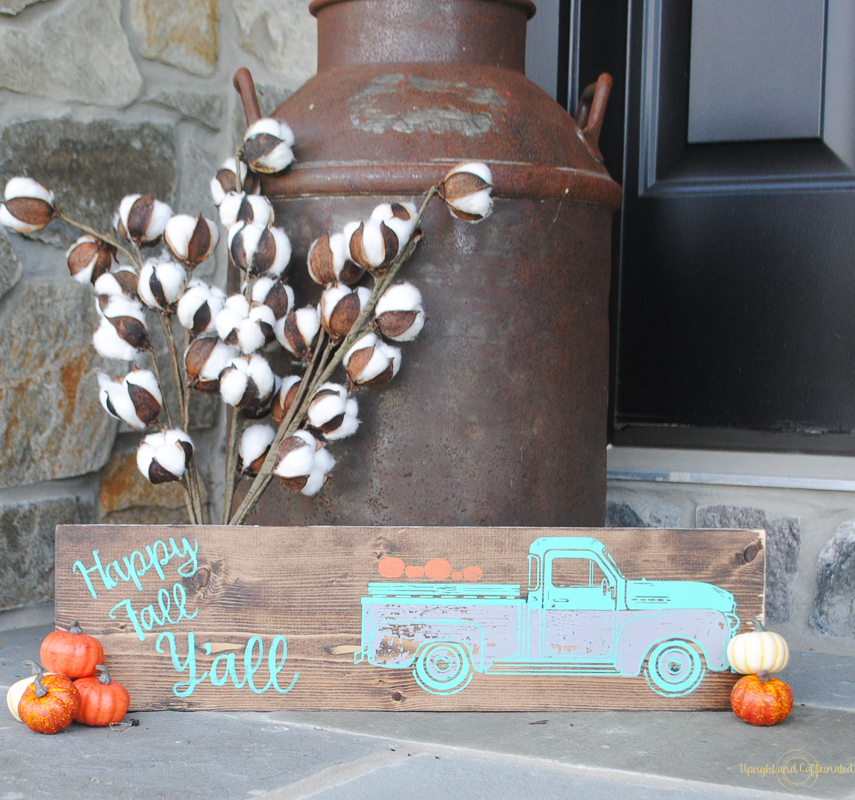
Are you ready for fall? I know a bunch of friends whose kiddos have already gone back to school. I feel like school is the official start to fall, but until I buy a pumpkin, it is really not fall at our house. Good thing the pumpkin farm by our house is already growing those beautiful cinderella pumpkins! You know those light green and white, short squatty pumpkins? Yup- the Glade Links Farm has the most amazing looking pumpkins you have ever seen!
PIN IT ⇓
I wanted to make a sign with a vintage farm feel, using my Happy Fall Y’all saying and of course, it had to have pumpkins!
Stencil vinyl
Chalk Couture Vintage Truck Transfer
Chalk Couture Chalkology Paste (I used Couture Teal and Gray)
Acrylic Paint
Stencil Foam Brush
How To Make a DIY Fall Sign:
First of all, make sure you prep your wood. If you are using Chalk Couture you need to make sure you have some kind of sealant on your wood. For this board, I used Annie Sloan Clear Wax over a stained piece of pine. You could also use a Polycrylic if you don’t have any wax on hand.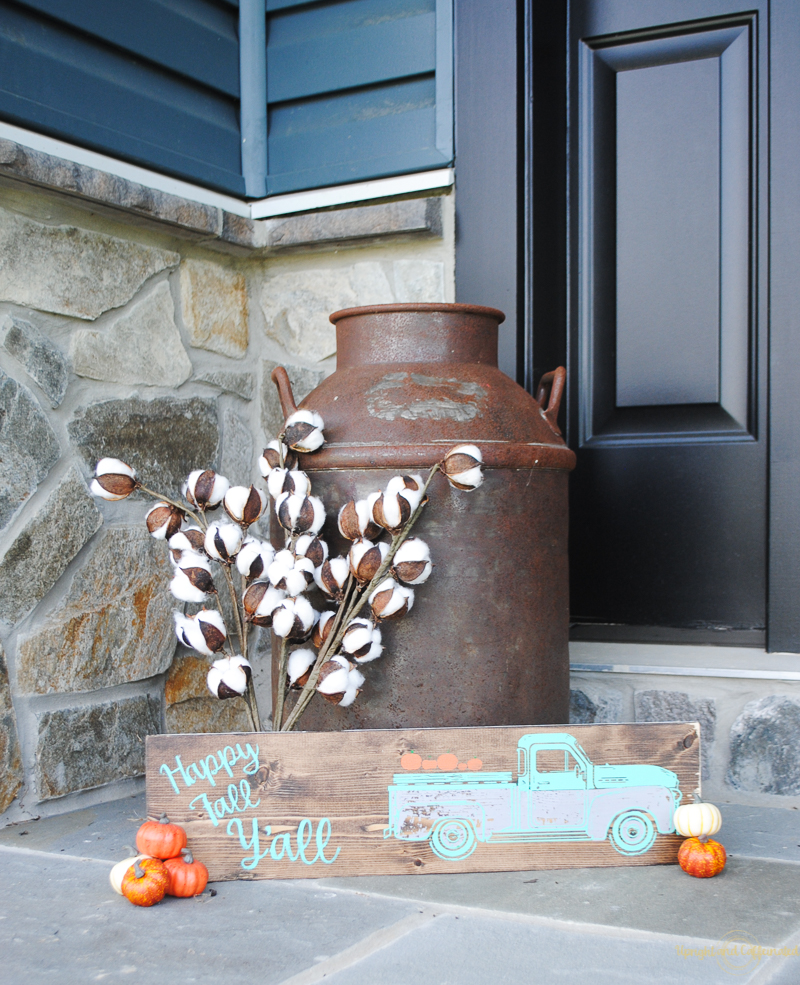
Using Chalkology paste, apply the paste on the vintage truck transfer. Keep in mind, this is a two step transfer, so you will need to make sure the chalk paste has dried on the first layer before adding the second layer. I did not wait long enough and some of the gray on the truck picked up on the back of the transfer when I put the second layer on. Since I was going for a vintage look with this sign, I didn’t mind!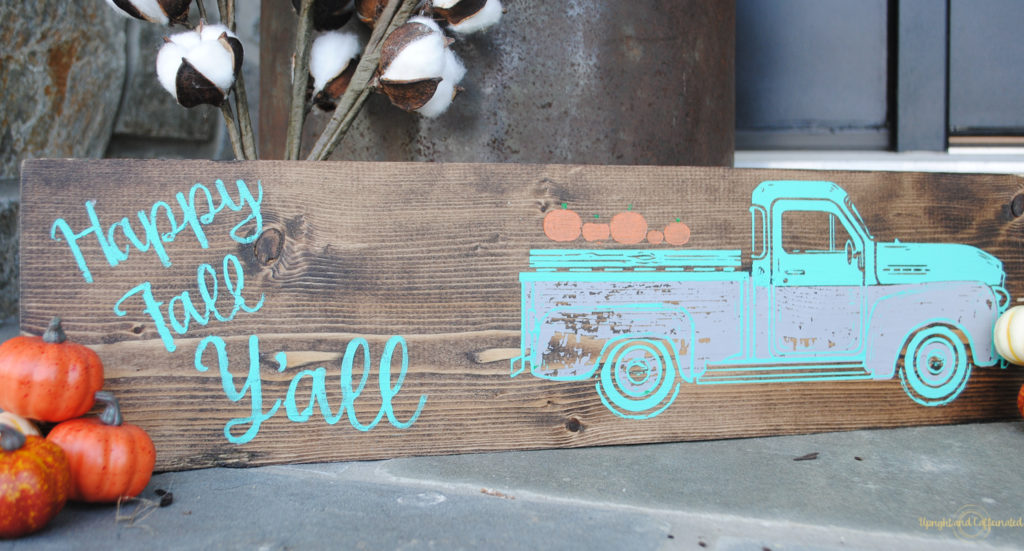
Next, go into Cricut Design Space and create the words. I used Silly Me script for the letters. Make sure you weld them if you are using a script. Want to know about connecting words in Cricut Design Space?
Check out this video.
Next, cut the words out using your Cricut and weed the letters out, so you are left with a stencil. Apply the stencil to your board using transfer tape. I used Chalk paste in Couture Teal to fill in the stencil, buy you could use paint too. Apply using a foam stencil brush to avoid bleeding under the stencil.
I used the same technique to cut the pumpkins, but I used acrylic paint instead of chalk paste.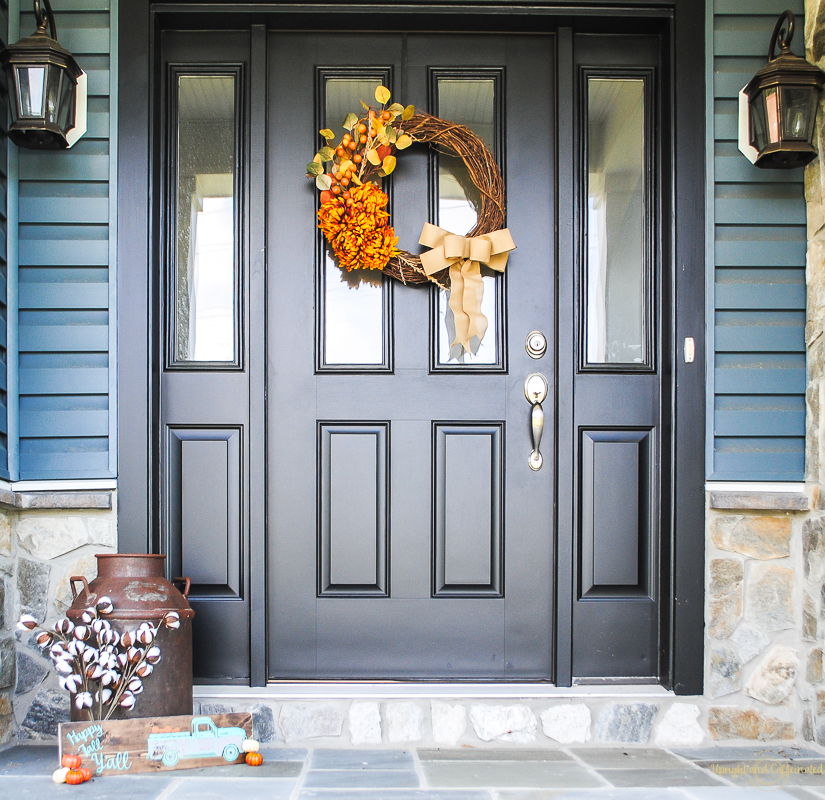
Once the paint and paste are dry, remove the stencil vinyl. It is that simple! Now you have a beautiful, vintage-looking DIY fall sign! I put mine on my front porch up against my vintage milk can and a few stems of cotton that I purchased from Michael’s.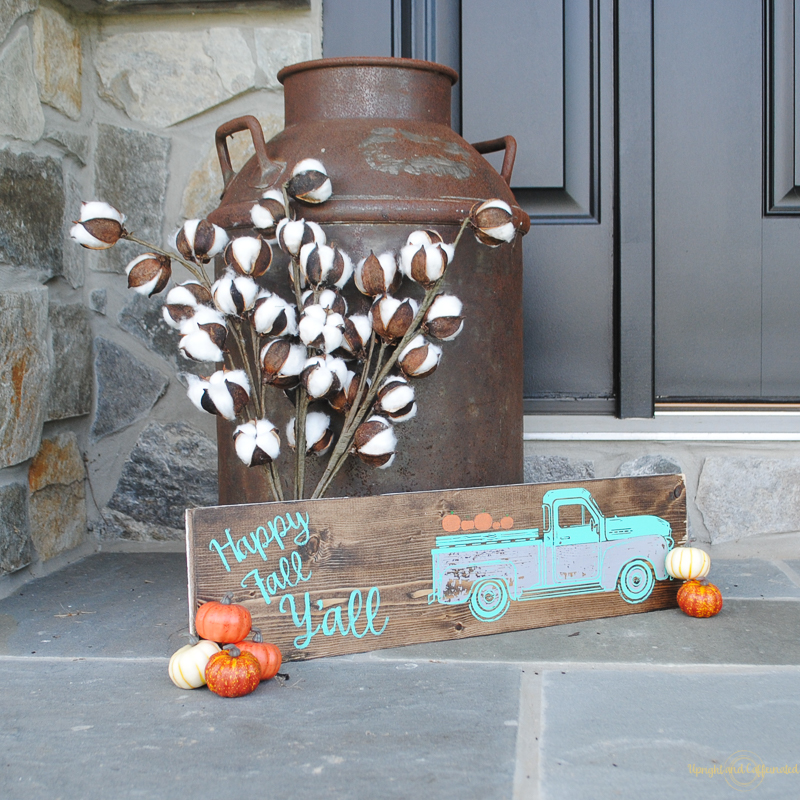
It is definitely starting to feel like fall around here. I also put up my DIY fall wreath on my front door too! The kids will be back in school soon and we will be picking pumpkins at the farm in no time! Happy Fall Y’all.

Don’t forget to check out the other fall projects this month!
Fall Embroidery Hoop Wreath from Weekend Craft • DIY Fall Porch Sign from Cookies Coffee and Crafts • Easy DIY Fall Sign Upright and Caffeinated • Felt Flower Fall Wreath from Create & Babble • Easy Fall Decor from Daily DIY Life • Autumn Wood Banner from the Inspiration Vault • Pumpkin Stuffie from The How-To Home



This looks great! I love the vintage look of the truck. Ooh picking pumpkins is my favorite time of the year.
Such a pretty sign! I really like the colors you chose and the truck is so rustic and great for farmhouse decor.
Great video on how to connect letters. That is exactly how I do it. I wish you could kern individually in design space.
I love the vintage look of this sign! The colors and the font you chose are perfect!. While I’m not ready for Fall weather yet, I love the decorations!
This is such an adorable sign. The font is new to me, I love it! Perfect for fall too. Nice job.
I love the truck, the saying, and the colors you picked! I am pinning this for later!