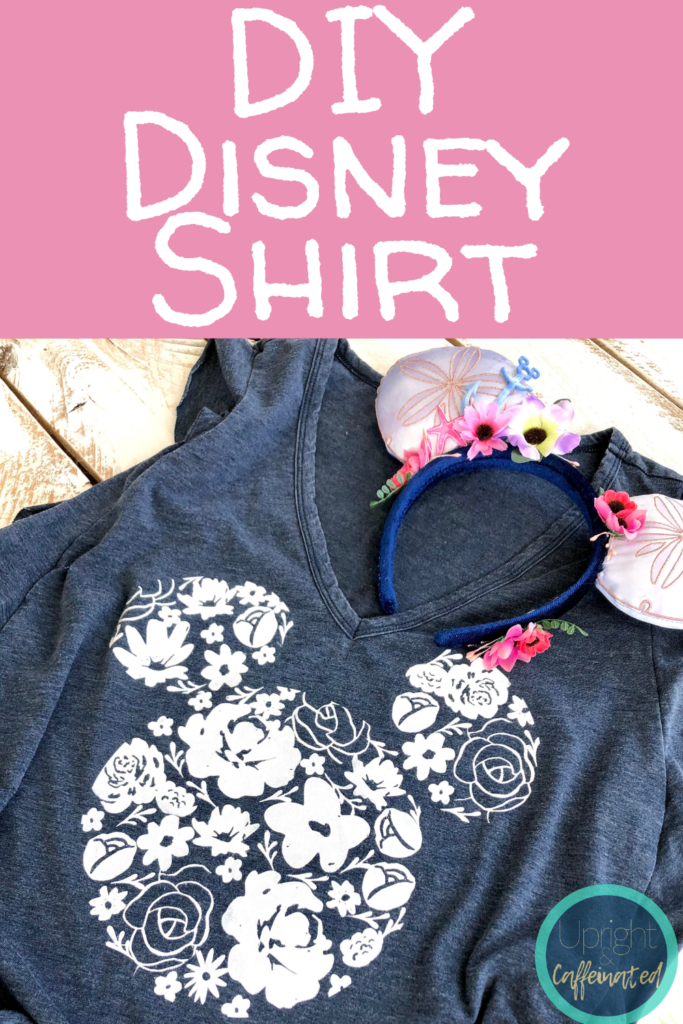
Hiya Pal! If you are heading to Disney or just want to make a shirt for everyday-wear, you have come to the right place! Today, I will show you exactly how to make a DIY Disney Shirt. This particular shirt is PERFECT for the EPCOT Flower and Garden Festival. It would also be a great shirt for a Disney Cruise too.
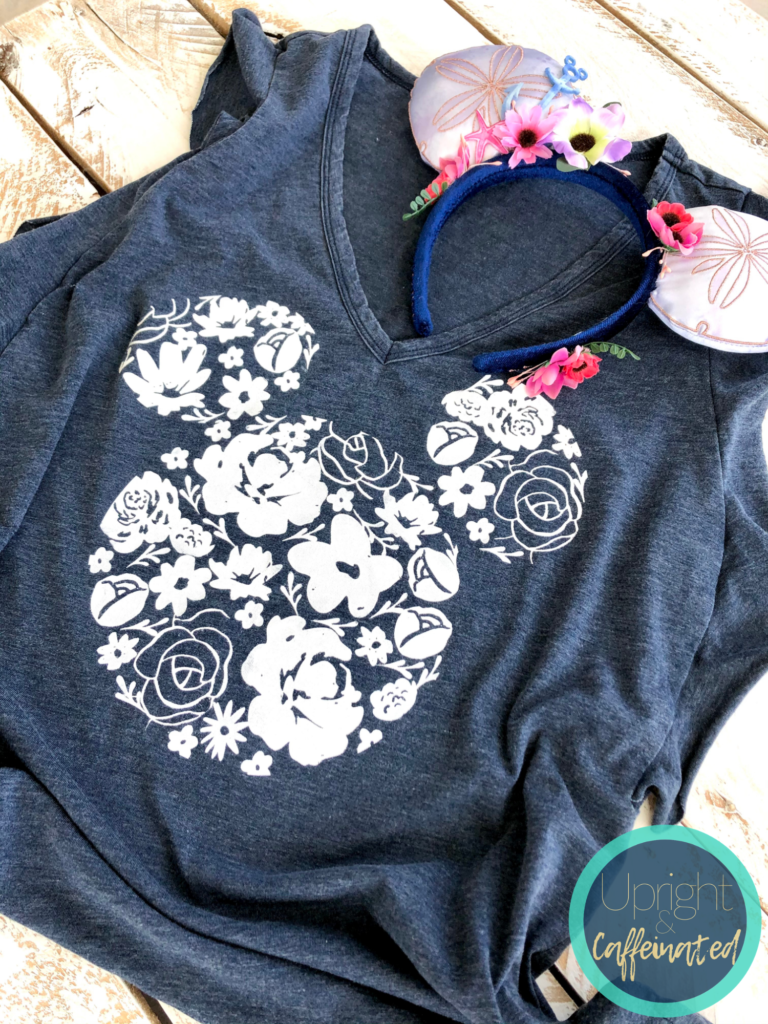
Before we begin, I need to tell you what I used to make this. For this shirt, I used Chalk Couture transfers and permanent ink. If you don’t know about Chalk Couture, START HERE. For more information about when to use paste or ink, READ THIS.
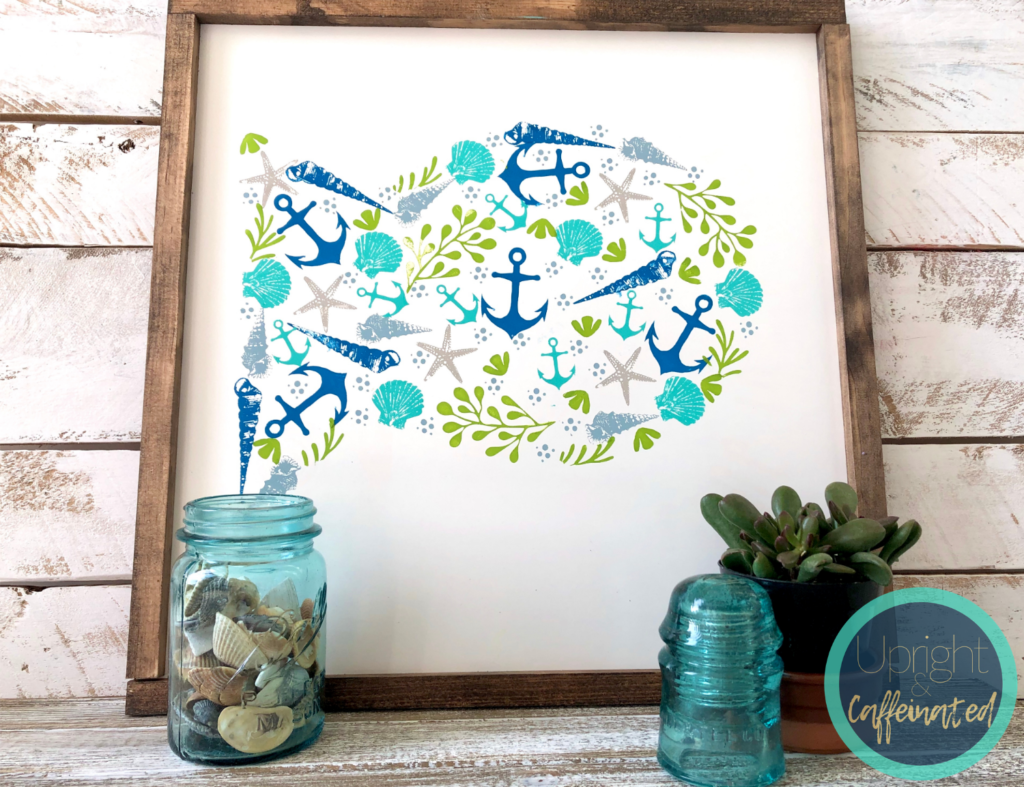
The key to this DIY Disney Shirt is the technique. I used a bunch of small Chalk Couture transfers of various flowers to create this shirt. Last summer I used the same technique to create this fish sign out of small shell transfers.
Want to watch the live video from when I created this shirt? CLICK HERE to take you to Facebook.
How To Make a DIY Disney Shirt
First of all, I cut out the Mickey Mouse head using my Cricut machine. I already had the cut file, so I just cut it on Oramask 813 vinyl. My cut file had an outline and an inside cutline, so I simply used painters tape on the outside cutline so I didn’t accidentally get ink in that cut line.
WANT TO LEARN MORE ABOUT CHALK COUTURE? JOIN MY FREE CRAFTING COMMUNITY.
You would also free-hand draw or trace and then use painters tape to simply make your border. For the fish, I drew an outline of a fish using a piece of chalk and then simply erased the chalk line and any paste that got outside of the line. With the ink, you need to make sure you have a boarder of either painters tape or vinyl to give you a solid outline.
Once I had my outline, I used all the little flower transfers, starting with the larger flowers. I randomly placed the transfers inside the outline and used the ink to create the flowers on the fabric.
Here’s a super quick video showing how I inked the flowers onto this DIY Disney shirt.
Once I had inked in all the flowers, and the ink was dry (I waited overnight), I removed the oramask vinyl. One of the things I love about this shirt is the monochromatic flowers. I had thought about doing all different color flowers, but I really wanted the shape of the Mickey head to stand out, so I stuck with one color. 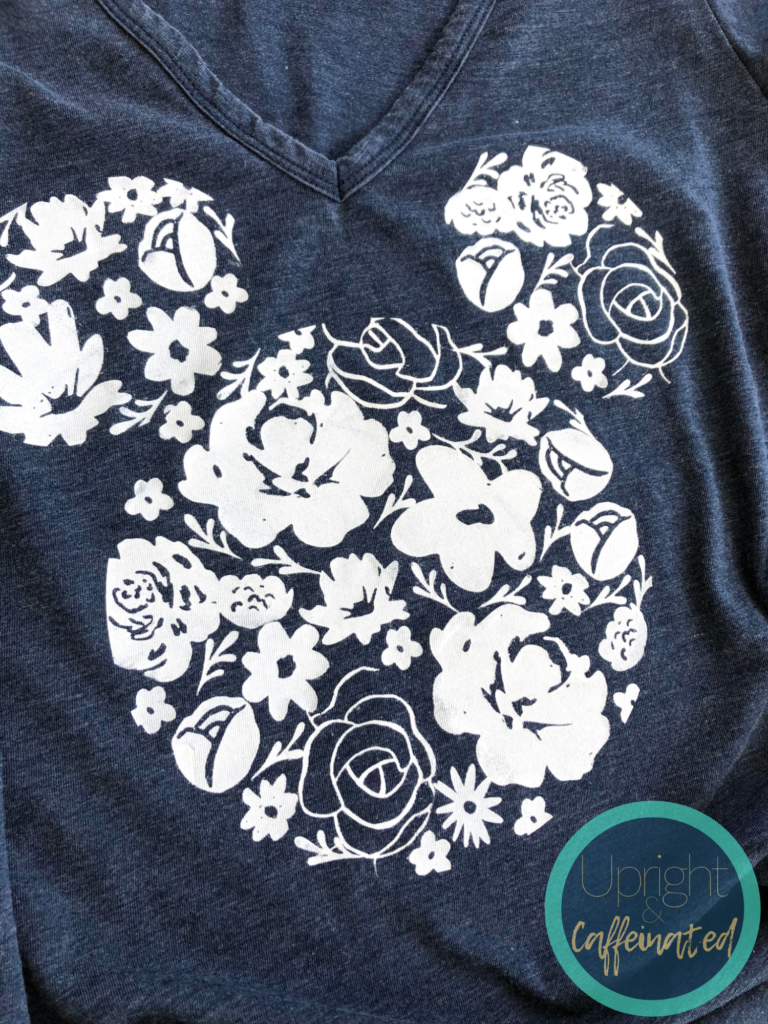
After all the vinyl and painters tape was removed, I heat-set the ink on the shirt. To heat-set Chalk Couture ink, you simply need to iron (I used my regular household iron) for 3-4 minutes on each side. HERE ARE GREAT TIPS on using Chalk Couture ink and heat-setting.
Want to grab the EXACT transfers I used? CLICK HERE!
Hope this is helpful next time you want to make a DIY Disney Shirt!
PIN IT ⇓

