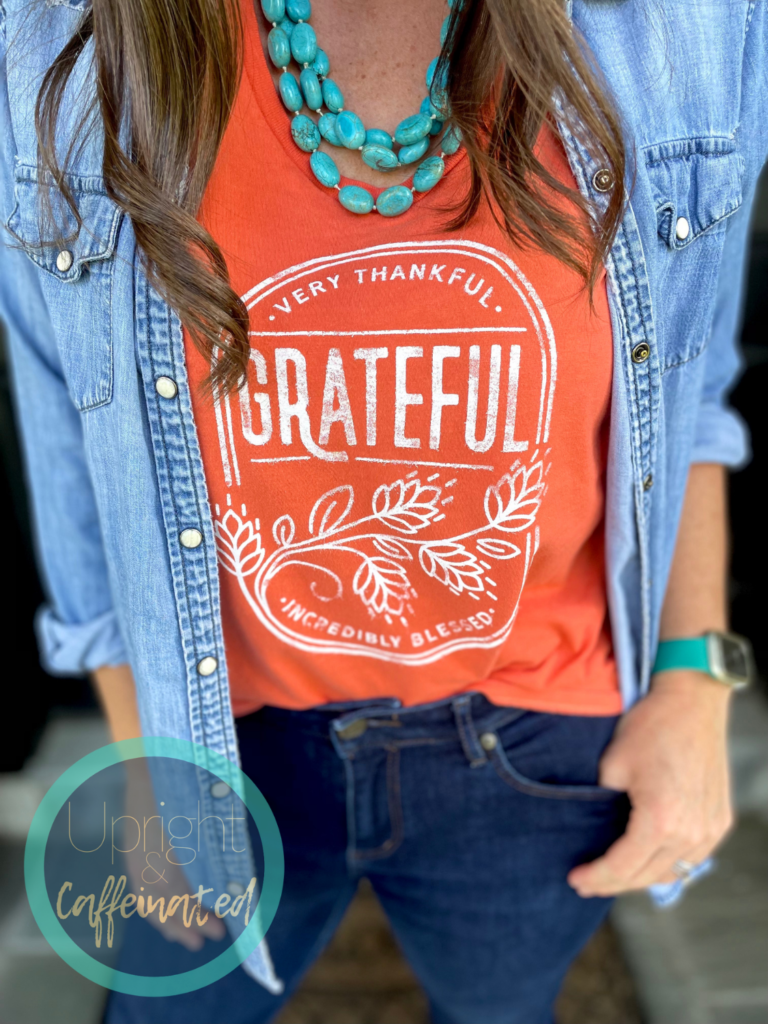
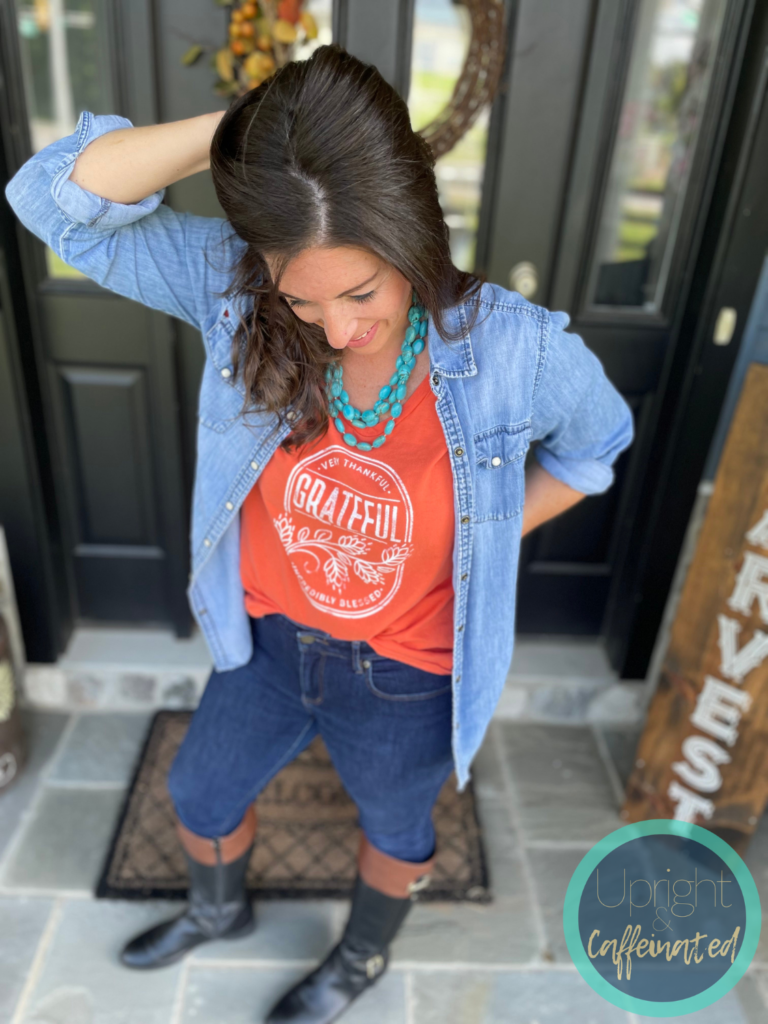
Full disclosure- I’m not a fashion blogger. I’m not fashionable at all, but I love making DIY t-shirts with Chalk Couture! Today I am sharing this simple way to make a DIY Fall T-shirt in a matter of minutes!
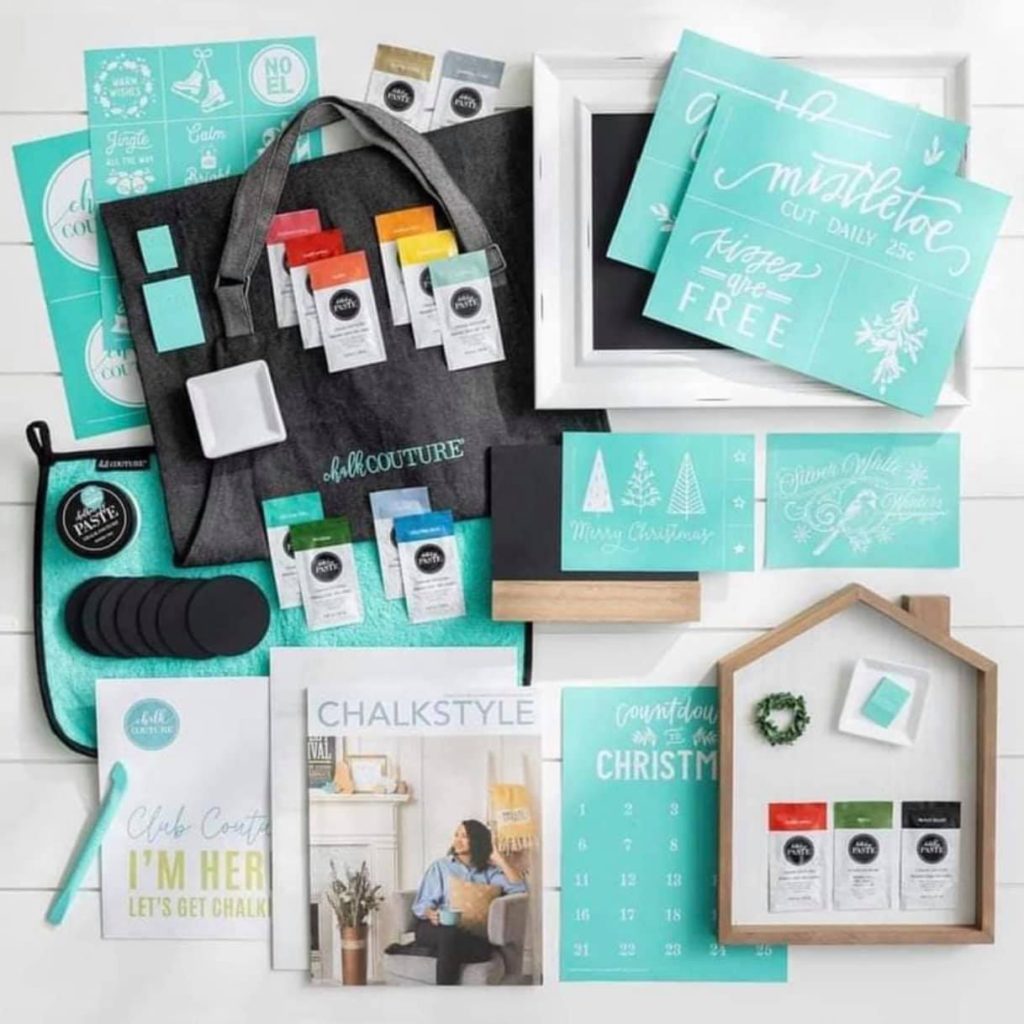
First of all, if you don’t know about Chalk Couture, here’s the quick rundown. Chalk Couture makes reusable, silk-screen stencils, removable chalk paste, permanent ink, surfaces and accessories. I have a great post that goes more in depth HERE.
So Chalk Couture has a monthly Club- it is called Club Couture (catchy, right?). If you join the Club, you get an exclusive transfer (stencil) and three chalk paste single packs sent right to your door every month. Club members also get lower flat-rate shipping on all orders and exclusive promotions throughout the year.
There are lots of perks of being a Club member! It is $19.99 a month and if you join in October, this is the transfer and paste colors you will receive. 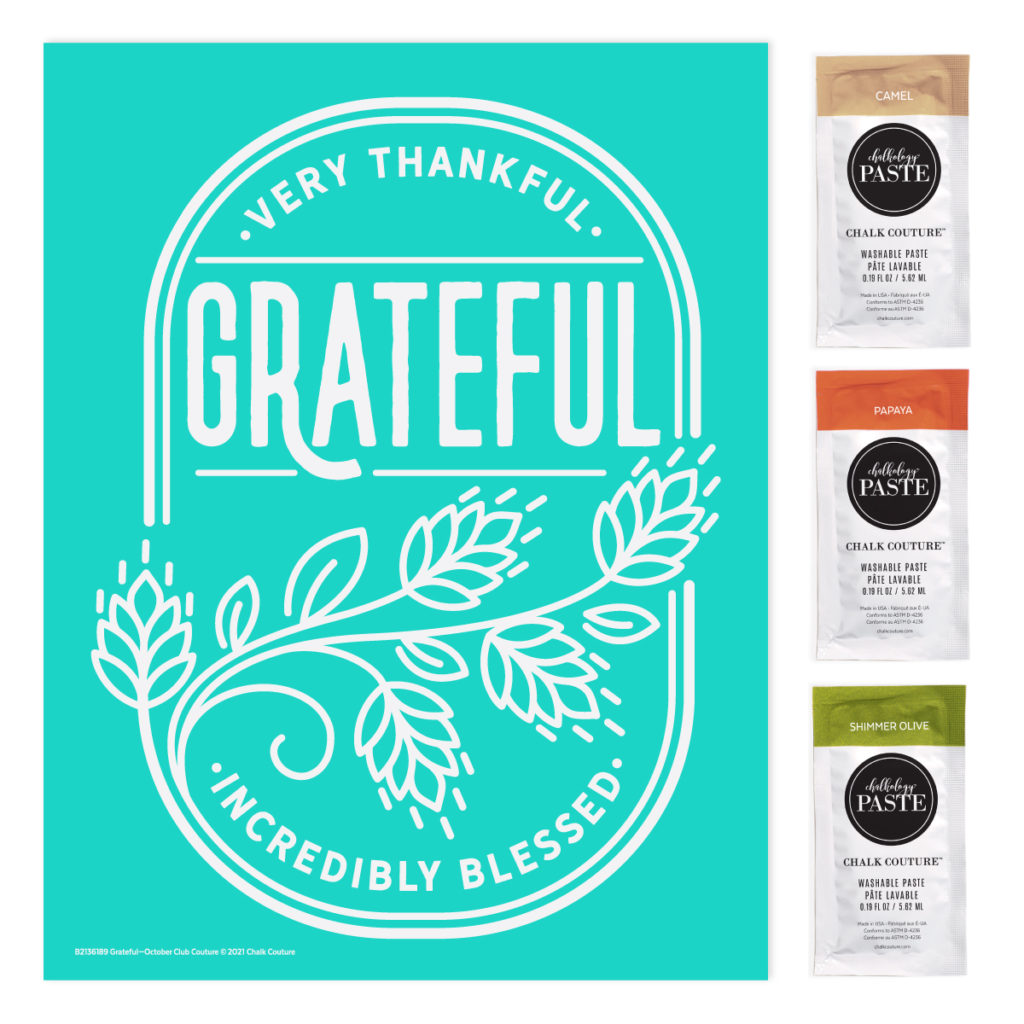
I have already used this design twice because I absolutely love it, but today I want to show you exactly how easy it is to make a DIY Fall T-shirt with this month’s design.
WANT TO LEARN MORE ABOUT CHALK COUTURE? JOIN MY FREE CRAFTING COMMUNITY.
What You Need
Parchment Paper
Iron
How To Create a DIY Fall T-Shirt
Want to see EXACTLY how I made this? Check out THIS VIDEO where I made this live over on Facebook.
First, insert the ink mat into the shirt. I cut my ink mat into smaller pieces so it is easier to work with. The ink mat is sticky, so it serves two purposes. 1) It holds your fabric in place. 2) It keeps the ink from bleeding to the other side of the shirt.
Next, apply the transfer to the t-shirt. Make sure to smooth out the transfer and avoid having any bubbles in the transfer.
Start inking! I like to apply the ink to the teal part of the transfer and squeegee down, into the silk screen area. For this particular shirt, I purposely went light with the ink in some areas to give this shirt a vintage vibe. I wanted some of the areas on the shirt to look worn like I have had this shirt for 20 years!
Once the ink has been applied, carefully peel the transfer off. Allow the ink to dry for 24 hours and then heat-set with an iron.
PIN IT
Instructions for Heat-Setting
I use a household iron, not a heat press, but you can absolutely use a heat press if you have one. First, pre-heat the iron to medium heat. Next, place a piece of parchment paper over the inked design. Iron the design for about 3-4 minutes, making sure you are moving the iron (do not just place the iron flat on the design and hold it…this could scorch the fabric).
Next, flip the shirt inside out and then iron the back side of the inked design for another 3-4 minutes (continuously moving the iron). There’s no need for the parchment paper on the back side.
That’s it! Now the design is permanent and you can wear the shirt and wash it according to the directions on the shirt.
Check out this post for Ink Tips!
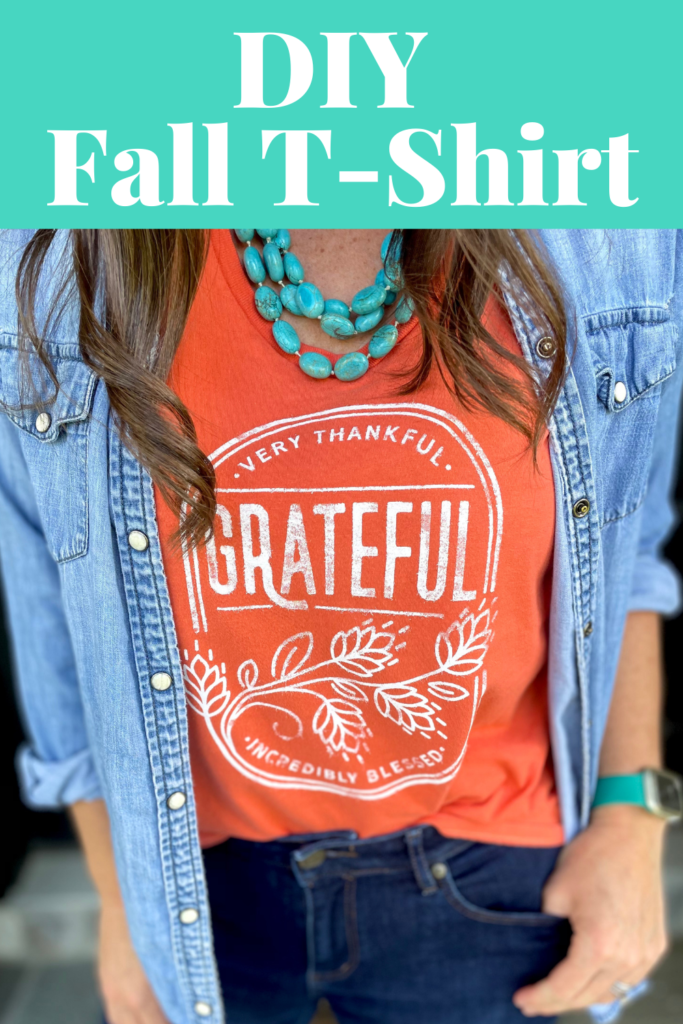
This is REALLY easy to do and how cute does this shirt look? When I first saw this design, it looked like a craft beer label and I immediately knew I wanted to make a t-shirt with it!

Want to get a discount on products? You can join Chalk Couture as a Designer! Right now we have two options for joining
- $99 Starter Kit– this kit includes a HUGE sample of Chalk Couture products (worth $290 retail)
- $19 Business Basics Kit– this kit includes business materials and an apron, but no products.
I would love for you to join my team. Whether you want to build a business, or just join because you love crafting- there’s no pressure to sell or grow a team. You can join HERE. If you have more questions, you can send me a message HERE.
Check out this post if you have more questions!

