Hey Hey! Long time no see! I’m popping in today to show you how I made this adorable t-shirt in less than 4 minutes. Yup! This reusable t-shirt design is easy to use and you can use it over and over.
First, let’s start with a little story. I took basically the month of December off from my crafting business to spend time with my family around the holidays. When January hit, I was ready to hit the ground running, but I kept hitting roadblocks. We spent a week completing our kitchen backsplash, the kids schools closed for multiple snow days, and then we all got sick!

All I wanted to do was get back to crafting, but being sick, I just didn’t have the energy. I felt overwhelmed just picking colors to make a sign. Instead, I decided to start small, go back to basics and just create a simple black and white t-shirt.
This reusable t-shirt design is available HERE. If you don’t know about these reusable stencils, START HERE.
The stencils can be used over and over again. The company says 8-10 times, but I have definitely used some of mine way more than that!
For this project I used the black permanent ink. Check out THIS POST to learn tips and tricks for using ink.
This t-shirt took me 4 minutes to make! Let’s jump right into how to make this t-shirt design.
Reusable T-Shirt Design
First, you will need to insert an ink mat into the t-shirt. The ink mat serves two purposes.
1) It prevents the ink from bleeding onto the back of the shirt.
2) It is sticky, so it holds the fabric and keeps it from moving.

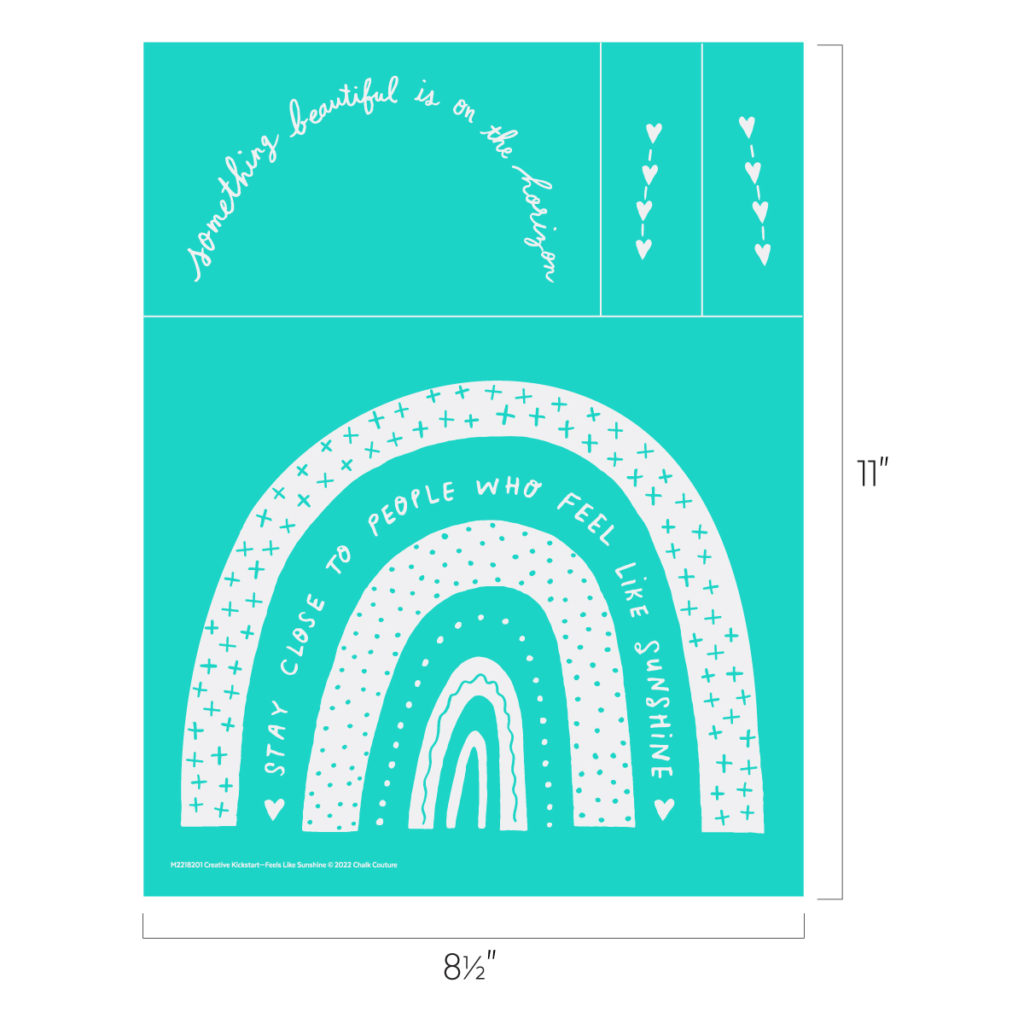
Next, apply the reusable t-shirt design (called a transfer) to the fabric. The transfer is self-adhesive and can be used over and over. Check out all the transfer designs HERE.
Once the transfer is placed where you want it, you can begin to apply the ink using a squeegee. One of the best tips I can offer when using ink is to offload the ink onto the teal part of the transfer and then squeegee the ink into the silk screen area. This will help prevent bleeding and give you crisp lines on the design.
Once the design is inked, you can carefully remove the silk-screen transfer and immediately wash the transfer.
Caring For Your Transfer
All you need to do is simply wash it with cold water and a board eraser, then let it dry sticky-side up after it is washed. Wipe the sticky side down with a disinfectant wipe to sop up any standing water and recharge the adhesive! Check out this VIDEO to see how to properly wash the transfer. I created this video during the height of the pandemic when disinfectant wipes were hard to find. If you have a disinfectant wipe use that to wipe the standing water off of the transfer after you wash it.

Now back to the shirt- Leave the ink mat under the fabric until the ink is completely dried. This usually takes a few hours. I generally leave it overnight. Once the ink is dry, the t-shirt design can be heat set with a regular house-hold iron. Remove the ink mat and place a piece of parchment paper over the design. Turn the iron to medium heat and iron in a circular motion for 3-4 minutes. Turn the shirt inside out and iron another 3-4 minutes on the back side of the design. You don’t need the parchment paper on the back side.
PIN IT

Once the t-shirt design is heat-set, it is permanent and can be washed like normal.
I absolutely love using permanent ink over heat-transfer vinyl because it doesn’t peel up or fade. It truly is permanent!
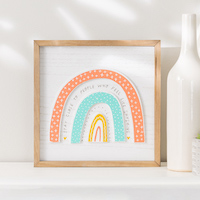
The transfers can also be used with removable chalk paste on things like chalk boards, wooden signs, glass and metal. How cute is the same design on this wooden box frame with the rainbow accessory pack?
Want to get these products at a discount? You can join Chalk Couture as a Designer and purchase products at wholesale price! Click here to find out more!
