Have you ever put off a project because it seems daunting? Then you do the project, it only takes a few hours and you are ecstatic with the results? Yup- that’s what happened when we built our floating shelves. It was SOOOOOO much easier than I thought and I am kicking myself for putting this off for so long.
A little background- we built this house almost 5 years ago and we still have a long list of projects to truly make this our home. One of the projects we have wanted to complete is built-in shelves next to our fireplace. We definitely wanted to DIY this project, but after scouring Pinterest, we decided we LOVED the look of floating shelves more than the traditional built-in look. Here’s what we started with. 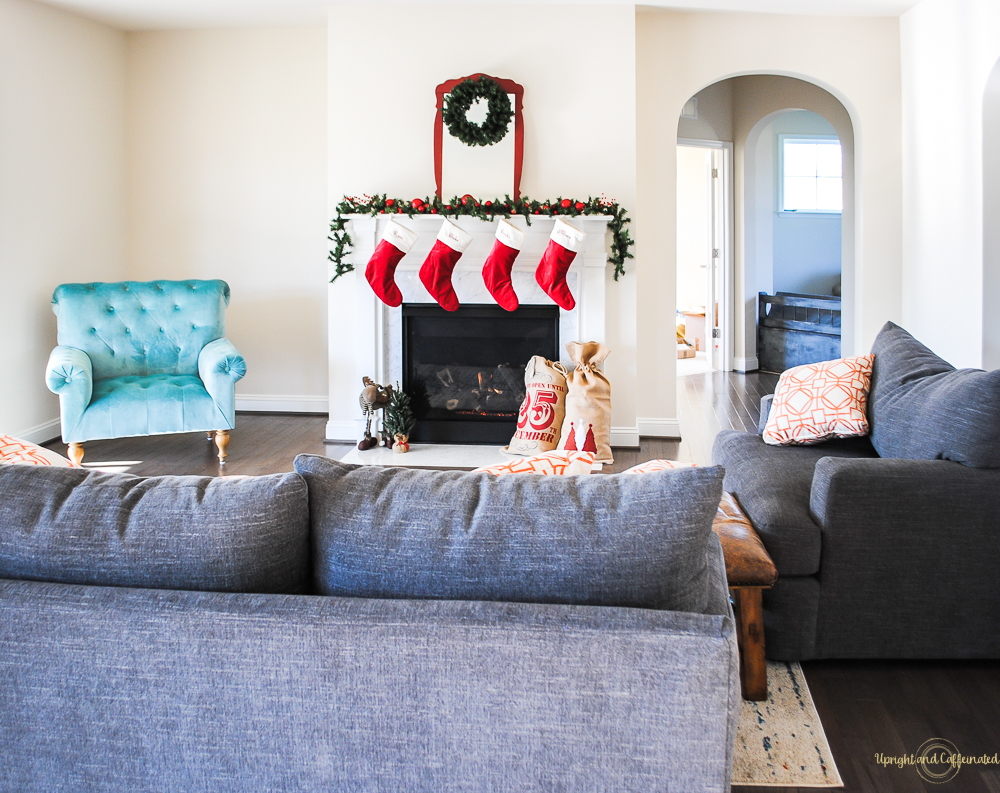
This picture is from 1 month after we moved in- before we even mounted a TV above the fireplace.
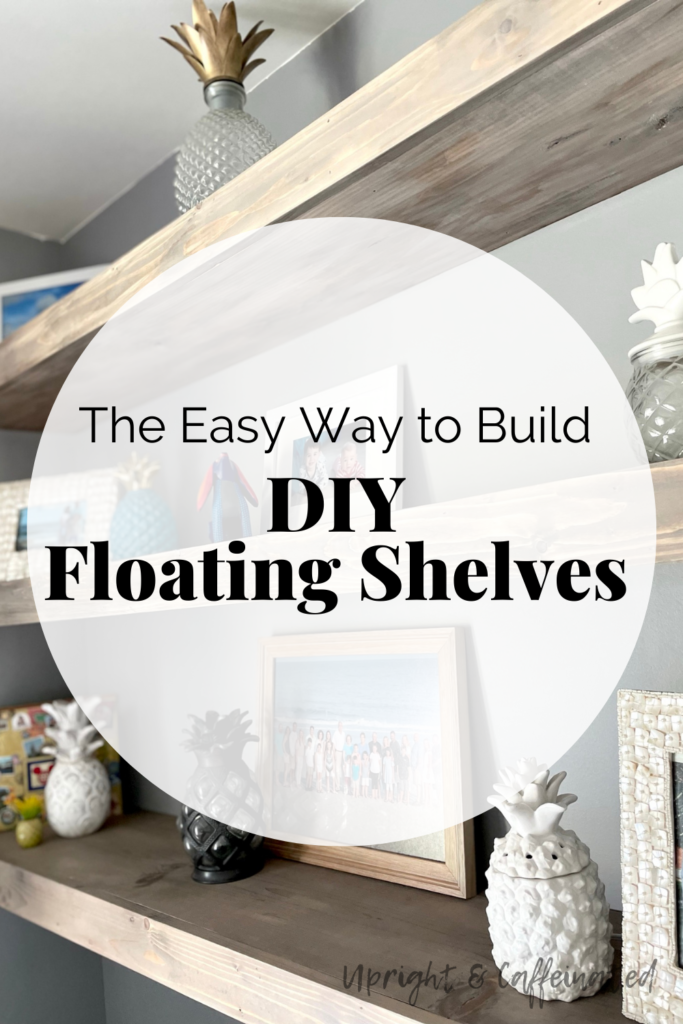
Here’s what it looks like now!
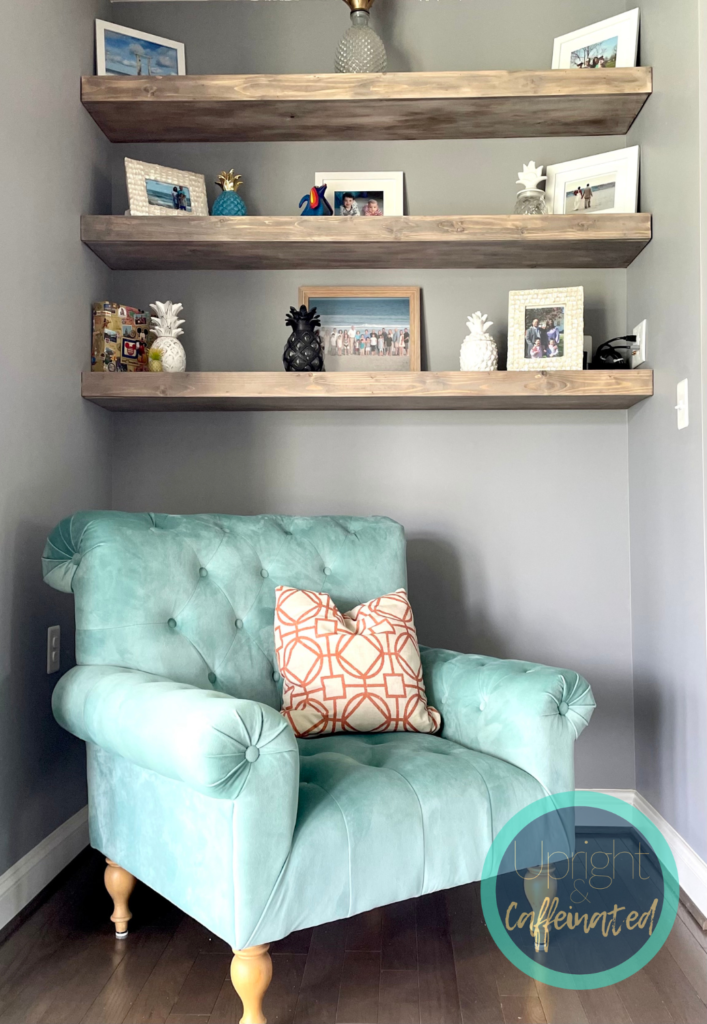
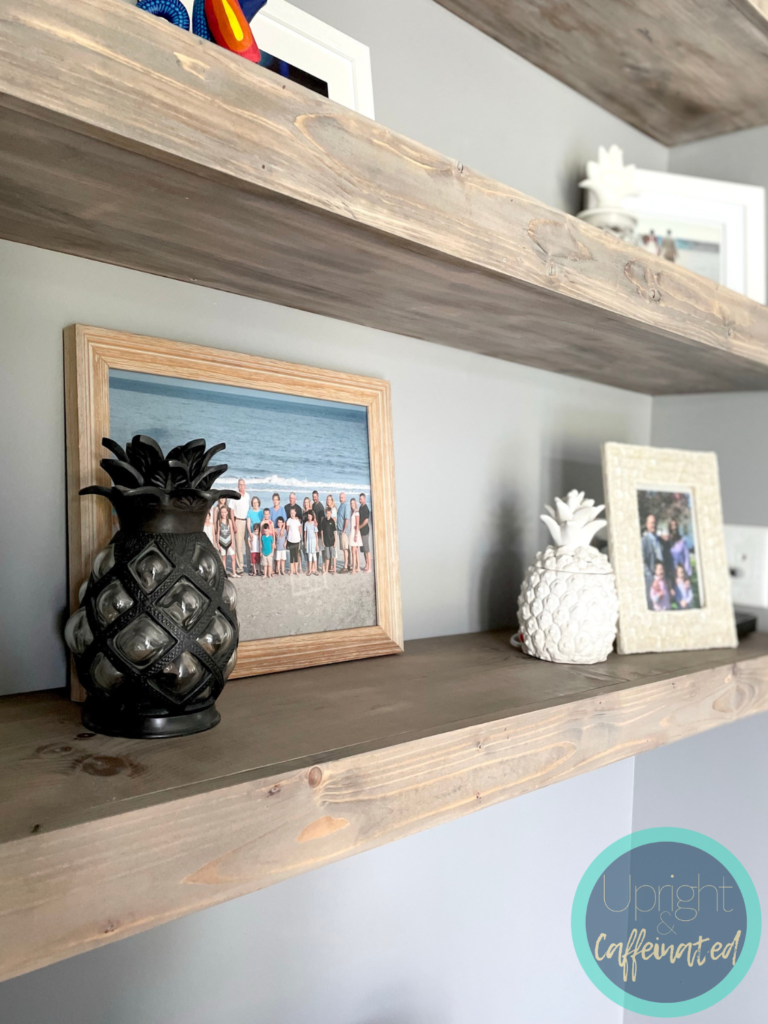
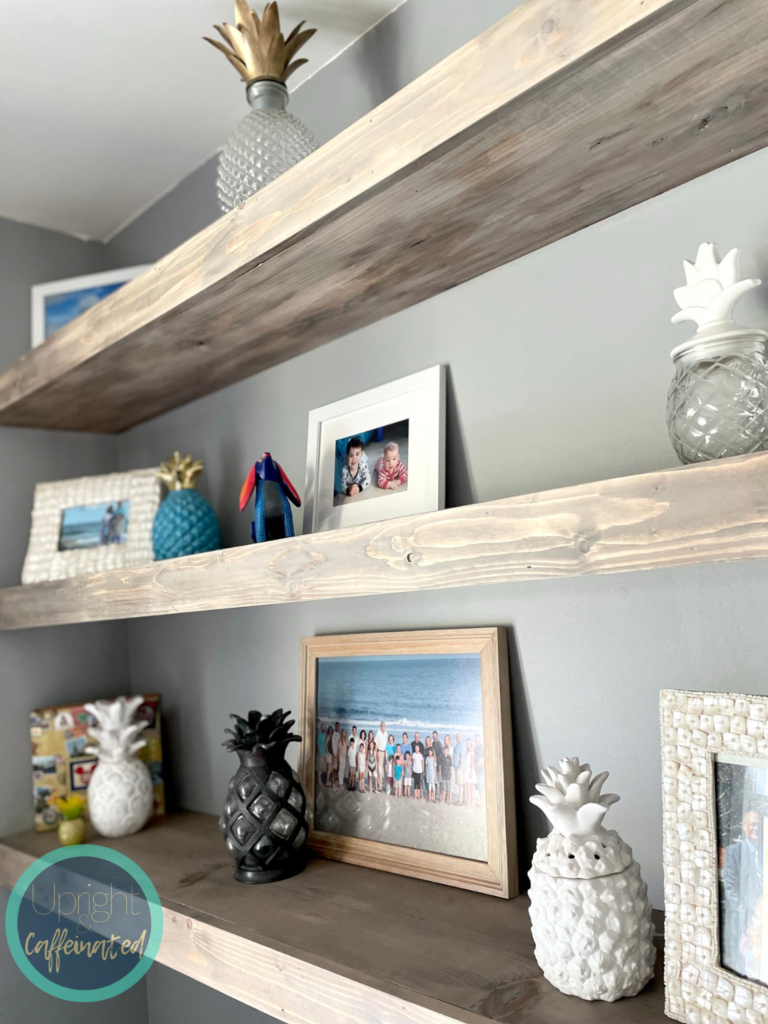
I am in love with how this looks, although I’m still working on styling the shelves. One of the things I love about these chunky shelves is the color! I used liming wax to achieve this look. Let’s jump into how we built these floating shelves in our living room.
This post includes affiliate links to products. I may receive a commission if products are purchased through the provided links. My full disclosure statement can be found here.
The Easy Way To Build DIY Floating Shelves
First, we built the braces for the shelves. The braces were made of 2x2s. We cut them the entire width of the wall (68 inches) since I wanted the shelves to take up the entire space. Next, we cut four, 11 inch pieces of 2×2 to hold the shelf. The 11 inch pieces were simply screwed onto the 68 inch piece.
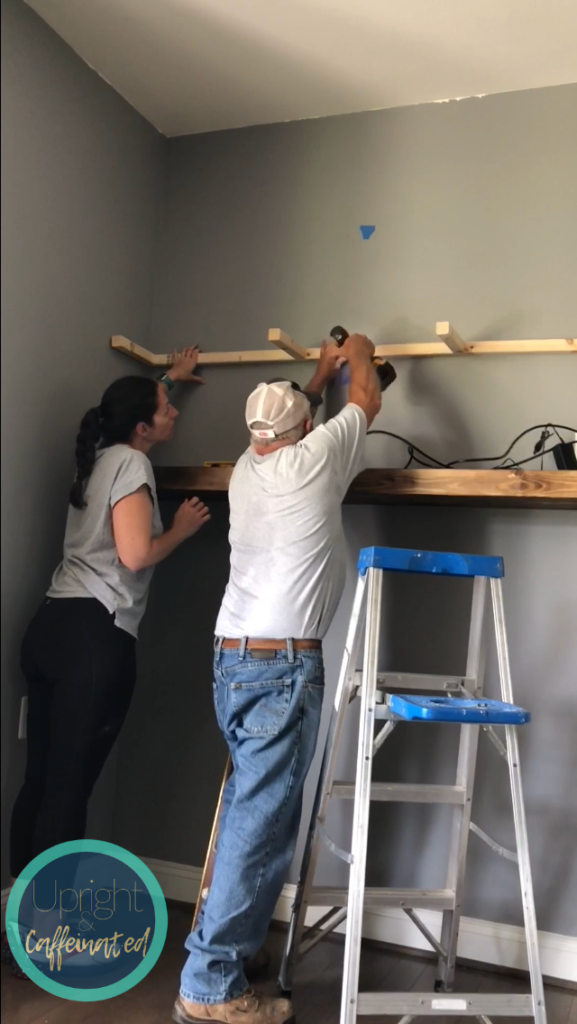
After finding the studs in the wall, we screwed the braces into the studs on the back wall as well as the walls on the sides of the shelf.
For the actual floating shelves, we used 3/4 inch pine whiteboard. These were very easy to work with. I stained them minwax espresso. I did give the boards a quick sand before staining them to ensure they were smooth. ***I would highly suggest, if you plan to wax them, do this step before assembling the shelves***
WANT TO LEARN MORE ABOUT CHALK COUTURE? JOIN MY FREE CRAFTING COMMUNITY.
We assembled the shelves BEFORE applying the liming wax, and I wish I had done the waxing before assembling the shelves.
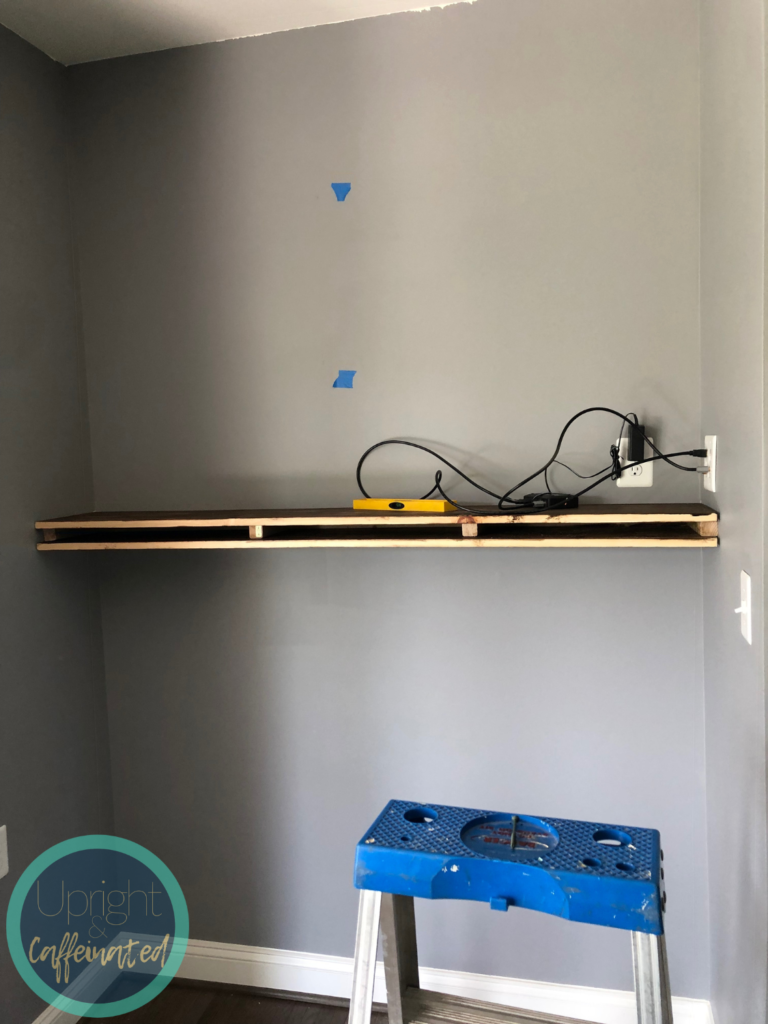
This next step was the easy part. Lay the first board on top of the brace and simply use a nail gun to nail the board into the braces. Repeat with the bottom side of the shelf. Cut a three inch piece to finish off the front!
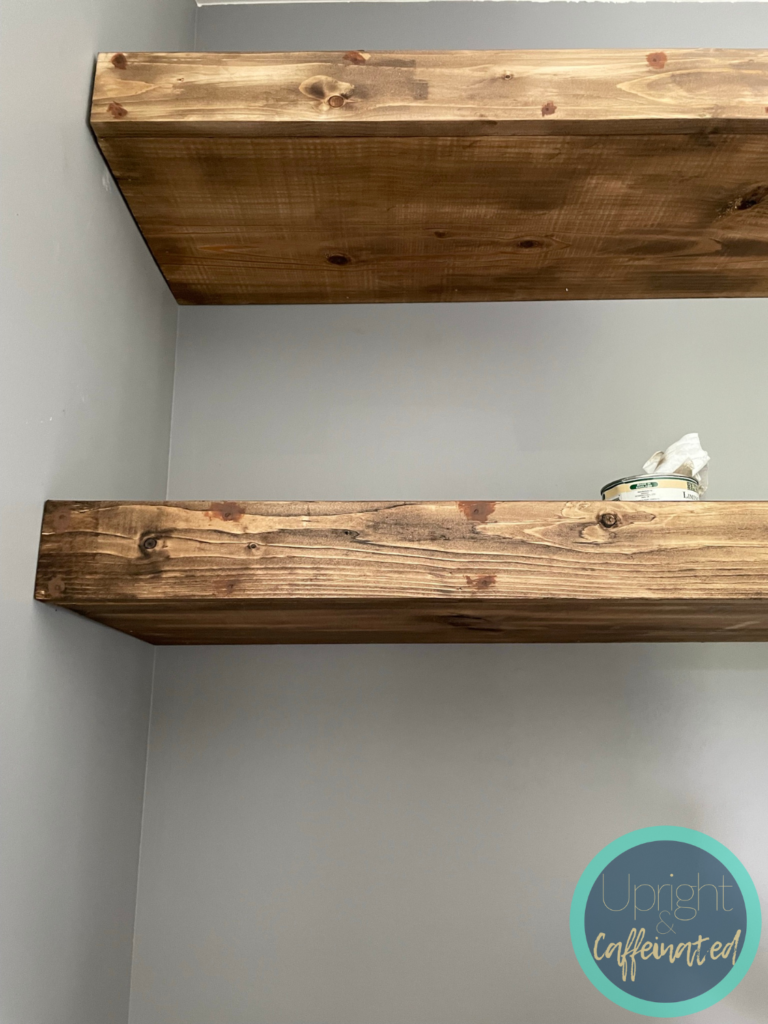
I filled the nail holes with chalk paste because that’s what I had on hand. It worked PERFECTLY! Since the chalk paste is removable, it easily wiped off on the surface of the shelf, but stayed in the hole where I wanted it to fill.
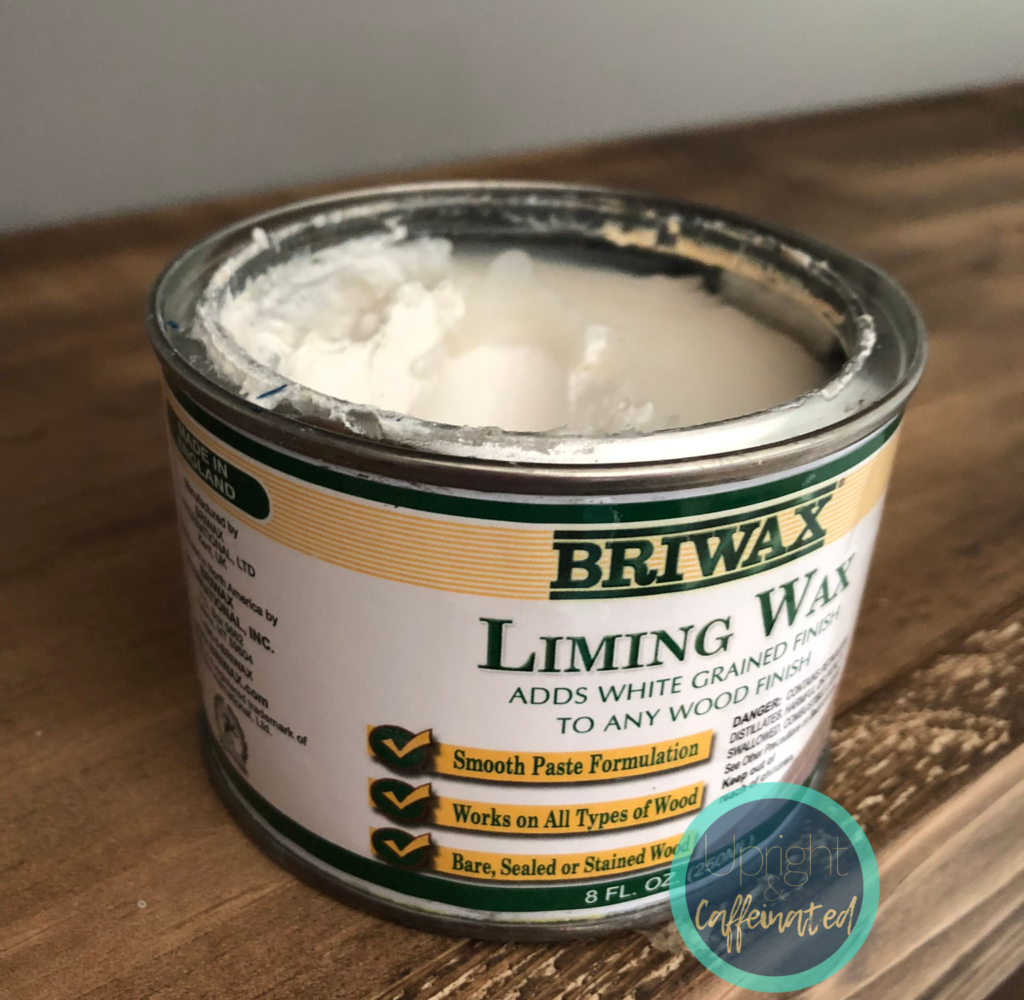
Finally, I waxed the shelves with the liming wax. Like I mentioned before, I would suggest doing this before assembling the shelves and then filling holes and touching up as needed after the shelves are built. Liming wax is very easy to use. Apply the wax with a cloth, let it sit for 3-5 minutes and then buff with a clean rag.
Here you can see a difference between the shelves with the wax and without.
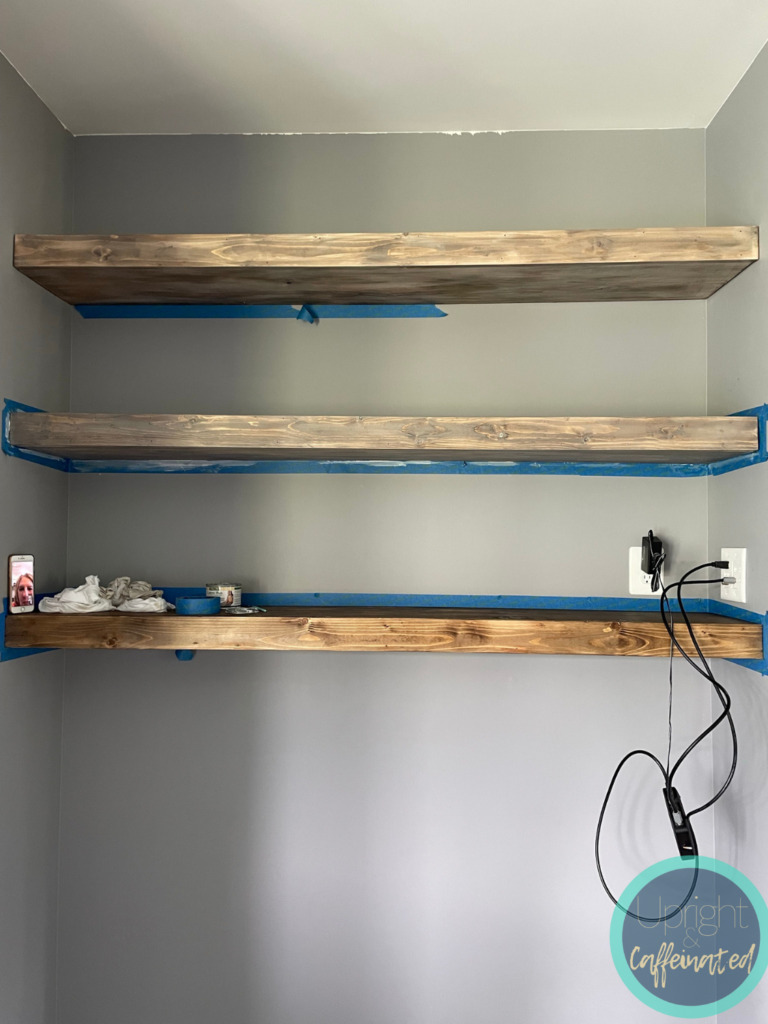
The liming wax made such a difference! It gave us exactly the look we wanted. We wanted a beachy, weathered wood look and we are so pleased with how it turned out. You can purchase the liming wax I used HERE.
PIN IT
