If you love the look of a farmhouse-style bead garland, you are in the right place. I have always loved how a simple bead garland looks combined with other decor pieces, creating a soft look. Today I am sharing how to make a DIY bead garland and five ways to paint wooden beads.
ADDING A BEAD GARLAND TO YOUR DECOR
First, let’s chat about how to use a bead garland in your home decor. Bead garlands are so versatile, you can add them to just about any decor style. Here are a few ways I like to incorporate the garland into my decor.
Add it to a tiered tray

Decorate a mantle or shelf
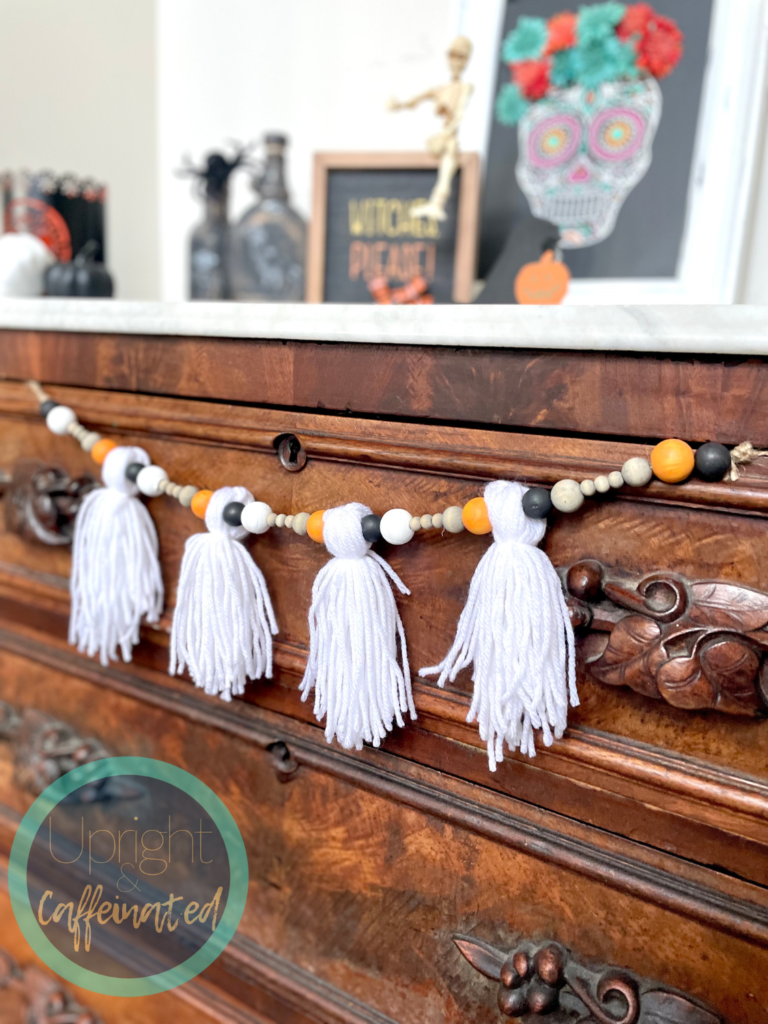
Accent a glass vase with greenery
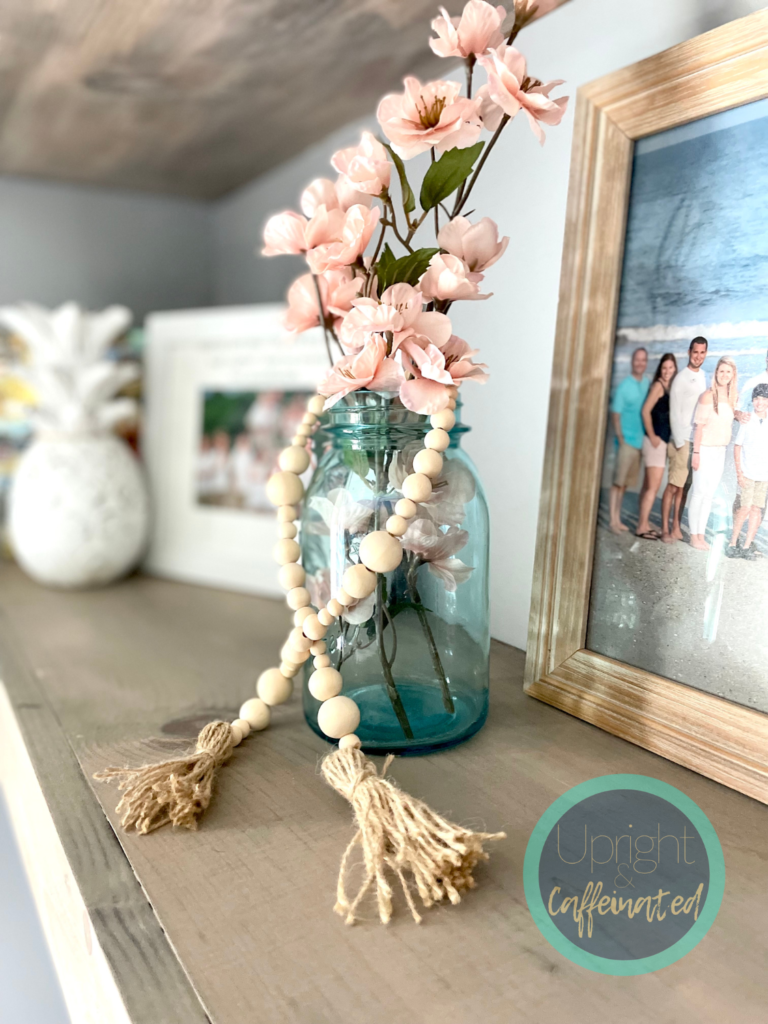
Use it to decorate a package when paired with a gift tag
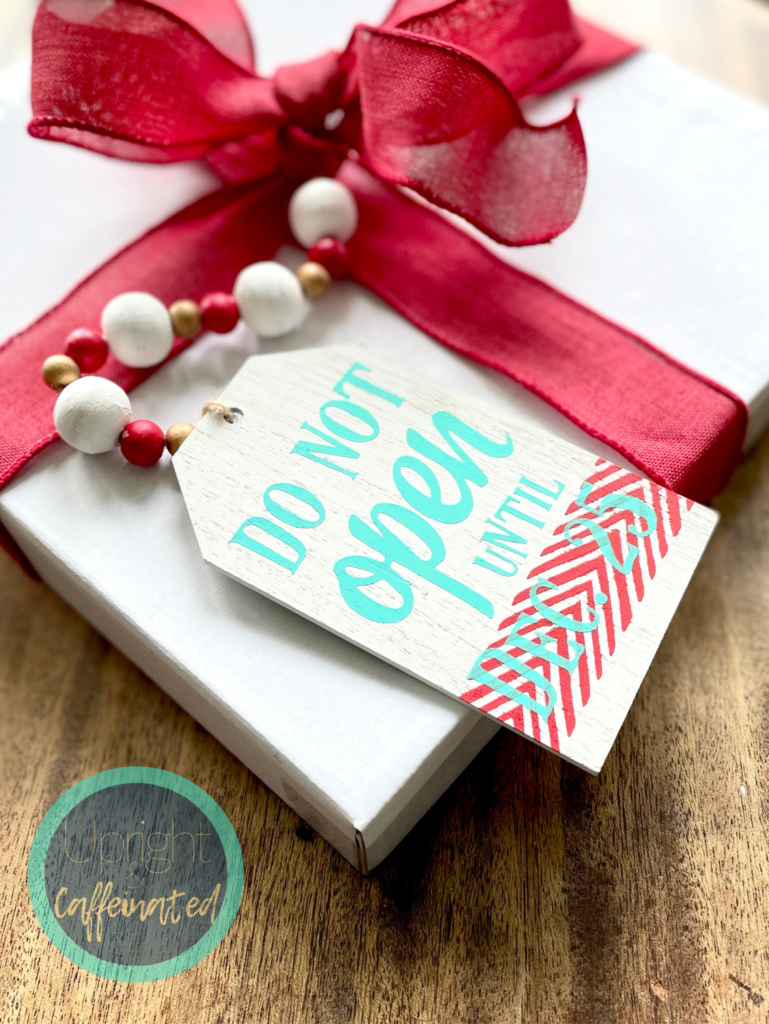
HOW TO MAKE A DIY BEAD GARLAND
Making a bead garland is actually very simple. First, decide if you will use one size wooden bead, or multiple sizes. I like this set of wooden beads from Amazon that has a variety of sizes. If you are using multiple sizes, plan out a pattern.
This post includes affiliate links to products. I may receive a commission if products are purchased through the provided links. My full disclosure statement can be found here.
I like using twine as the string for my wooden bead garlands. The only issue with twine, is the end might fray after stringing a few beads. To solve this problem, simply wrap a little tape to the end of the twine to keep the end from fraying (I like to use painters tape). By adding the tape, it also creates a point at the end which makes stringing beads easy!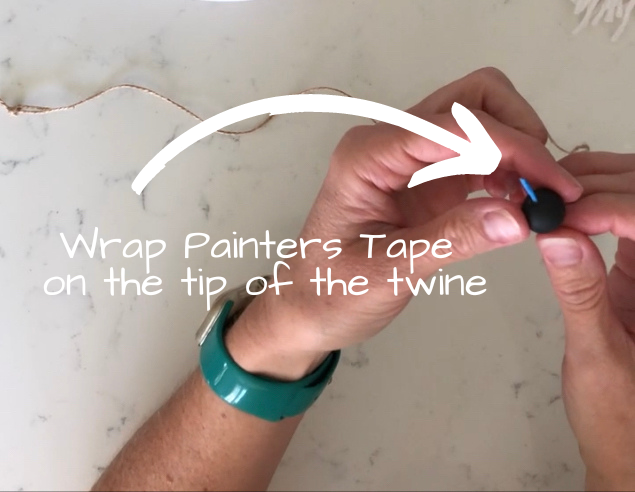
Now for the ends! There are a few options for tying off the bead garland. You can make a simple knot at the end, a tassel or add a tag (these are my favorite wooden tags).
WANT TO LEARN MORE ABOUT CHALK COUTURE? JOIN MY FREE CRAFTING COMMUNITY.
**Pro tip**
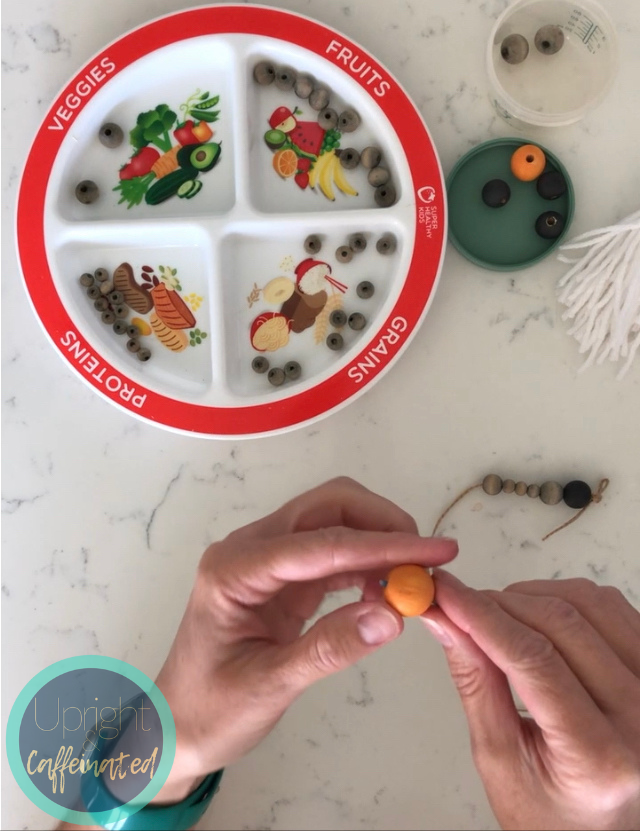
Use a plate with dividers if you are using different size beads! This keeps the beads organized and separated!
5 WAYS TO PAINT WOODEN BEADS
Now you know how to make a bead garland and how to decorate with a bead garland, let’s chat about painting bead garlands. I love adding color to my seasonal bead garlands. Here are five ways to paint wooden beads.
- Spray Paint Method- This method is definitely at the top of my list because it is simple and quick. That being said, this is also the most expensive method because you will have to have a container of spray paint in the colors you want. Here’s how it works. Cut the straight part of a wire hanger. String the beads on a wire and place on a box. Spray, rotate the wire and spray again. Think of it like a rotisserie for beads!
- The Cup Method- With this method, you will simply add paint into a disposable cup, add some beads and then lay them out to dry. You can also remove them from the cup using a wire hanger and then laying the hanger over an open box to allow them to dry. This method is easy and doesn’t require many materials. You can use whatever paint you have on hand. Acrylic paints work well for this method.
- Foam Brush Method- This method is the most time-consuming since you are painting each individual bead with paint and a foam brush. I like to place the bead on a wooden skewer or wire hanger and then paint it to ensure an even coating of paint.
- Hanger Roll Method- This method is fun to watch, but honestly not my favorite for an even coat of paint. String the beads on the straight part of a wire hanger. Squirt some paint onto a paper plate or craft paper. Roll the beads on the paint, and then on a clean sheet of craft paper. My issue with this method, is that its hard to get the paint evenly between the beads. If you are looking for a uniformed, even coating of paint, I’d pick one of the above methods.
- Ink in a Bag Method- This is one of my favorite ways to color wooden beads. This gives more of a “stained” look. If you are wanting more of a farmhouse-style bead garland, this is the method to use! You will need a little permanent ink (I use Chalk Couture ink), water and a plastic bag. Simply place a little ink in the bag, add water so the consistency is that of super watered-down paint and then add the beads. Knead the beads in the bag with your fingers for about a minute and then lay them on a paper plate or paper towels to dry. Check out THIS VIDEO to see how to stain wooden beads using ink.
Check out this video to see the first four methods mentioned above.
I hope this post inspires you to make your own DIY bead garland. They are fun to make and there’s lots of room for creativity!
PIT IT
