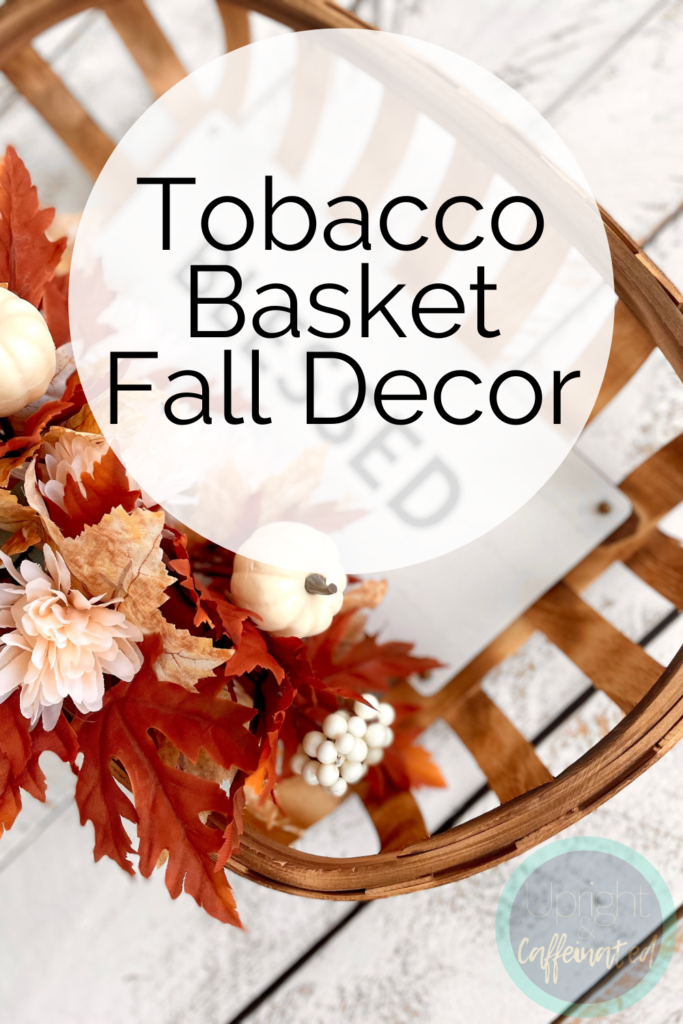
You’ve probably seen tobacco baskets for years. They definitely fit into the “farmhouse” style and are very versatile for decorating. Today I’m going to show you how make a tobacco basket fall decor. This project is simple and the best thing is that you can change it out seasonally.
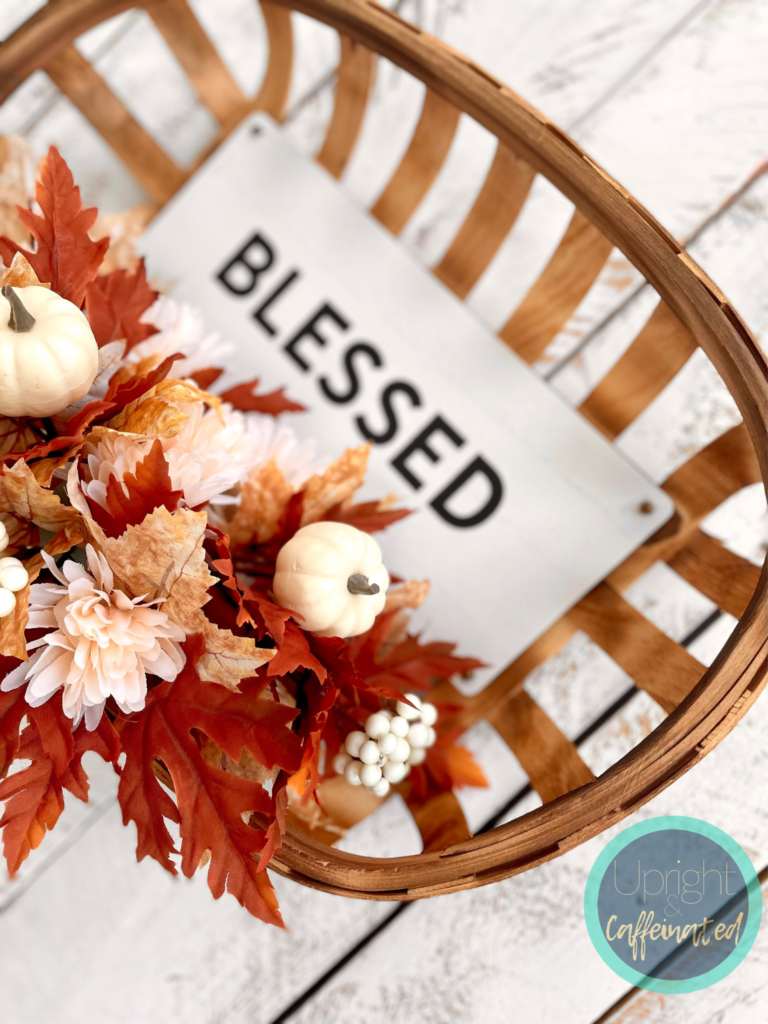
Tobacco baskets come in all shapes and sizes. I found this rectangular one at my local craft store and I love the color as well as the size. It’s not too big and fits perfectly on our floating shelves. Here’s a few I found on Amazon!
This post includes affiliate links to products. I may receive a commission if products are purchased through the provided links. My full disclosure statement can be found here.
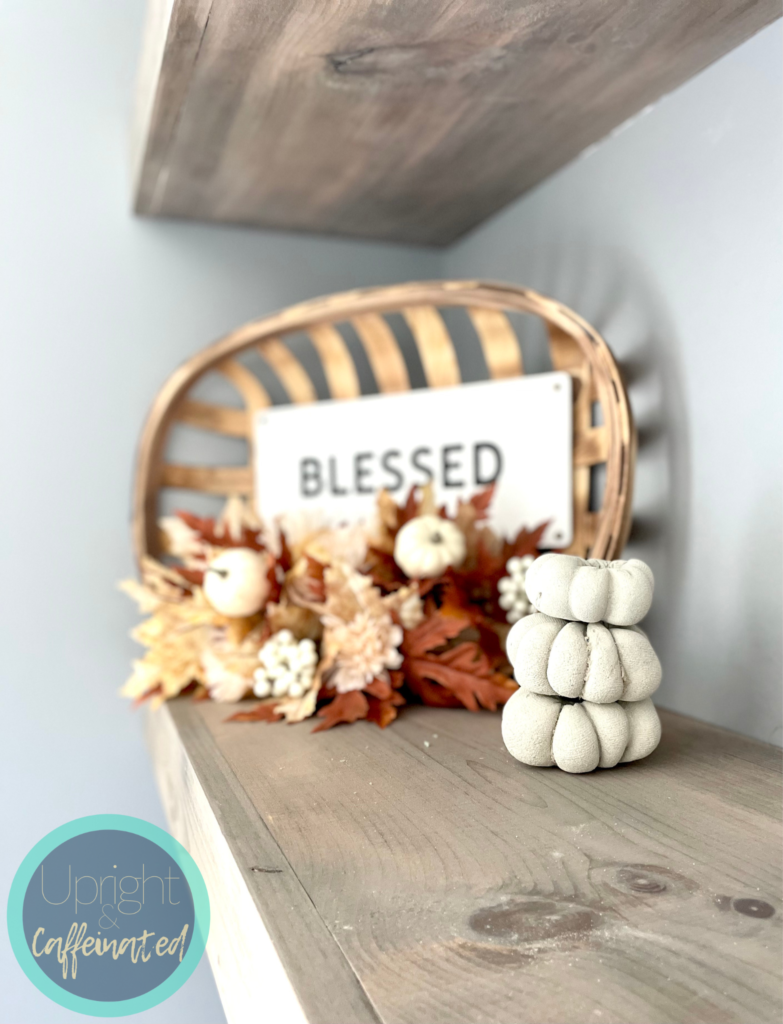
To make this, I used a piece of floral foam, some fall florals, floral wire, a rectangular simple shape, the Blessed Simply transfer and black Chalk Paste from Chalk Couture.
If you don’t know about Chalk Couture, START HERE. Chalk Couture makes reusable stencils (called transfers). They also make removable chalk paste, permanent ink, surfaces and accessories to make up-scale DIY home decor.
How To Make the Sign
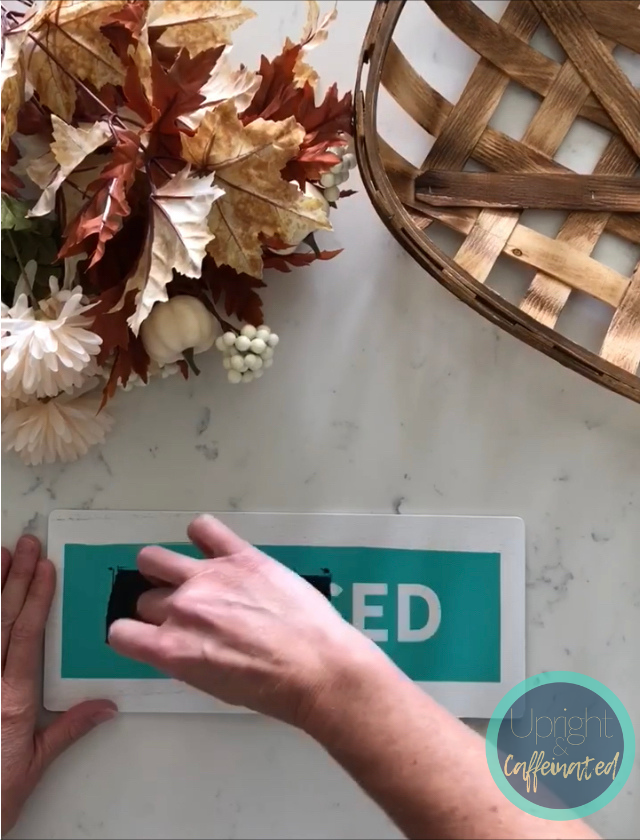
Start by creating the sign. Using Chalk Couture is so simple. Fuzz transfer and place it on the surface. Apply chalk paste with a squeegee and then peel to reveal. The chalk paste goes on wet and dries hard to the touch within minutes. The transfer is reusable and easy to wash.
Check out the FULL VIDEO tutorial here!
Use some glue dots or hot glue to stick the sign to the inside of the tobacco basket.
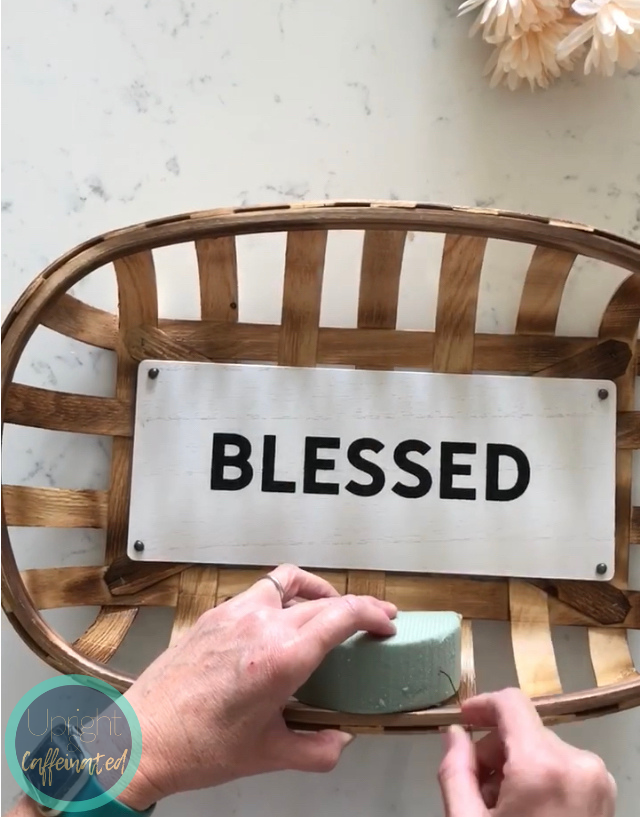
Next, secure a piece of floral foam to the bottom of basket using floral wire.
Insert fall florals into the foam and you have a beautiful decor piece for fall. This can also be changed out seasonally. Simply remove the floral foam and then add a new one. You can use spring florals for Easter, red roses for valentines, or pine sprigs and poinsettias for Christmas!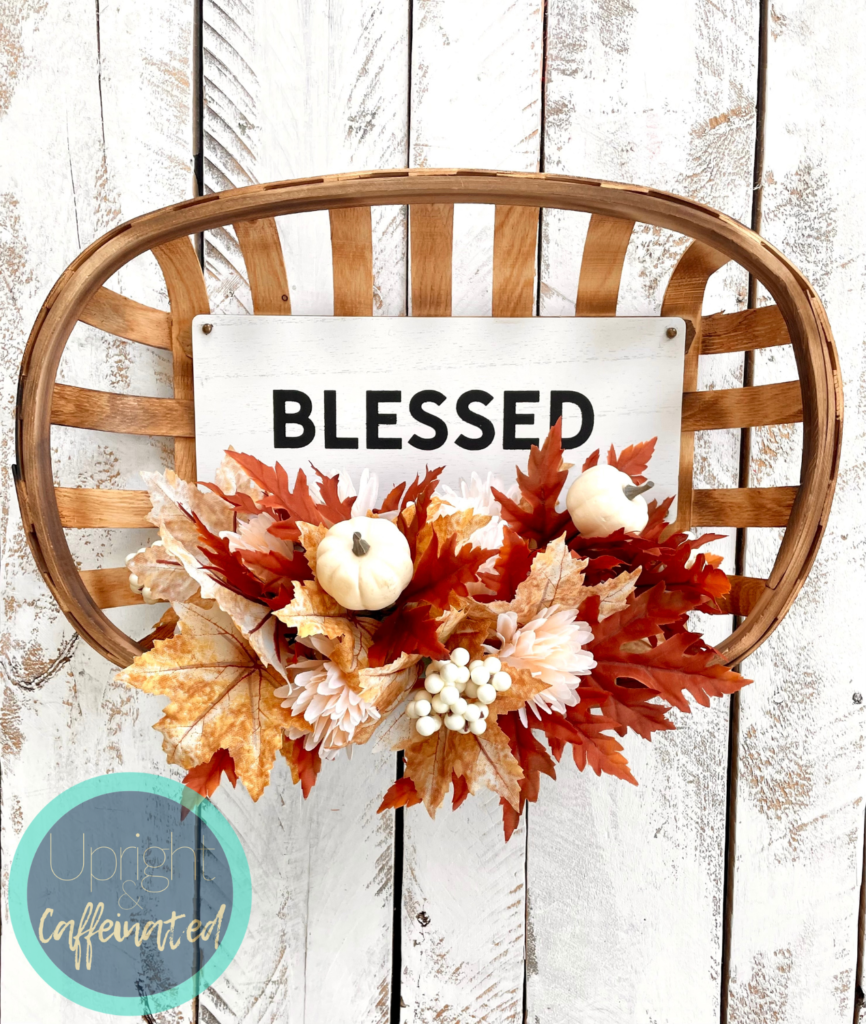

Hope this inspires you to pick up a tobacco basket next time you see one!
PIN IT
