Hello and welcome! I bet you probably googled “How to line up letters with Chalk Couture” or “How to use Chalk Couture fonts”. I’m here to help and this post will show you exactly how to use Chalk Couture fonts and how to line your letters up so that you have a professional-looking word every time!
First of all, if you stumbled upon this post and you don’t know about Chalk Couture, START HERE. Today I am using the Handwritten Font, but this tutorial will work with all of the Chalk Couture fonts!
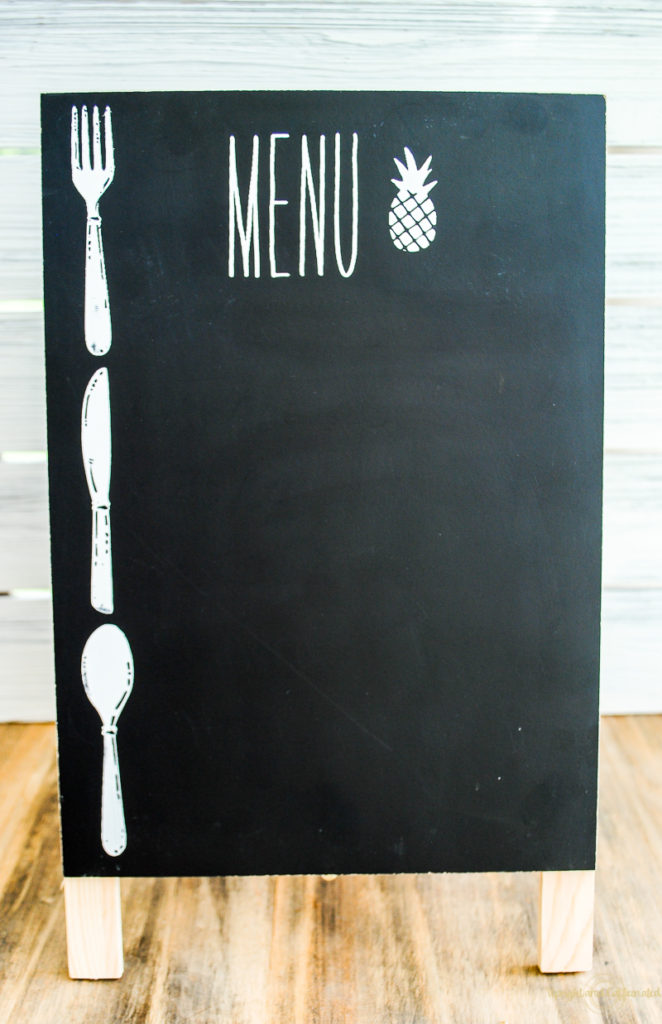
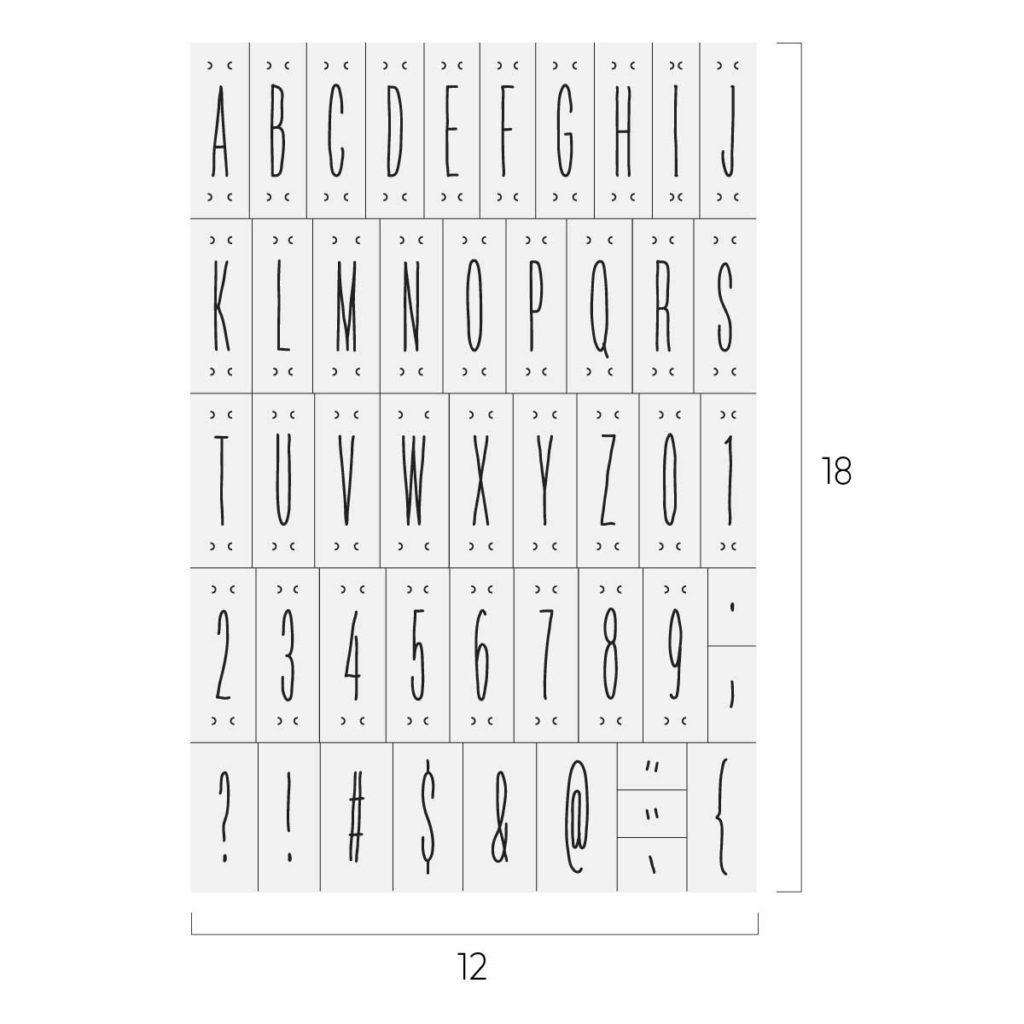
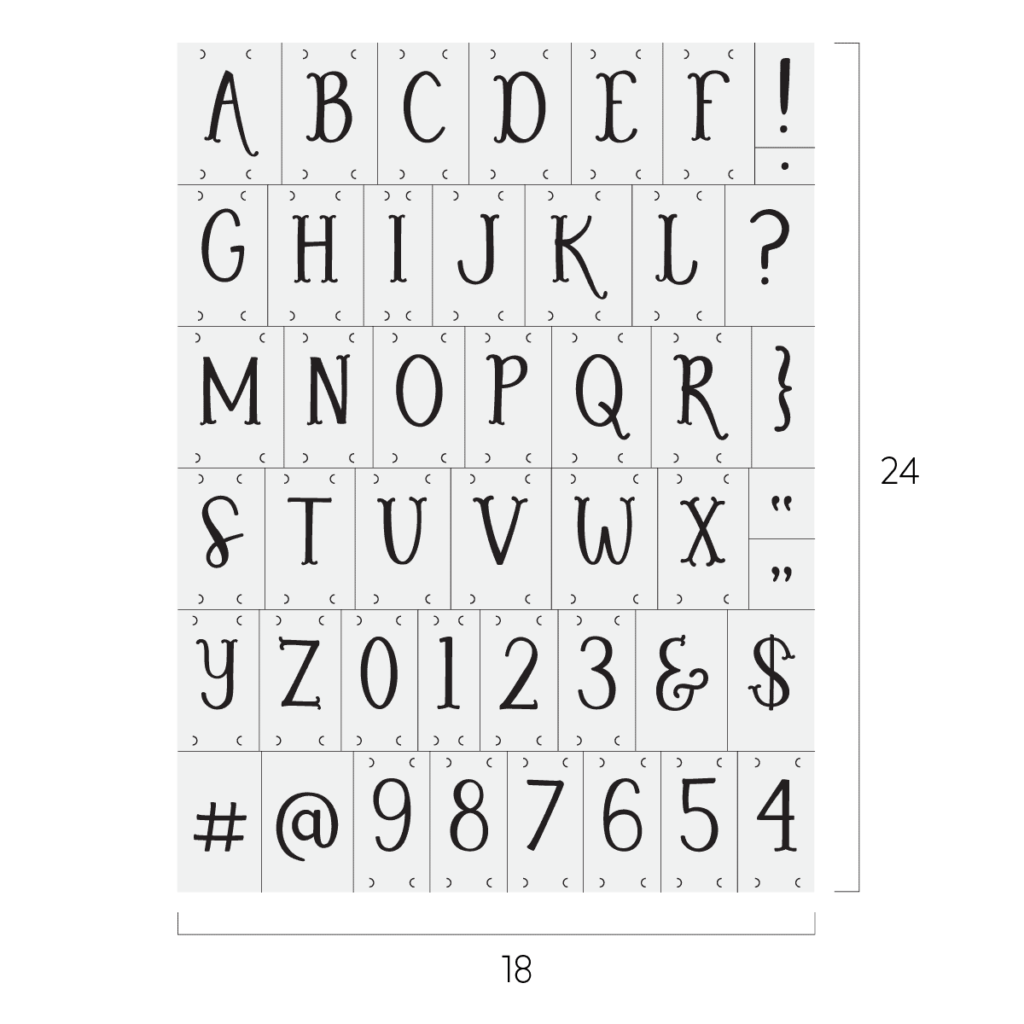
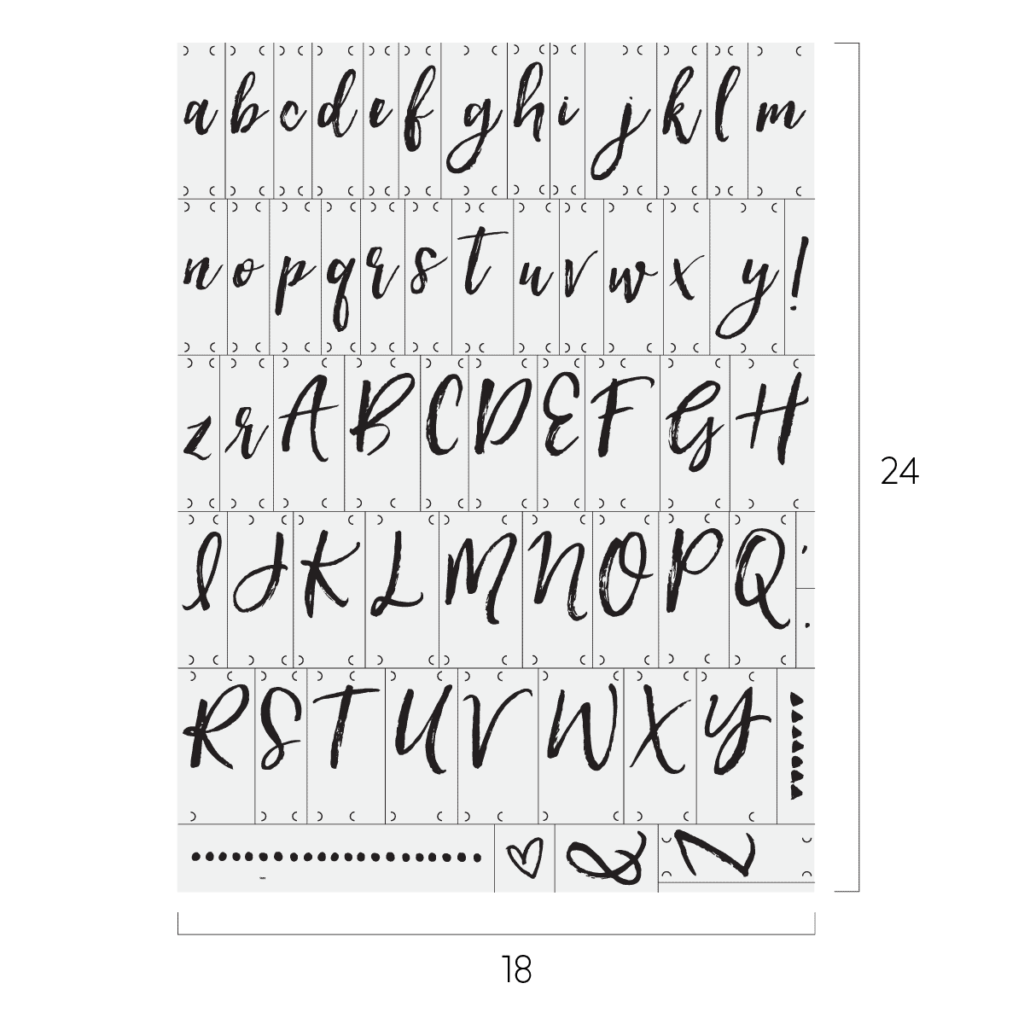
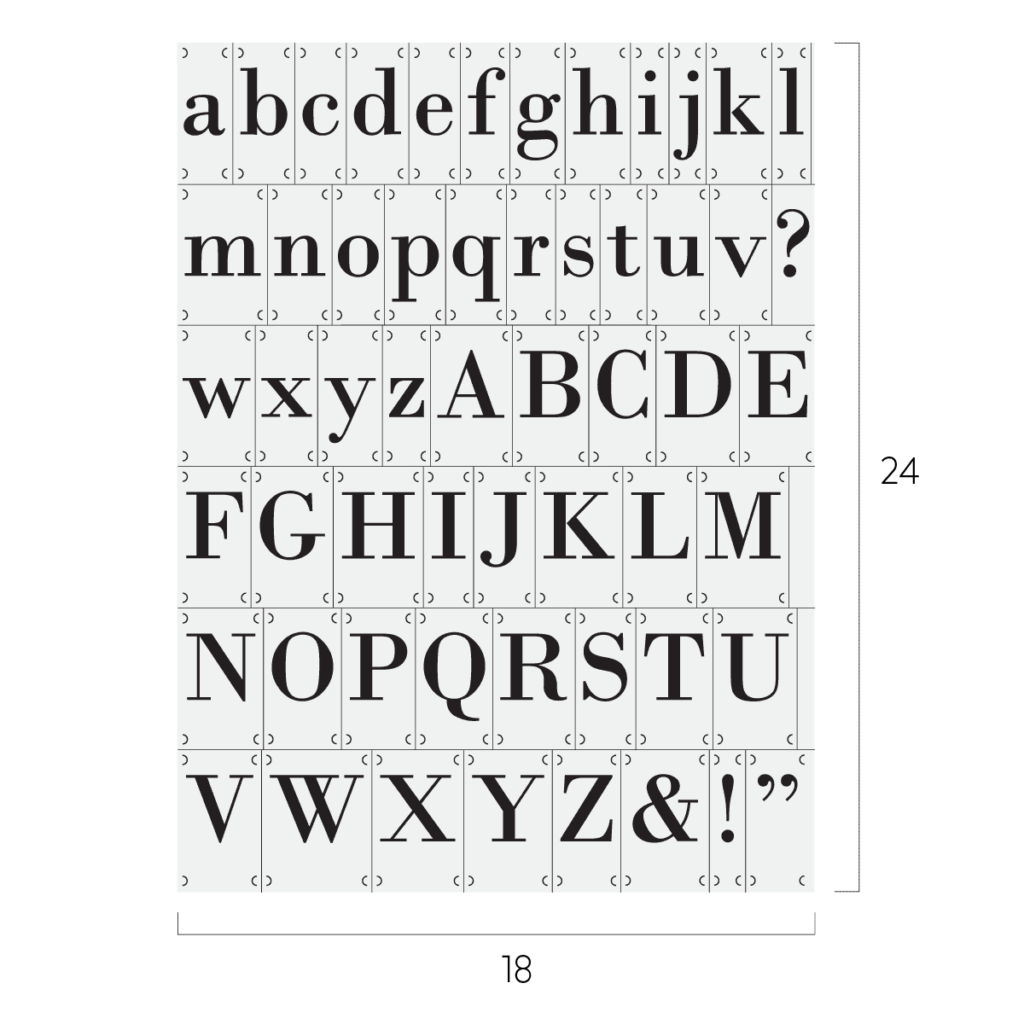
The Handwritten font is one of my favorites. It is skinny capital letters and also includes numbers and symbols. If you go with the Classic Serif font, or the Brush Script, they come with both capital and lowercase letters, but no numbers or symbols. There’s also a Carnival font that is absolutely adorable and like the Handwritten font, comes with numbers and symbols!
 |
 |
 |
 |
Want to skip the tutorial? Watch this quick video instead!
Once you receive the transfer sheet, you will want to cut the letters apart. There are two ways to go about this. First, you can simple cut along the white cut lines on the transfer and have little mini letters that go on their own little mini backing. Make sure to write the letter on the back of the backing paper so you know which letter goes with which backing. OR you can score the transfer using a little coupon cutter. Carefully, score the transfer, but don’t cut the backing. This way, you will remove each letter as you use it and then place it back on the large backing sheet with the rest of the letters. Depending on your storage space, one option may work better for you. I cut mine completely through because I store them in a little sandwich-ziplock bag in a drawer. If you want to keep the transfer in the original packaging, then scoring may be a better option for you.
Now that you have individual letters, it is time to get chalking! Don’t forget to fuzz each letter. Want to know more about fuzzing? WATCH THIS Here’s the mind-blowing part- See the little semi-circles at the top and bottom of each letter? Chalk those in with the first letter! Make sure your first letter is dry before staring on the second letter. When you place your second letter, line up the semi-circle on the transfer to the semi-circle that you just chalked in to make a circle! That is it! So simple to line up each letter absolutely perfectly. This technique will give you perfectly-spaced and even letters so that the word looks professional!
Once you have your word chalked, simple wipe off the circles at the top and bottom of the word! SO EASY!!!
WARNING – Do NOT use this technique with ink!!
Since you can’t wipe the placement circles off of fabric, you will want to use Chalk Couture Placement Tape when working with ink! FIND IT HERE.
PIN IT
