If you have ever taken a summer beach vacation, you have probably come home with a handful (or bag-full) of seashells and some sand. And if you are anything like me, those bags have sat in a drawer or the garage for a few years. I always have the intention to create a beautiful summer vacation, beach souvenir with my collection of seashells and sand, but with fall around the corner and kids going back to school, I just never get it done.
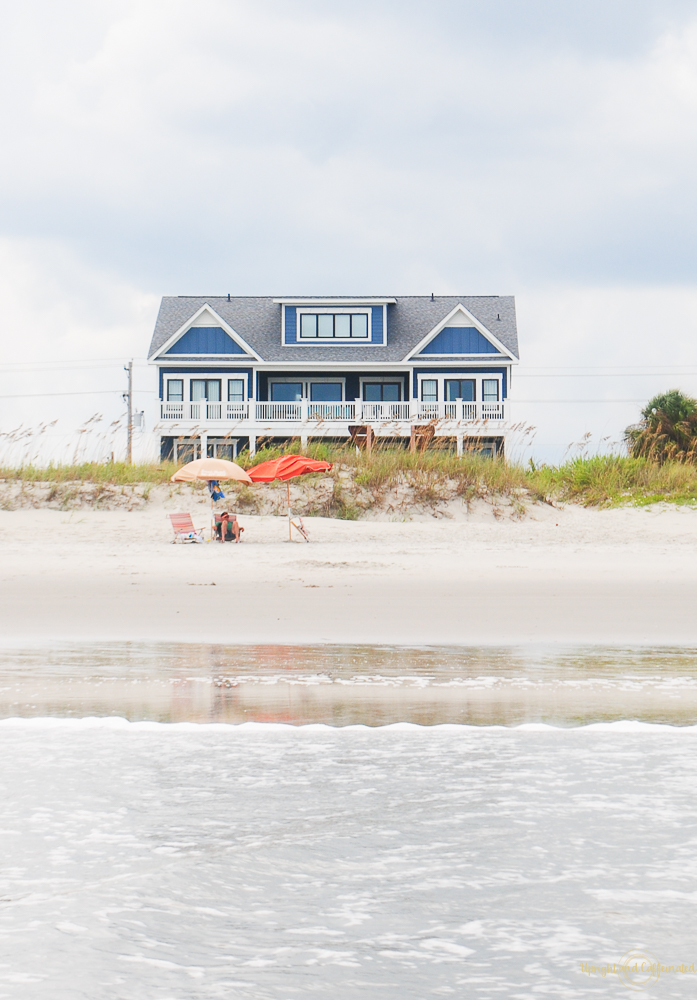
Some day, when I retire, I will have lots of time on my hands to make beach souvenirs with seashells and sand that I have collected. Good thing my mom is retired, and she and I made this gorgeous display with all the sand she has collected from beaches she has visited.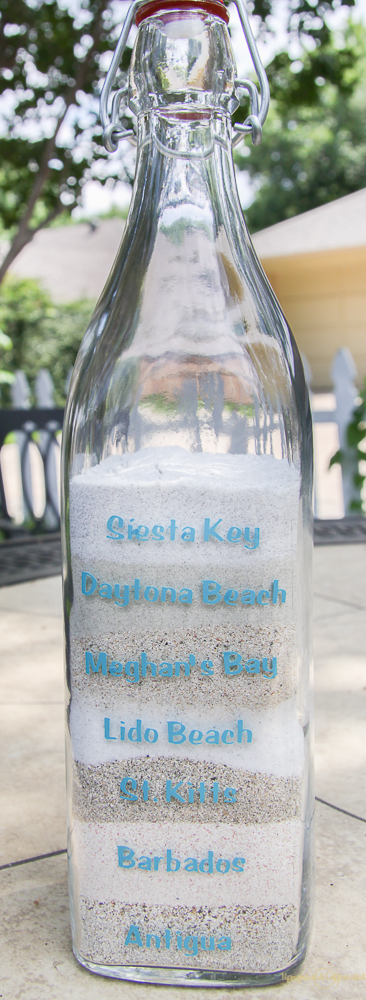
First of all, my mom and dad travel quite a bit so they have been able to collect sand and seashells from all over the world. My mom had all of these bags with sand from different beaches in her house and decided to display them in a bottle!
What you need to create a beach souvenir
Bottle
Funnel
Sand
Cricut Explore Air 2
Vinyl
Transfer Tape
How to make a beach souvenir
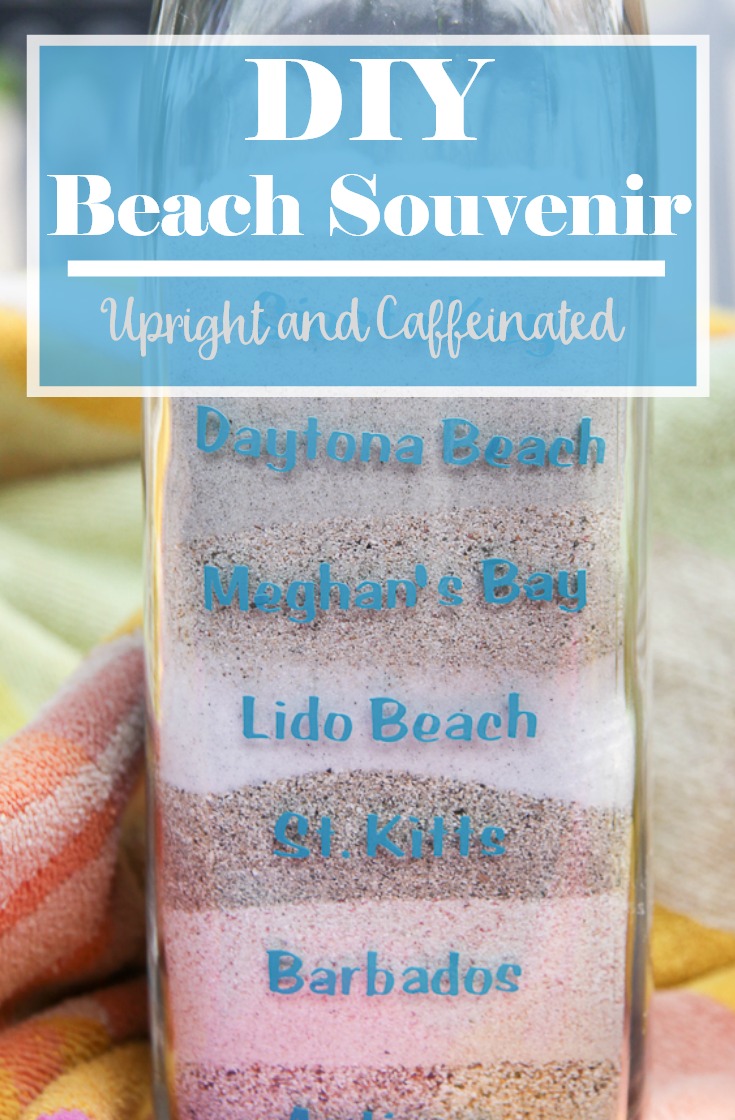
First, decide how you want the sand layers ordered. Do you want it in chronological order? Or do you want it layered from darkest to lightest? Or do you want to layer it with contrasting colors on top of each other? For this project, we chose to layer the sand by contrasting colors, so that we didn’t have two similar shades of sand on top of each other. This way, there is a definite and clear line showing the sand is from a different beach.
Once you have your bags of sand lines up to go in the bottle, begin layering. For this project, I used an empty bottle of bubble bath that I purchased at World Market (The bubble bath is awesome, plus you have a bottle for a beach souvenir- SCORE!). Using a funnel at the opening of the bottle, slowly pour the sand into the funnel. Continue to layer the sand from the different beaches until you have all the beaches represented in the bottle.
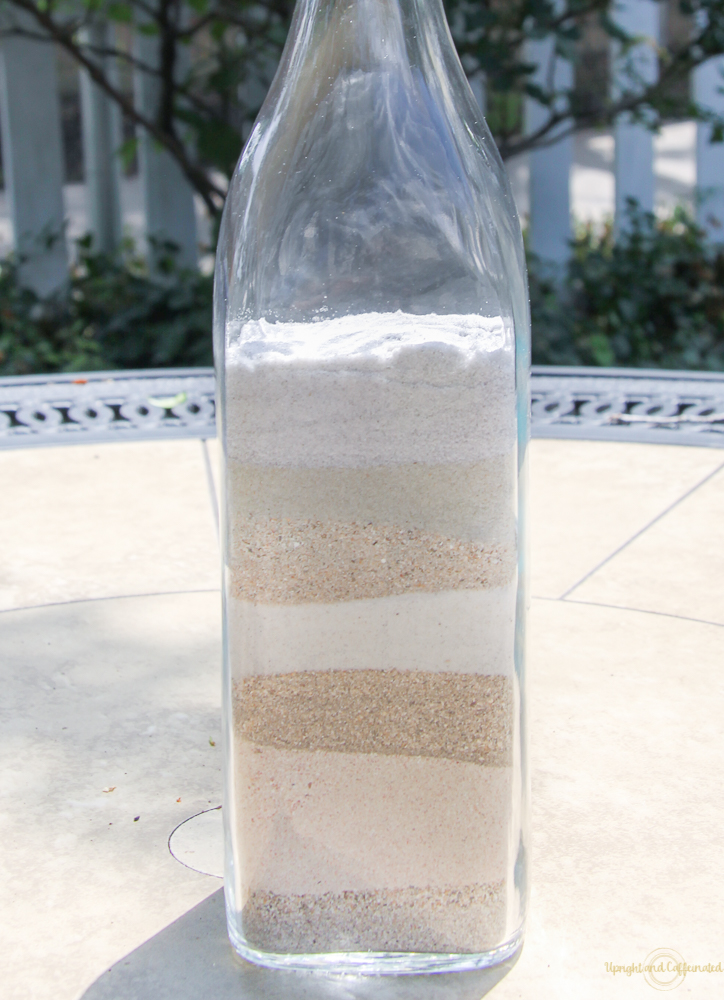
For this particular project, we used about a half of a cup of sand from each beach. We wanted about an inch of sand showing, so for the bottle we used and the amount of beaches we had, this was a good amount. Depending on the size of the bottle and how many beaches you have, you might want to adjust the amount you pour into the bottle. Also, if you plan to visit more beaches, leave room at the top!
DO NOT shake the bottle if the sand isn’t layered perfectly. I actually like the uneven look of the layered sand, but if it bothers you, use a straw to move the sand around on the top layer before adding more sand.
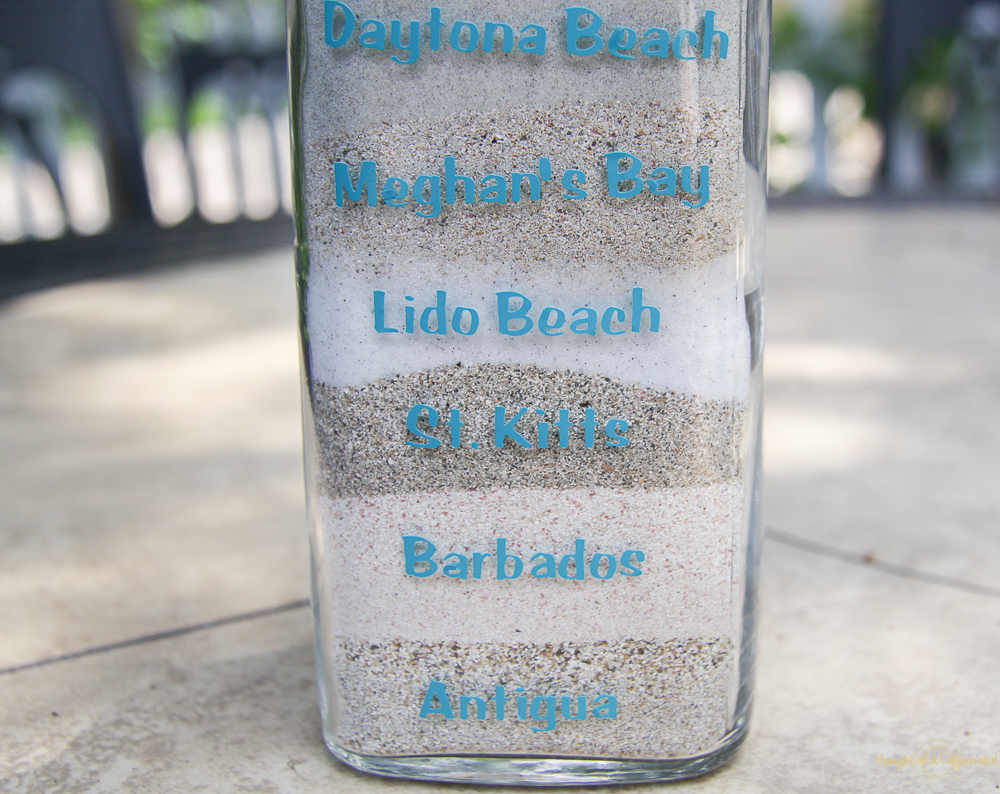
Once all of your sand is layered in the bottle, it is time to label the beaches. For this project, I used my Cricut Explore Air 2. This machine is amazing and I use it for all kinds of projects, like my pineapple milk can planter. Again, depending on how much sand from each beach is showing will depend on how large your letters need to be.
Head over to your Cricut Design Space and click “new project” in the top right corner of the screen. Next, click “text” and start typing the first beach. Pick a pretty font in the Cricut Design Space and make sure you size the font to fit on the bottle in front of each layer of sand.
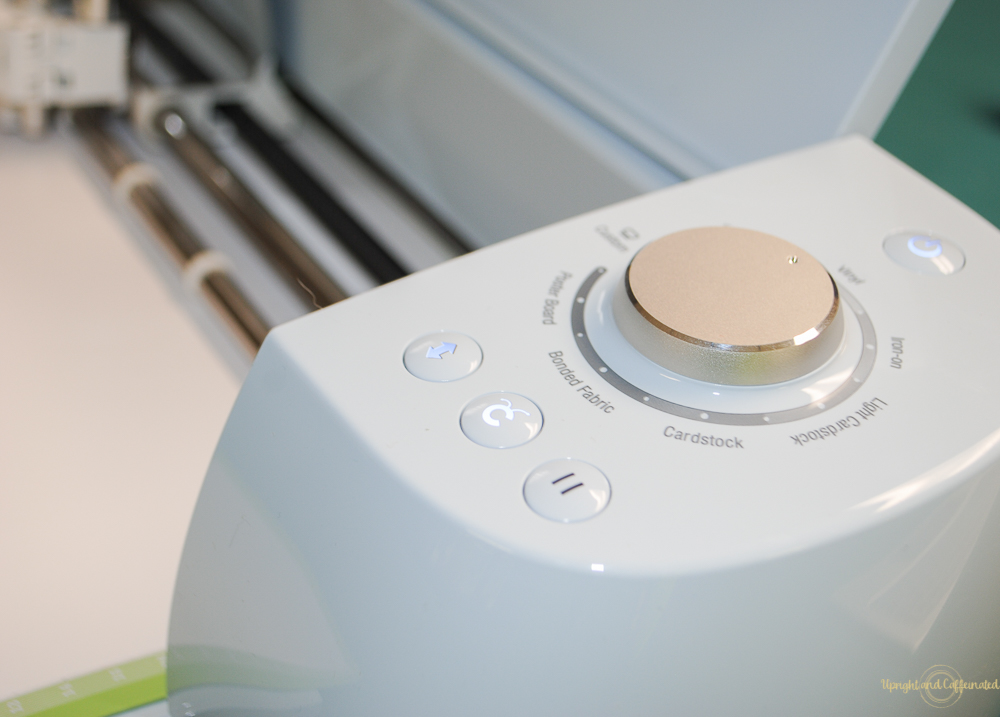
I typed each beach name in my Cricut Design Space and then cut it all at once. This made the process much faster than if I had cut each beach individually; however, if you want different color vinyl for each beach, you will need to cut each name separately.
We chose a pretty Caribbean blue vinyl for this project. Using transfer tape, cut a small amount that is just slightly larger than the script you cut out in the vinyl. Transfer the vinyl letters to the bottle with the transfer tape and carefully remove the transfer tape. Finally, you will need to weed the vinyl lettering (removing the excess vinyl).
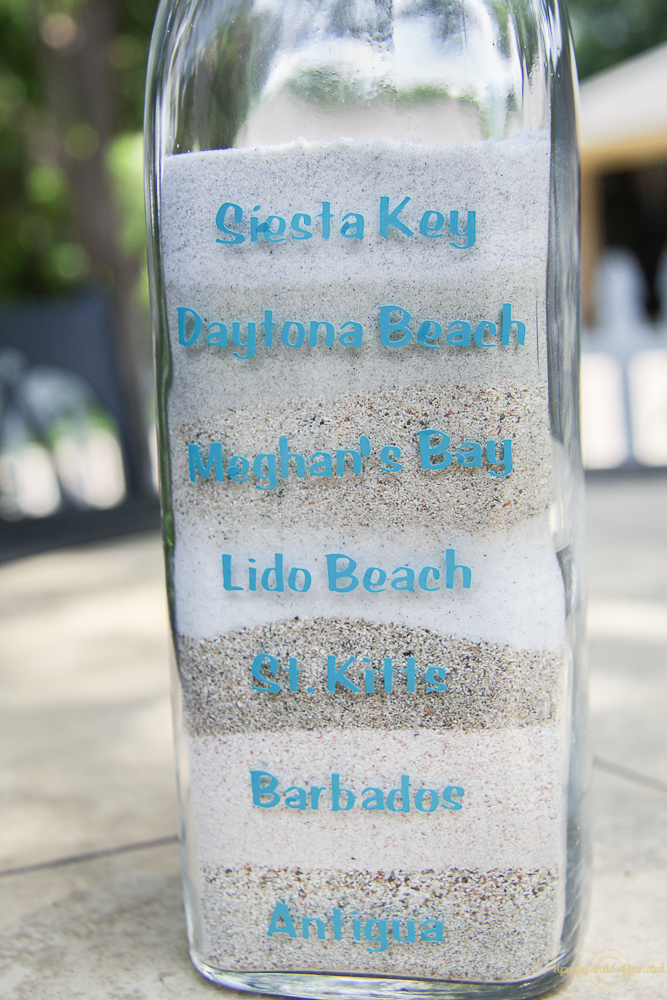
This beach souvenir is so unique and completely customizable. You can add dates if you’d like, or countries…whatever floats your boat!
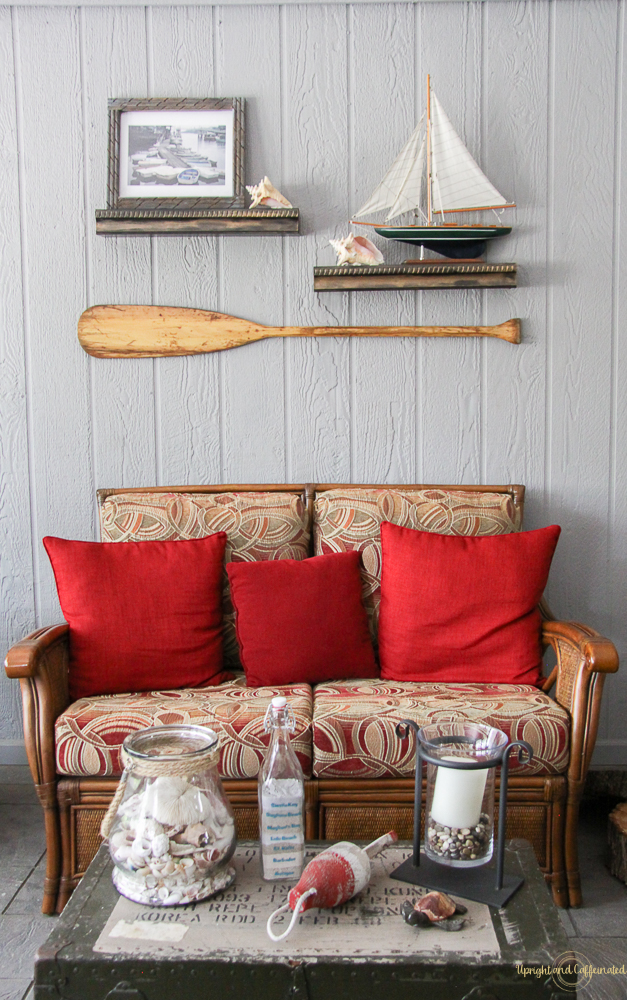
I love that this bottle easily and beautifully displays the sand from beaches my parents visited while on vacation. It looks amazing in their nautical-themed sunroom, don’t you think?
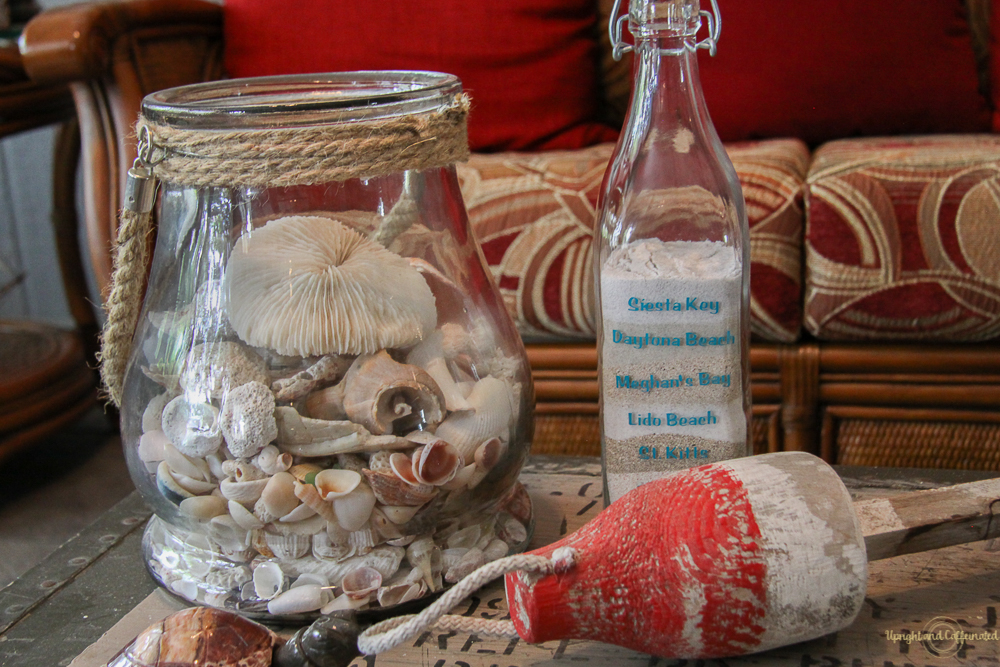
This DIY beach souvenir is a great way to remember the amazing time you had on your summer beach vacation! The great thing about it is that you can add to it year after year. Just make sure you pick a big enough bottle.
PIN IT ⇓

This came out great!
I agree!!