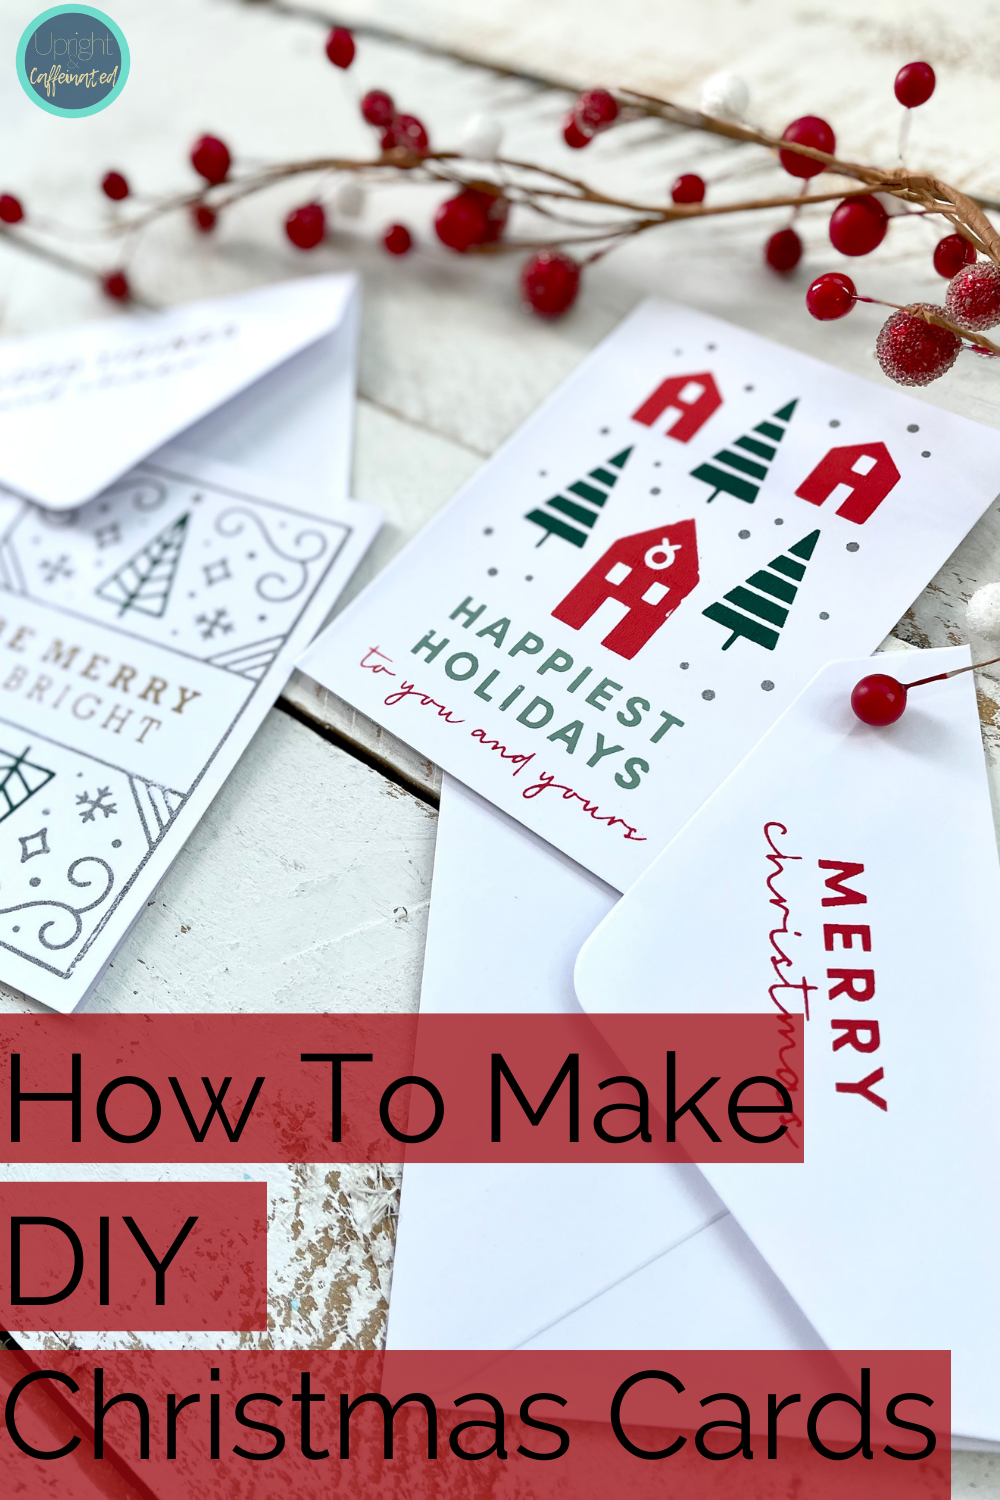
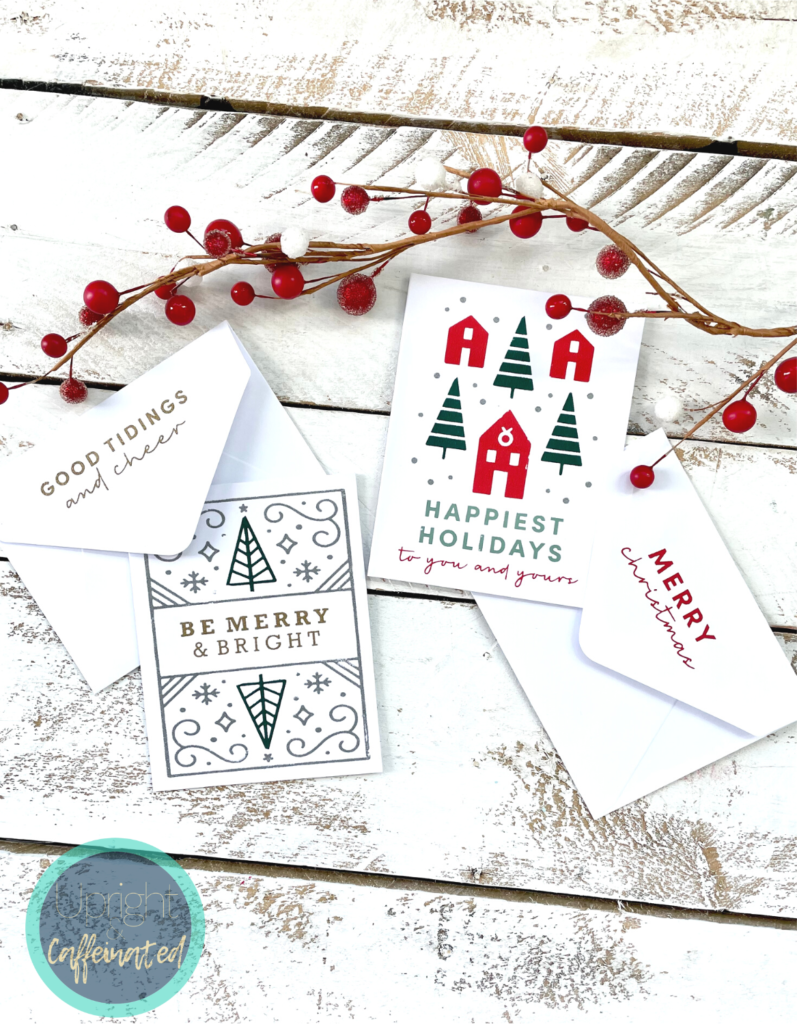
Hey there! I’m guessing you want to make DIY Christmas cards, but don’t want to use a Cricut or Silhouette. I’m sharing how to make DIY Christmas cards without the use of a fancy cutting machine. For these Christmas cards, I’m using Chalk Couture.
If you don’t know about Chalk Couture, START HERE. Chalk Couture makes reusable stencils (called transfers). They also make removable chalk paste, permanent ink, surfaces and accessories to make up-scale DIY home decor.
Using these products makes it easy to create DIY Christmas cards because you can reuse the transfer over and over. Let’s jump right into how to make these.
What You Need:
Be Merry Christmas Cards Transfer
ChalkSuede Cards and Envelopes
*The Be Merry Christmas Card transfer has many elements. There are cut lines along each different saying on the transfer. Cut along the lines to separate each design.

WANT TO LEARN MORE ABOUT CHALK COUTURE? JOIN MY FREE CRAFTING COMMUNITY.
How To Make DIY Christmas Cards
Skip the reading and check out this video! Remember to save this for later!
Strat by fuzzing the self-adhesive transfer. Read THIS for more about fuzzing. Next, place the transfer onto the card. Rub your fingers gently over the entire transfer to ensure you don’t have any bubbles. You do not need to press hard.
Now it’s time to chalk! Put a little paste on the edge of the squeegee and begin spreading it over the transfer. Apply enough pressure with the squeegee that the paste goes into the silk screen. Squeegee off any excess paste. You should be able to see the design under the applies paste.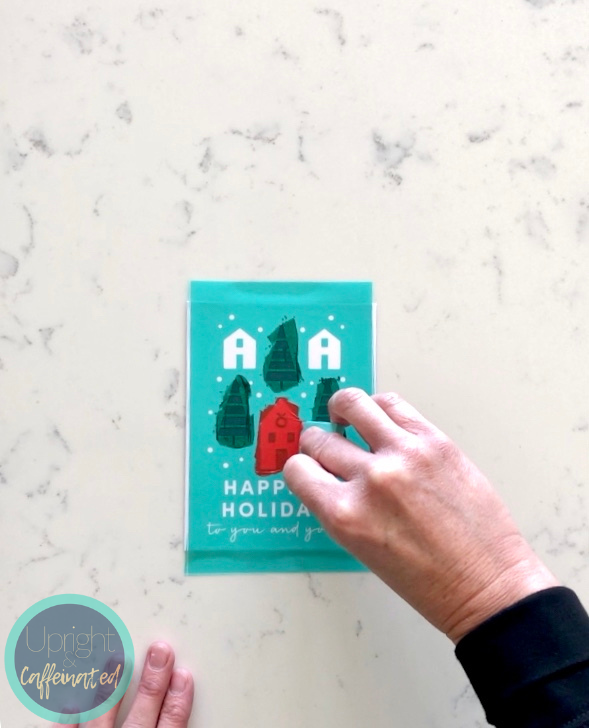
PRO TIP* You will want to work fairly quickly as the paste dries within about 5-8 minutes. Don’t start pasting and then go make a sandwich before you finish 😉
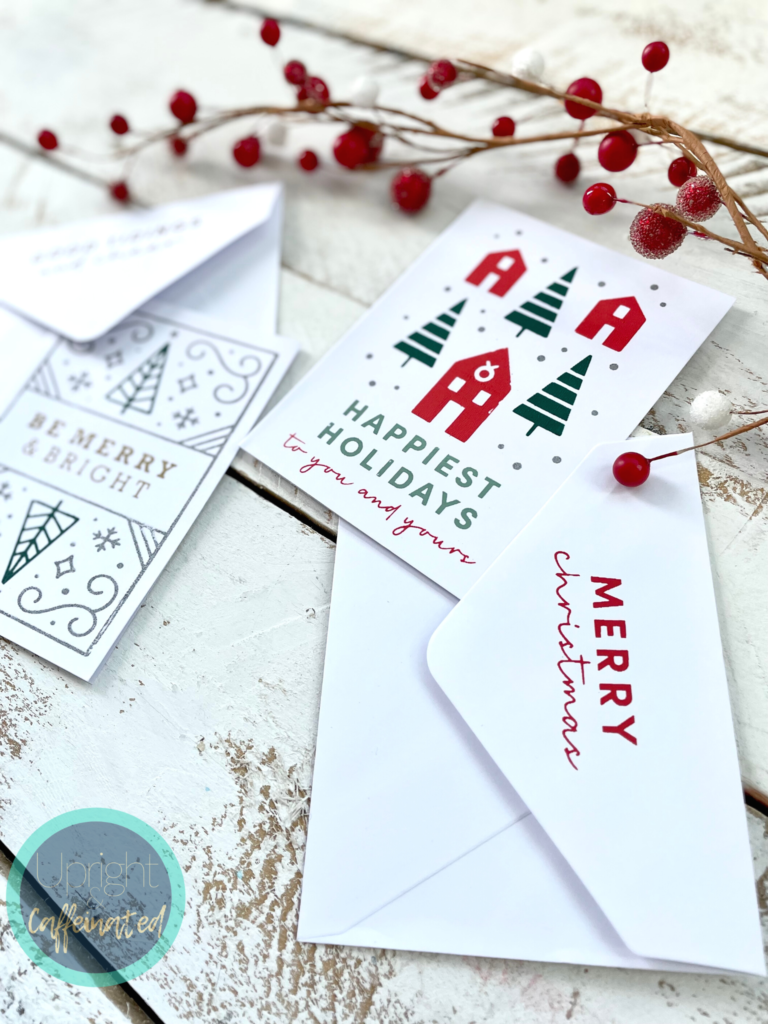
Now is the BEST part- peel to reveal! Gently peel the transfer off of the card (from top to bottom or side to side- don’t peel from corner to corner). The paste on the card will dry hard to the touch in about 5-8 minutes.
How To Clean the Transfer
Immediately wash the transfer under cold running water. Use a board eraser to clean the silk screen and then lay (with the sticky side up), wiping any standing water of with a disinfectant wipe. Once the transfer is dry, reapply the backing sheet (the shinny side of the backing sheet goes to the sticky side of the transfer) and store until you use it again.
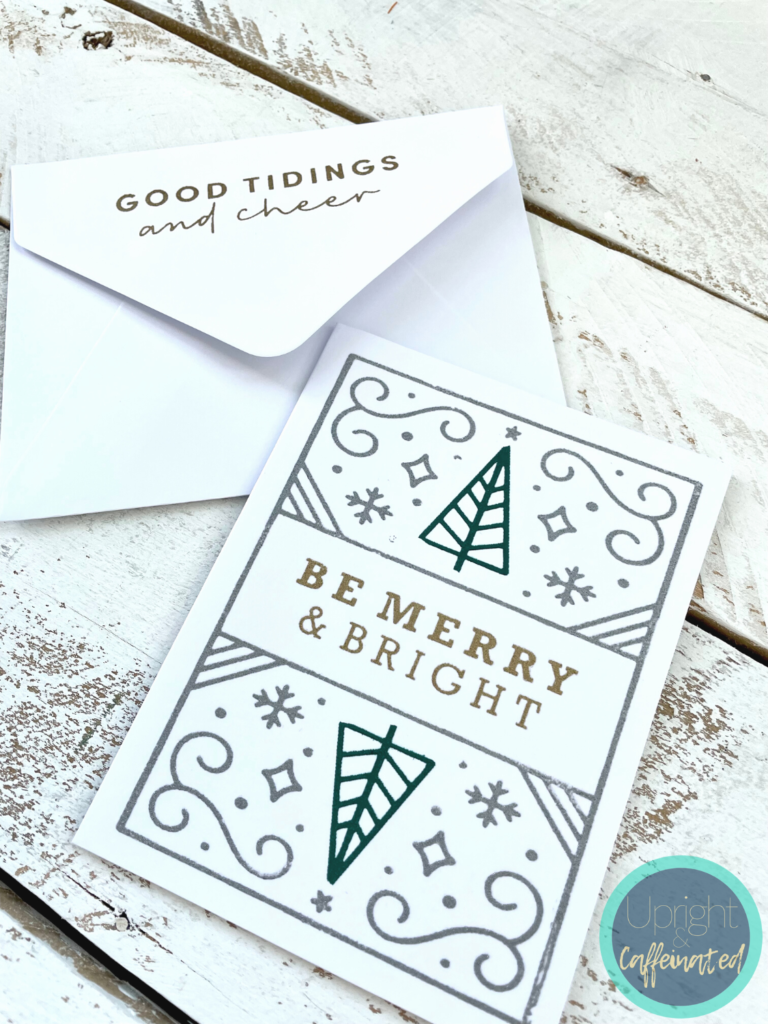
What I love about using the transfers is that they are reusable so you can make these cards over and over, but you can also make them unique by using different colors.
This is also a GREAT DIY for kids! Get the little ones involved in making cards for friends and family. Check out THIS VIDEO of my boys making signs for their doors last Christmas!
Want to get these reusable stencils at a discount? If you join as a designer, you can take advantage of designer pricing on products! Just another way to keep costs low and increase your profits! To learn more about the benefits of being a designer, check out THIS POST.
PIN IT
