Love decorating for Halloween? Then you will love these DIY Halloween Pumpkins! I love whimsy Halloween decor and these pumpkins are certainly cute and whimsy! If you don’t enjoy carving pumpkins, but still want to decorate for Halloween, these might be just the ticket. These DIY Halloween pumpkins took me minutes to make and the cleanup was a cinch compared to cutting and gutting a pumpkin!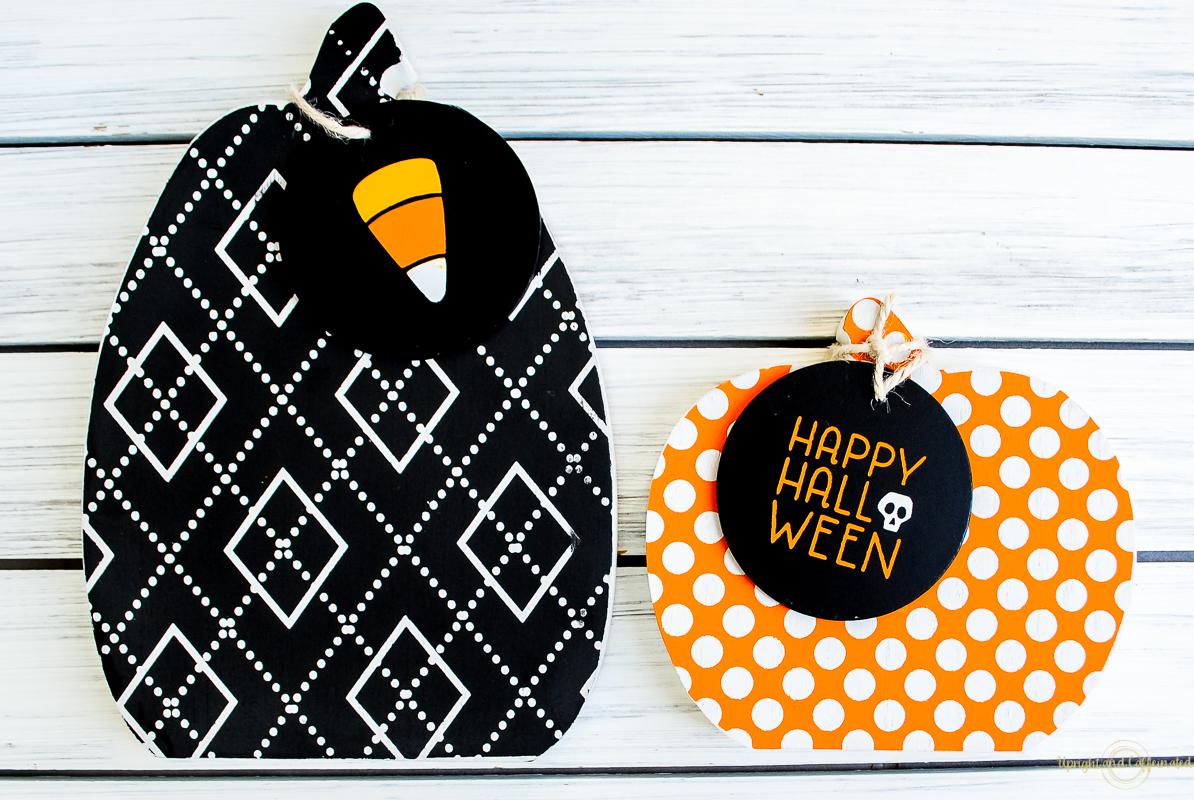
I made these with Chalk Couture. Have you heard of it? If not READ THIS. If you have, then you probably know how easy it is to create beautiful home decor with their unique surfaces, beautiful designs and removable chalk paste.
WANT TO LEARN MORE ABOUT CHALK COUTURE? Join my FREE Crafting Community.
These pumpkins are brand new to the Chalk Couture line and I am obsessed! They are made of wood and have a beautiful white wash of paint over them. They pumpkin pattern transfers fit perfectly on them and squeegeeing on the paste is simple and easy.
How to Make DIY Halloween Pumpkins
First, you will want to prep the wooden pumpkins. I suggest waxing them 24 hours before you plan to chalk on them. The wax will help the chalk paste stick and help ensure your transfer releases from the surface without taking off the paint. To wax, simply apply the wax all over the surface and then buff it off with a clean rag. This is a very simple but important step to ensure your project turns out great!
PIN IT
Next, it is time to chalk! Whenever you are chalking with a new transfer, you want to fuzz it. WATCH THIS to see how to fuzz. Place your fuzzed transfer on top of your pumpkin surface. Smooth over the transfer with your hands to make sure you have a good seal.
Easy. Peasy. Squeegee.
Begin chalking- squeegee on the paste, and then squeegee off the excess. You should be able to see the design through the chalk paste. If you can’t see the design, you have too much paste. Work fairly quickly to make sure the paste doesn’t dry on the silk screen. Easy. Peasy. Squeegee.
Remove the transfer and you are left with a perfectly decorated pumpkin!! Simply wash off the transfer and store it back on the backing paper. Check out this video to see how to wash the transfers.
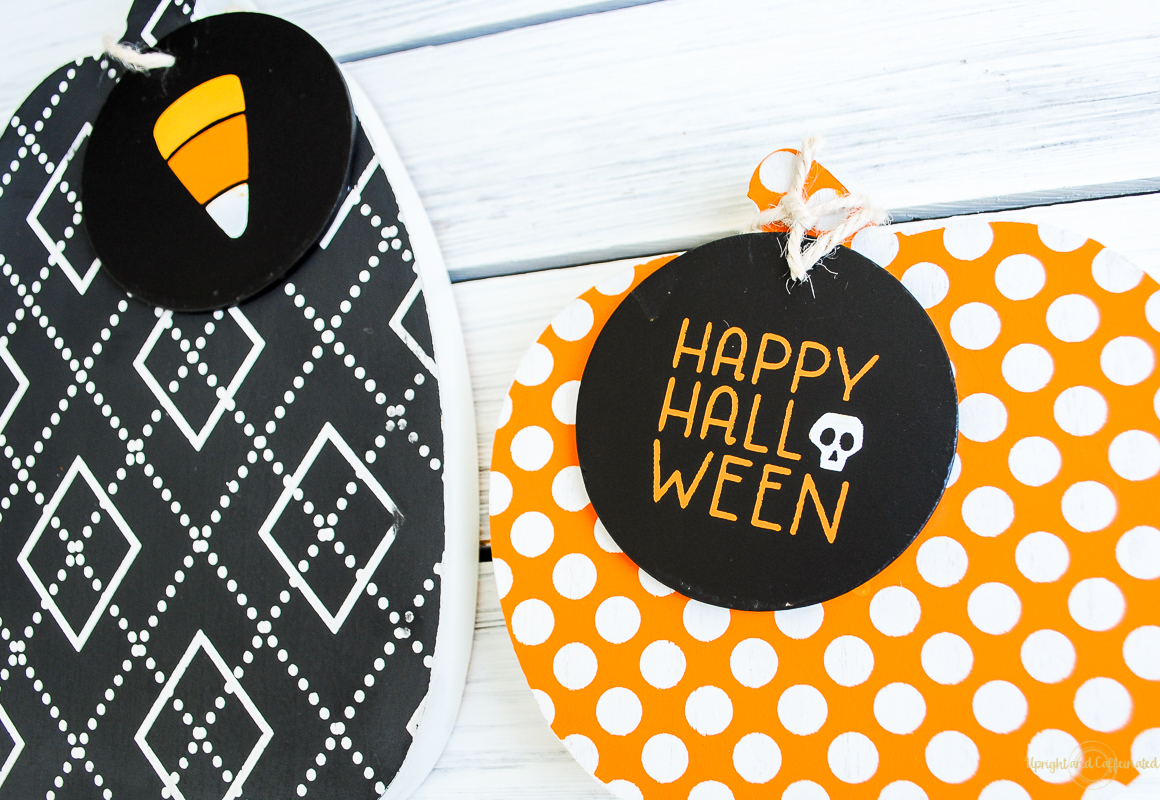
I also made these adorable little tags with our Halloween mini transfers (Let’s Get Wicked). Simply use the chalkable chips and drill a little hole to add a ribbon or twine! Now these pumpkins have a little Halloween flare to make them super adorable.
These pumpkins will last for years and you don’t have to gut a real pumpkin! I think I am going to make a bunch of these for my front porch! 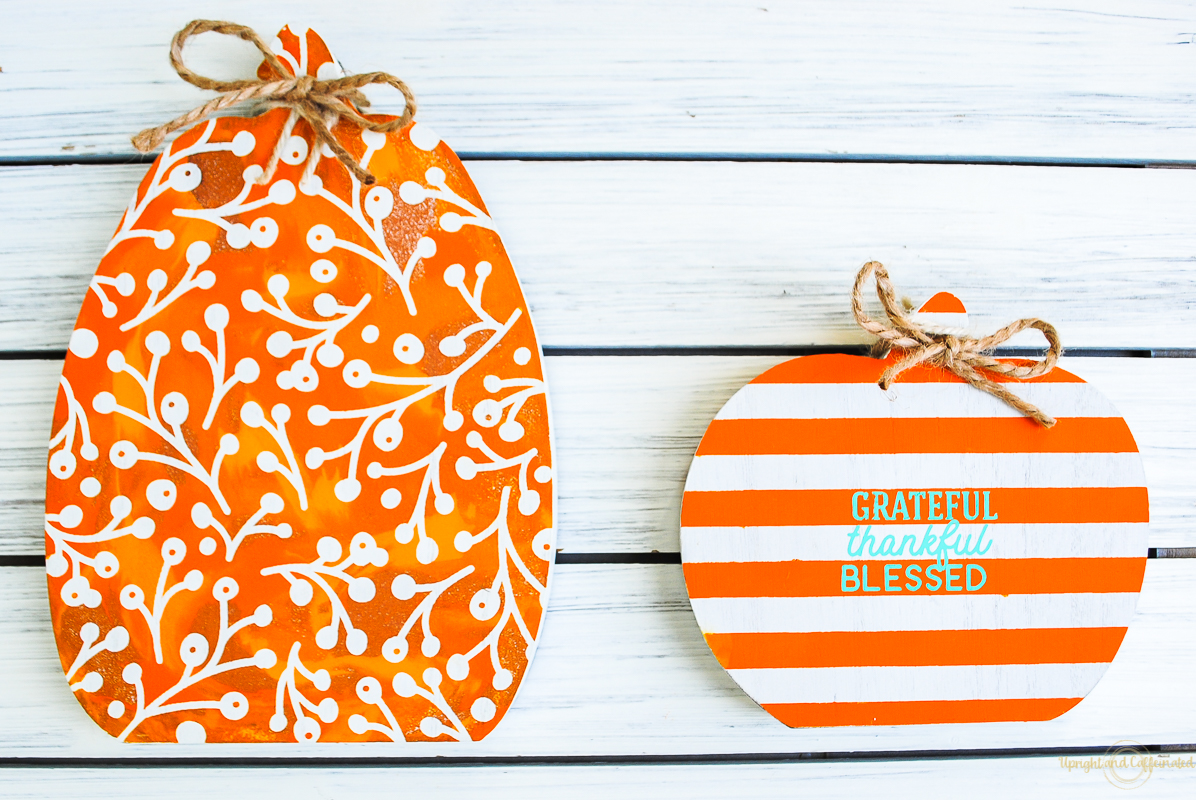
Guess what- you can also chalk the BACK side of the pumpkins! I did “Fall” on the other side. Once Halloween is over, I can just flip them around and keep them out through Thanksgiving! I am seriously in love with these wooden pumpkin cutouts! I used one of the Locally Grown farmhouse mini transfers on the striped pumpkin. Grab it here. 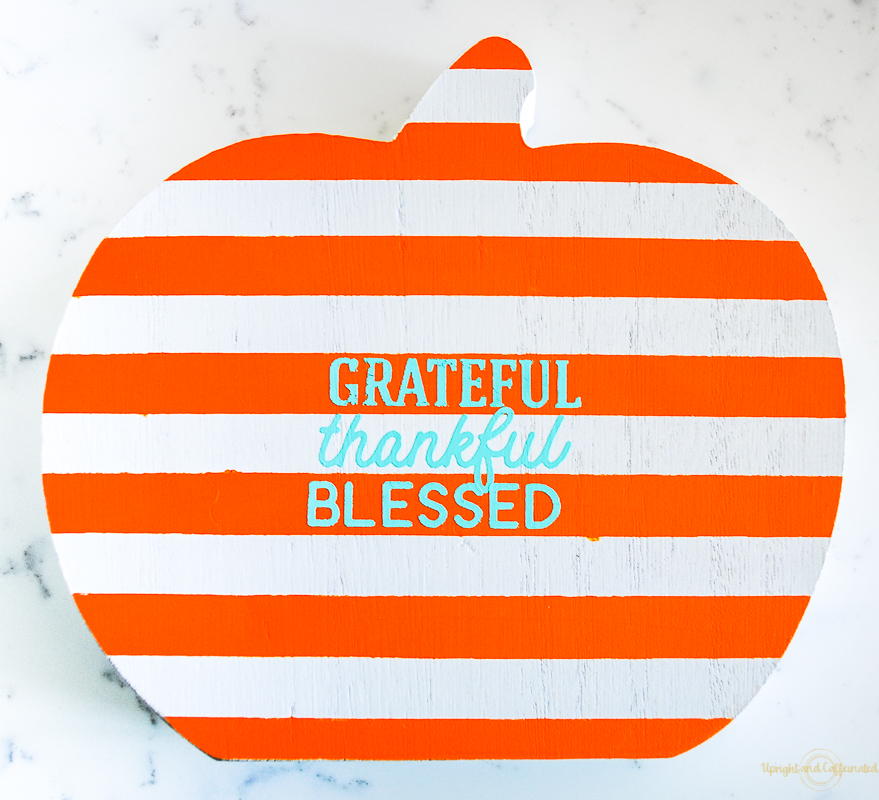
Are you on Facebook? Make sure you are in my Coffee Chalk group (my private group for creating awesome home decor!).
If you want to learn more about becoming a Chalk Couture Independent Designer, please CLICK HERE to join my Chaklortunity group!


[…] Older […]