Hello! I’m super excited to share this DIY laptop table tutorial with you today. This is the perfect solution for kids going back to school- especially college students living in the dorms. My legs get hot when I sit in bed with a laptop on my lap, and I wanted a solution. Of course, I was going to DIY this solution (and use my Cricut Explore Air 2) because that’s what I love to do. But I got to thinking- what do college students who live in dorms do when their lap gets hot from using a laptop?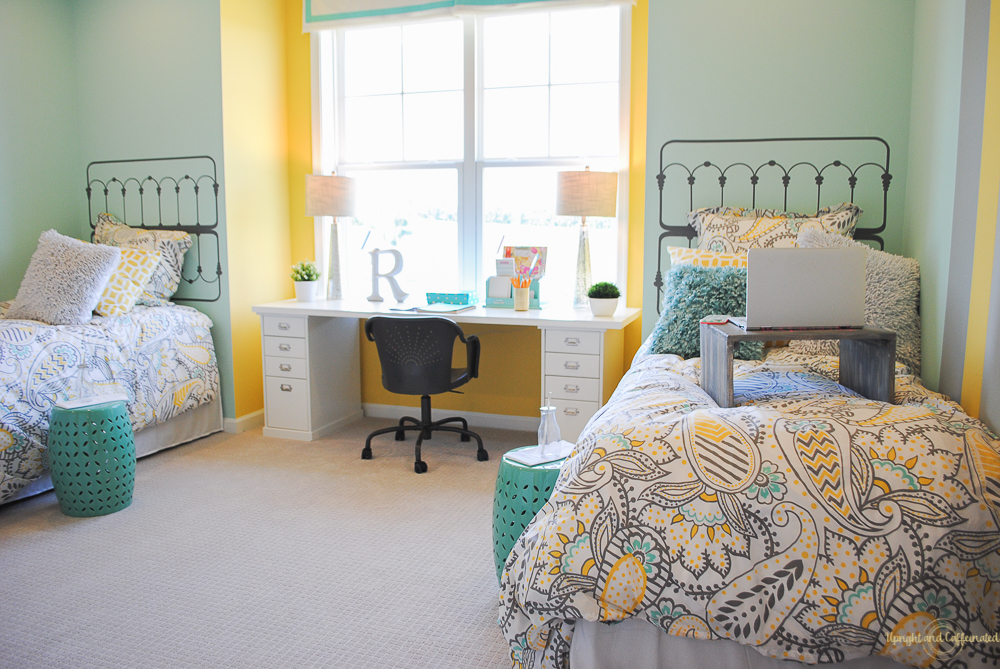
When I started college (years and years ago) we didn’t have laptops. We didn’t have cell phones, and we certainly didn’t have the internet (it existed, but wasn’t widely used). If you needed to use a computer, you went to the computer lab. If you wanted to call home, you used your room phone and a pre-paid calling card to call long-distance.
Now-a-days, every college kid has some kind of device, or multiple devices and they rely on those devices to communicate with teachers, other students and to get their work done. Laptops are the norm for college kids and this DIY laptop table will certainly increase the life of their laptops, and be a more comfortable option than going to the library.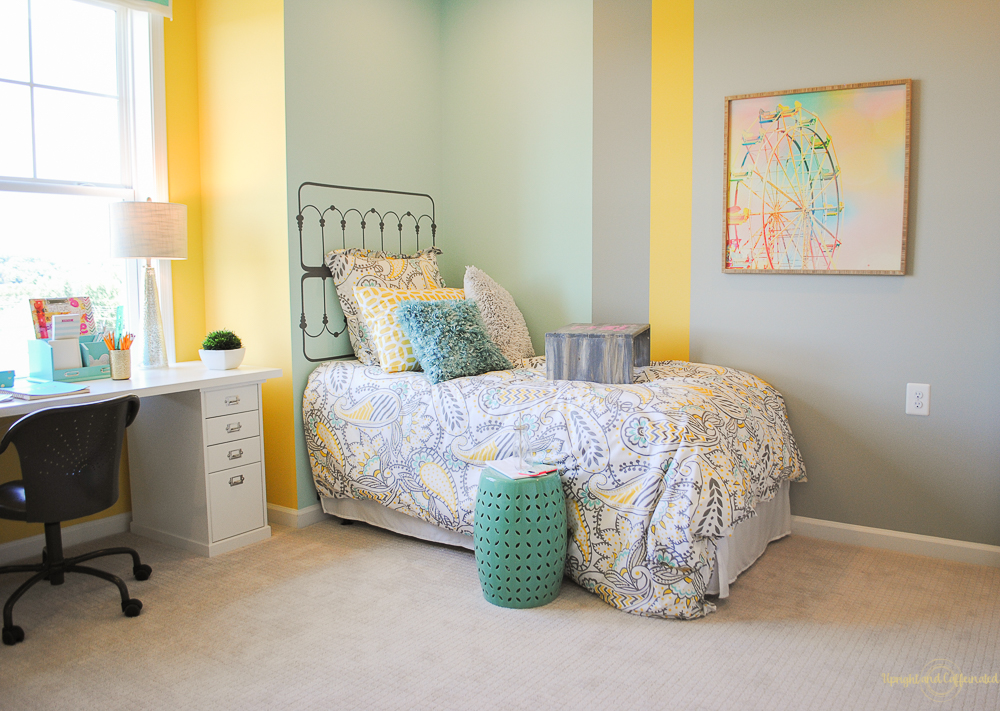
What you need to build a DIY Laptop Table
Pine Board
3/4 x 3/4 wood strip
Dap Rapid Fuse Wood Adhesive
Wood Stain
Paint
Cricut Explore Air 2
Vinyl
Transfer Tape
How to Make a DIY Laptop Table
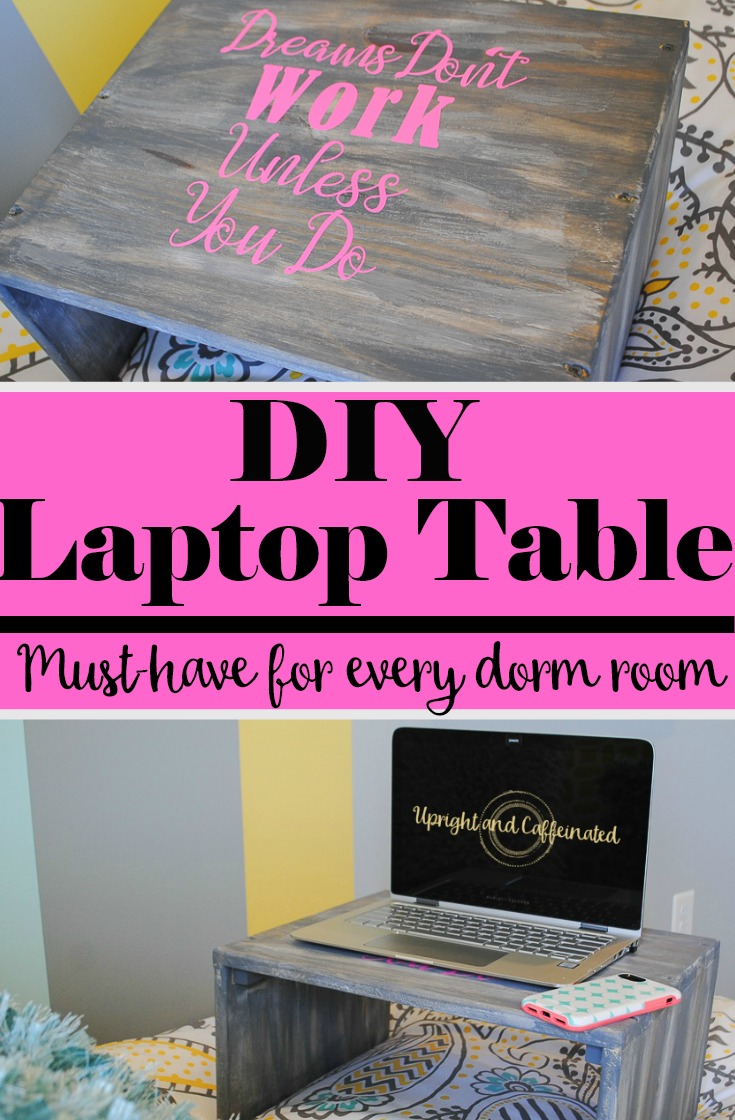
First thing’s first- measure to know what size you want your table. This project is a complete custom job, so you can make your table any size or height you want. I made this one a little on the large size since I use it while in bed after the kids are asleep and I usually have my laptop and phone on it. This is a personal preference, but I also like it a little higher and not sitting right on top of my legs.
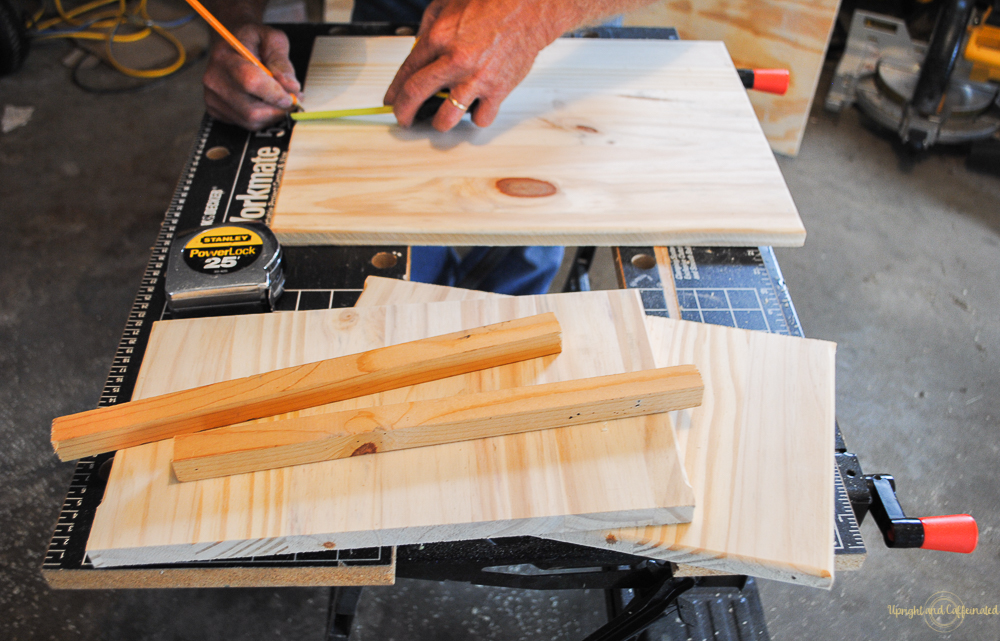
Once you figure out how tall, wide and long you want your table, begin cutting your board. Cut the sides (or legs) of the table and then the top piece.
Use Dap Rapid Fuse Wood Adhesive to glue to the legs of the table to the top piece and reinforce with three screws going from the top of the table into the legs. To stabilize the table, use 3/4 by 3/4 inch wood strips and cut them about an inch from each end of the tabletop. I just happened to find some in my father-in-law’s pile of scrap wood. Using more wood glue, place the 3/4 by 3/4 strips against the underside of the table top and glue both sides of the wood strips. Reinforce with screws that go through the wood strips into the legs. Just make sure that your screws are not too long, you do not want them poking out of the sides of your laptop table.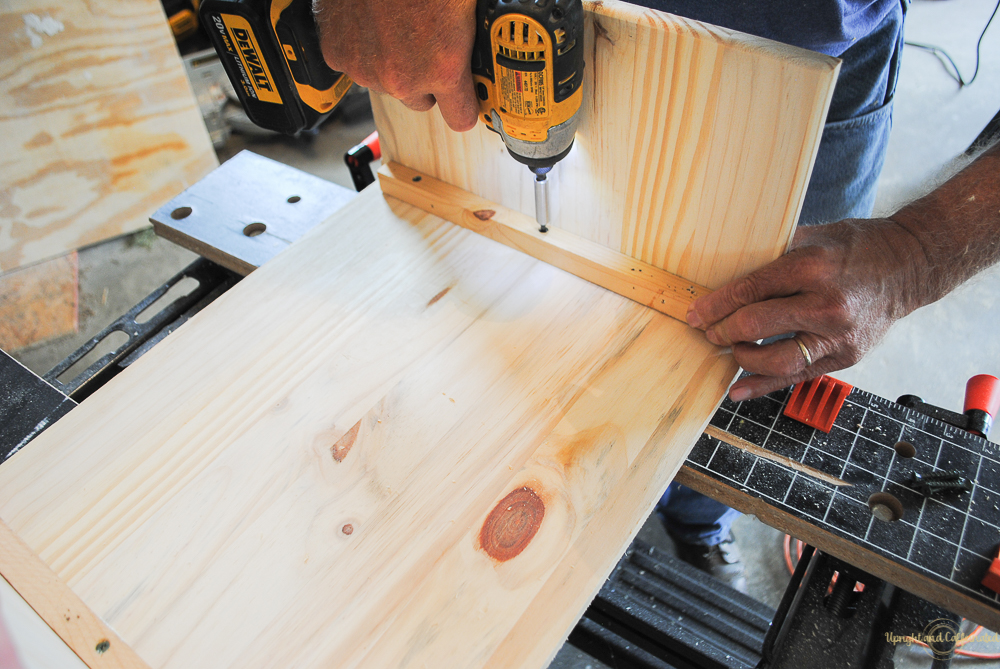
After your laptop table is put together, you can begin sanding. I used a hand sander to sand the entire table until there were no rough spots or edges. Next, paint or stain the laptop table. For this particular project, I used Annie Sloan Chalk Paint in Pure White, (but any chalky type paint will work). I did not cover the entire piece, but rather made sloppy brush strokes. Once the paint was dry, I used grey miniwax stain over the entire piece to give it a weathered- farmhouse look.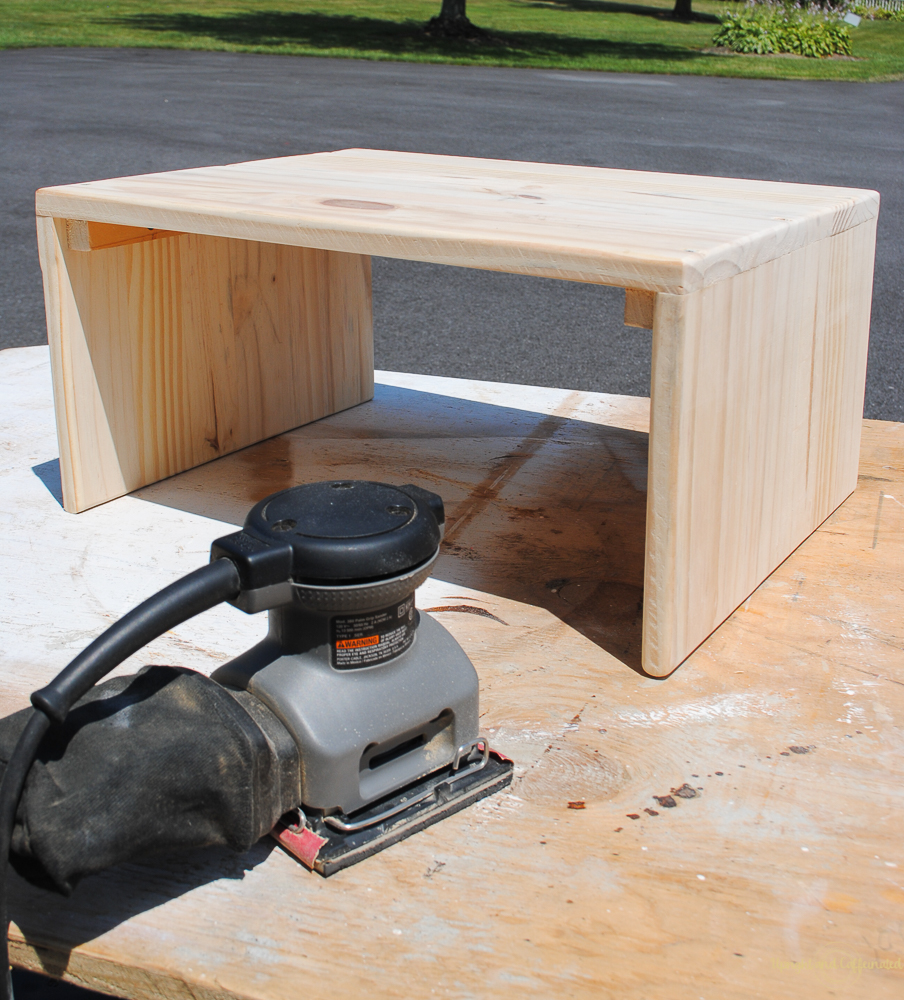
This next part was my favorite:
Customize with Vinyl
I wanted a saying that was motivating so I picked “Dreams Don’t Work Unless You Do” . I think this is appropriate for college kids as well as adults! Using a Cricut Explore Air 2, I was able to go into my Cricut Design Space and create a new project. This was a simple project since I didn’t use any graphics or pictures, just text. Check out the Cricut Design Space for inspiration or even your college mascot! I made this adorable Pineapple milk can planter over the summer using a pineapple graphic from the Cricut Design Space.
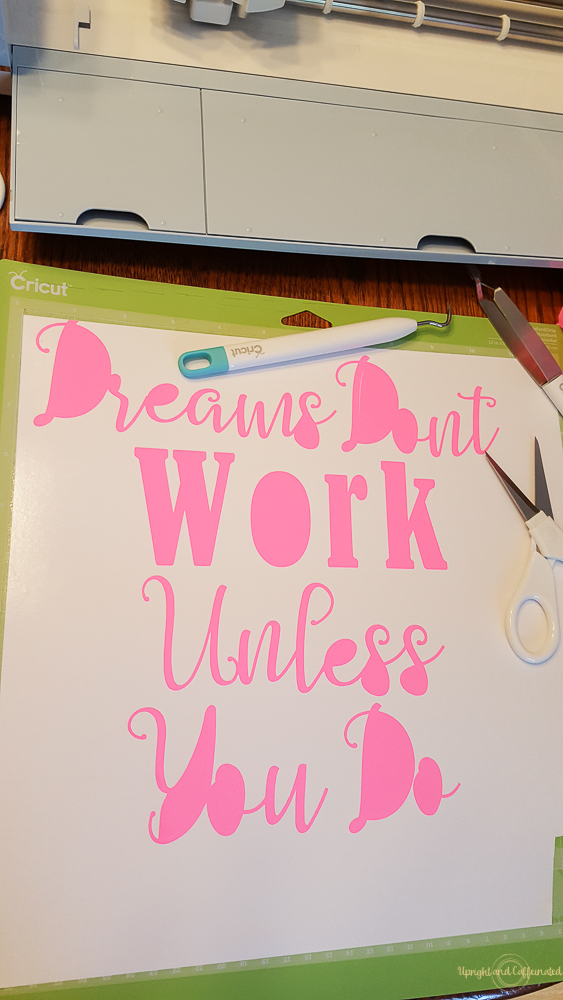
I used a bright pink vinyl since I wanted the letters to really stand out. Once my Cricut did it’s magic and cut the vinyl, I wedded the letters of excess vinyl. Next, use transfer tape to lift the vinyl off of the backing and place it onto the table. To do this, you will need to remove the backing of the transfer tape and slowly apply the top of the transfer tape to the top of your vinyl. As you remove the backing, slowly and carefully, lay the transfer tape to cove the entire vinyl text. Once the transfer tape is completely covering your text, use the scraper tool to rub the transfer tape on the vinyl letters. This will ensure the transfer tape sticks to vinyl when you remove the vinyl backing. The next step is to carefully and slowly remove the vinyl backing. Once your backing is removed, place the transfer tape with the vinyl onto your table where you’d like it. Using the scraper tool again, rub over the vinyl letters to ensure they stick to the wood. Finally, carefully and slowly, remove the transfer tape.
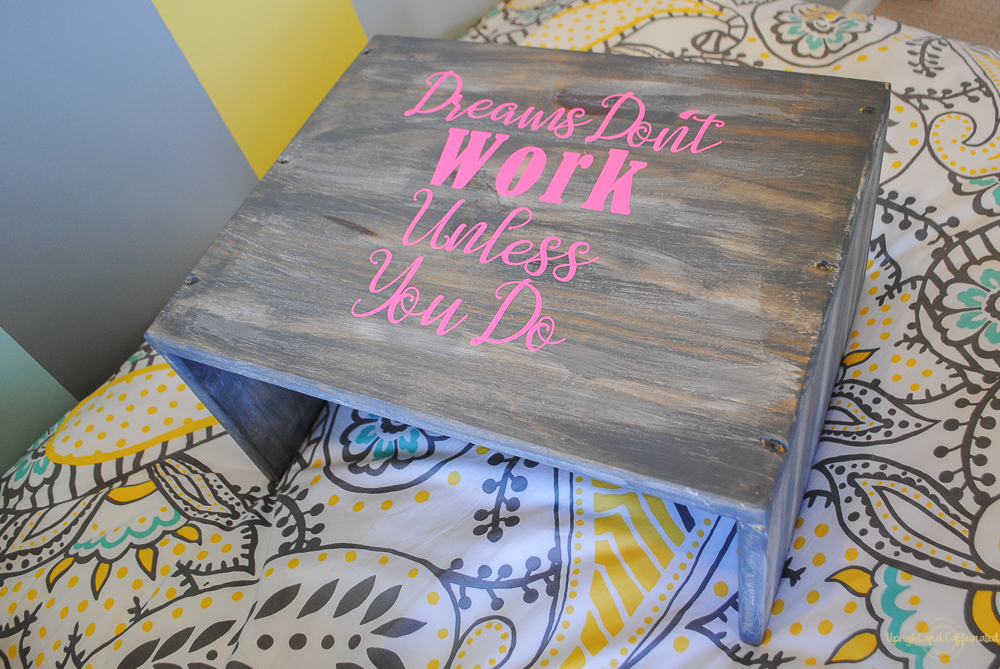
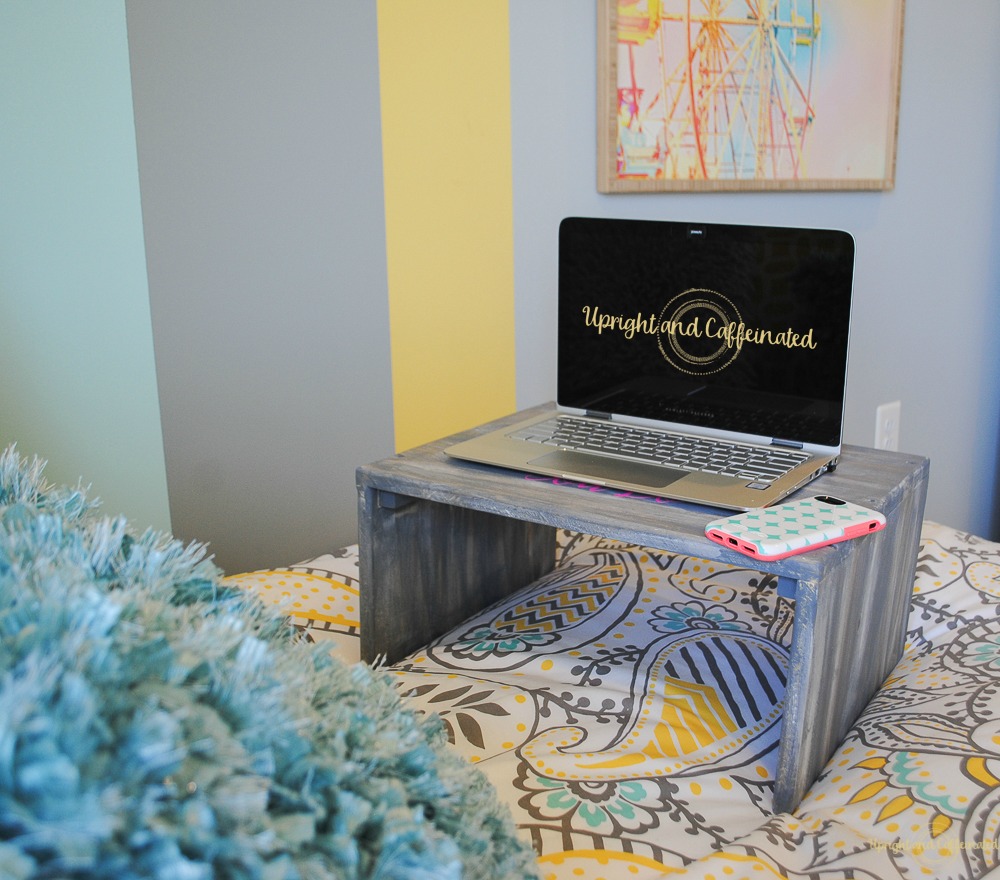
That’s it! Now you have a custom laptop table that any college student would LOVE! This solution will help them be more productive, allow them to be comfortable in bed while studying, and extend the life of their laptop.
If you are a mom who is sending your baby off to college and worried about how lonely you will be; check out the new Cricut Maker. It may not fill the void of your child not being in your home, but it can be a fun distraction!!
PIN IT ⇓


Allison thanks so much for letting me share this great project of yours on the round up. It is so cool that I would keep it for myself and not give it to the kids.
I’m so glad you liked it!! Thanks for including it in your roundup!