Are you a fan of finding a new purpose for a piece of furniture? I love the idea of repurposing or upcycling a piece that was intended for one use. Today, I am sharing how I upcycled a coffee table into a DIY Lego table for all of my boys’ Lego toys.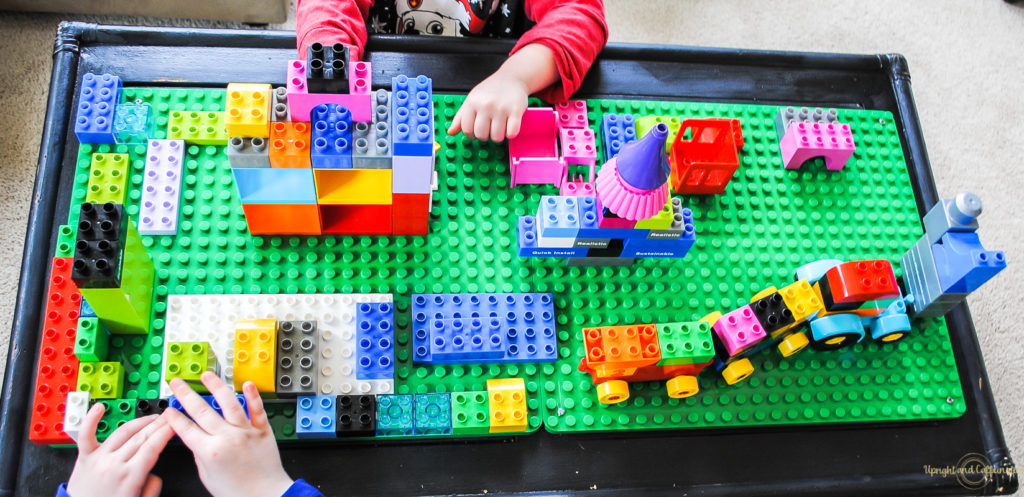
This solved two problems for us. First, we didn’t really have a storage solution for the Lego toys. We had a couple of clear storage boxes that we kept all of the Legos in, but they would constantly get dumped out and spread all over the floor. The other issue was that our boys didn’t have a place to play with their Lego toys other than on the floor… and we have carpet. If you have ever tried putting Legos together on a carpeted floor, it is a little difficult.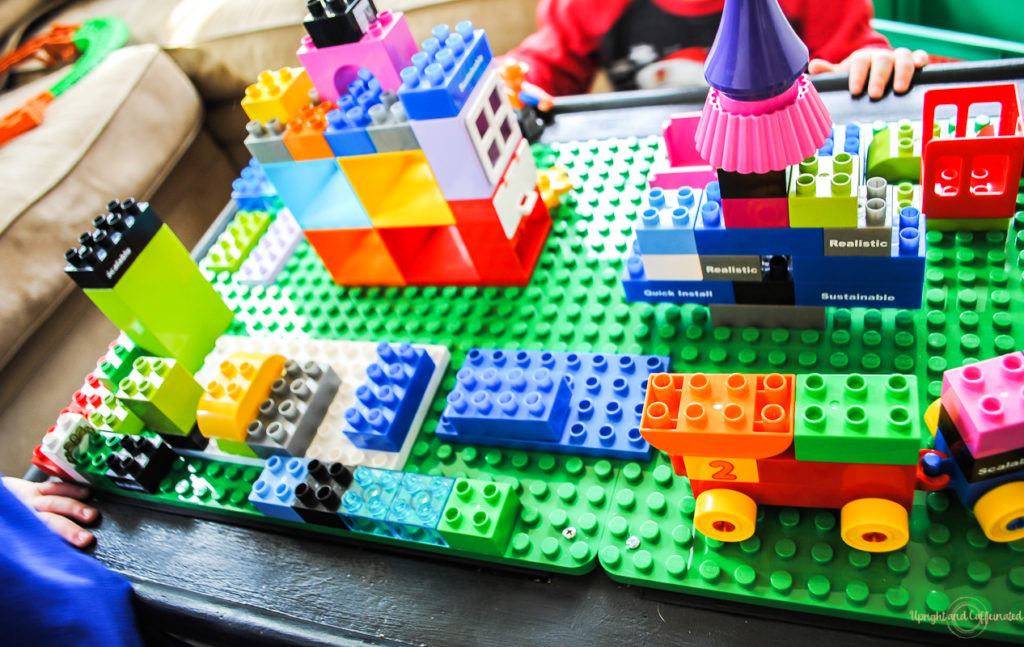
I wasn’t searching for a solution, but just happened to be in the right place at the right time. Over the summer I attended the Johsnville Memorial Day Auction (one of my favorite auctions at my favorite auction house). Want to know more about auctions? I wrote an ebook that you can get for FREE!
Click HERE!
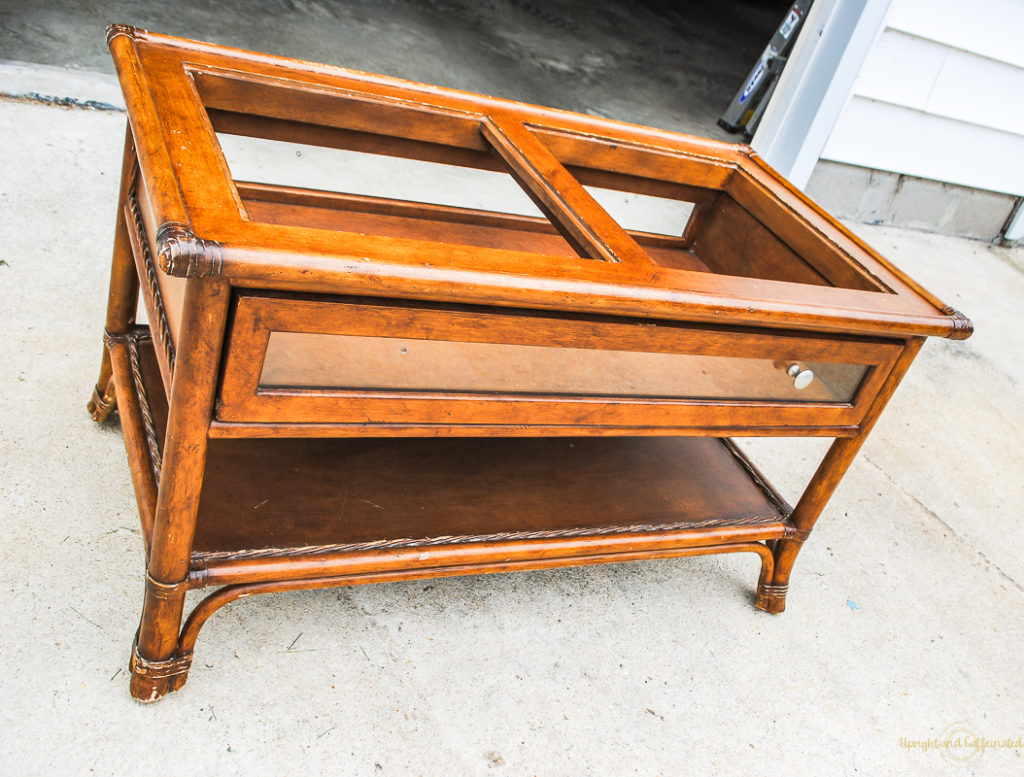
While I was waiting for a rocking chair to be auctioned, the auctioneer was auctioning off a coffee table. It wasn’t anything special and I wasn’t really paying attention, but I was standing right next to it. He got down to one dollar and no one was bidding. Then it hit me- I can upcycle this coffee table into a Lego table. I raised my number and got that coffee table for ONE DOLLAR!!! Yes- I made this DIY Lego Table from an upcycled coffee table that cost me one. single. dollar.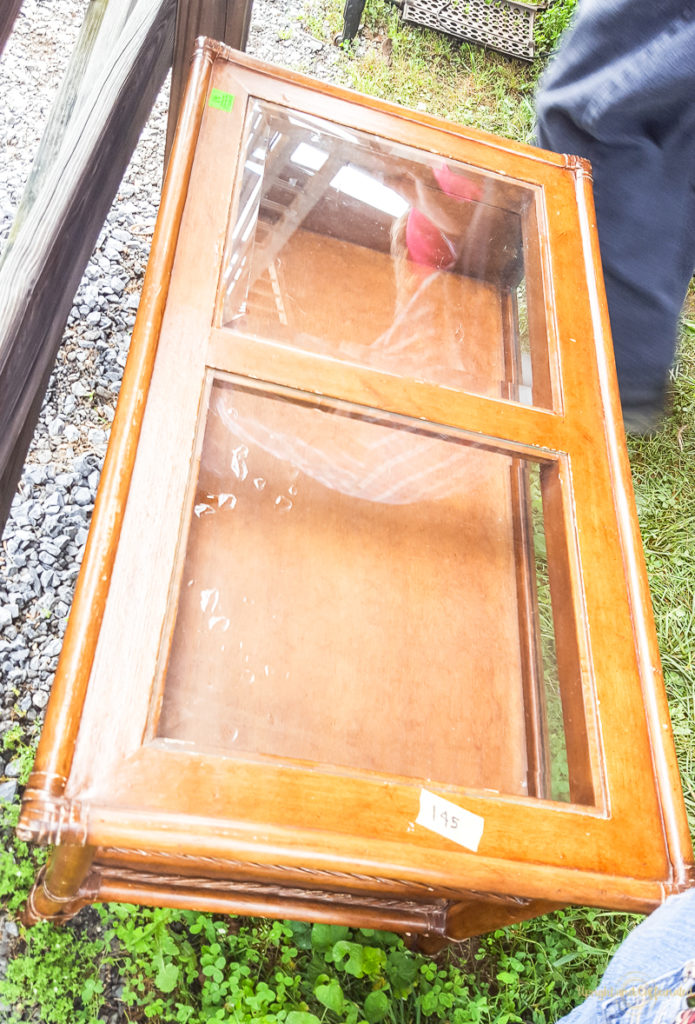 The structure of the coffee table was perfect for a Lego table. It had a drawer under the table top that would serve as storage. The top of the table is actually recessed into a frame, which would prohibit legos from sliding off the edge of the table. There is also a small shelf at the bottom of table that can be used for additional storage.
What you need
Lego Base Plates
Wood Glue
Screws
Sander
Paint
PIN IT ⇓
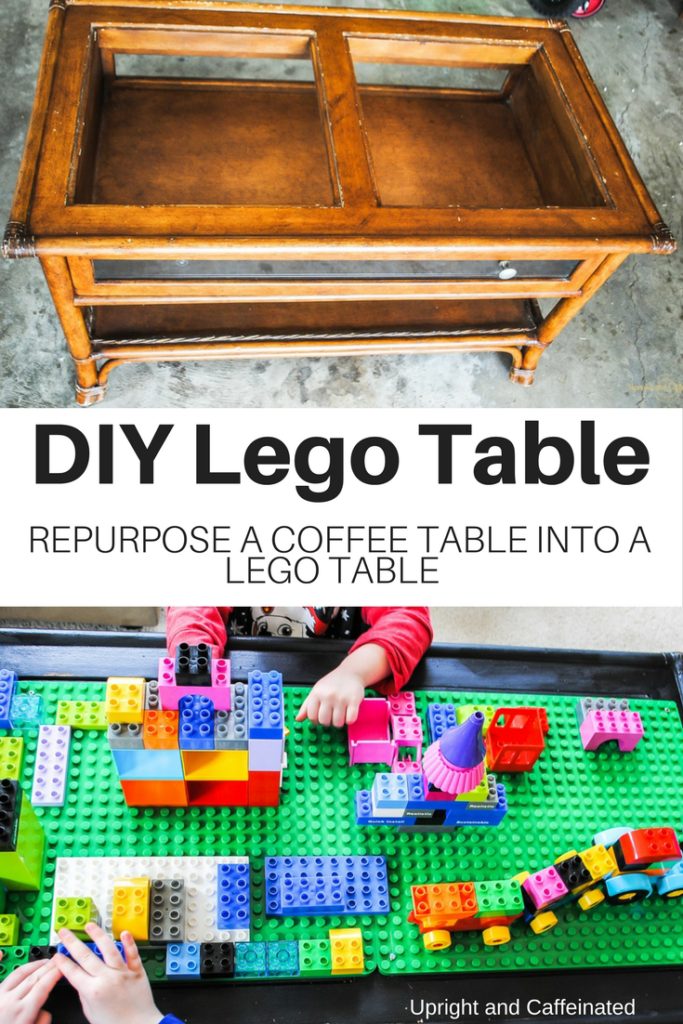
How To Make a DIY Lego Table
It didn’t take too long to get this table Lego-ready, but there were a few things that I did to the coffee table to make it a bit more kid-friendly.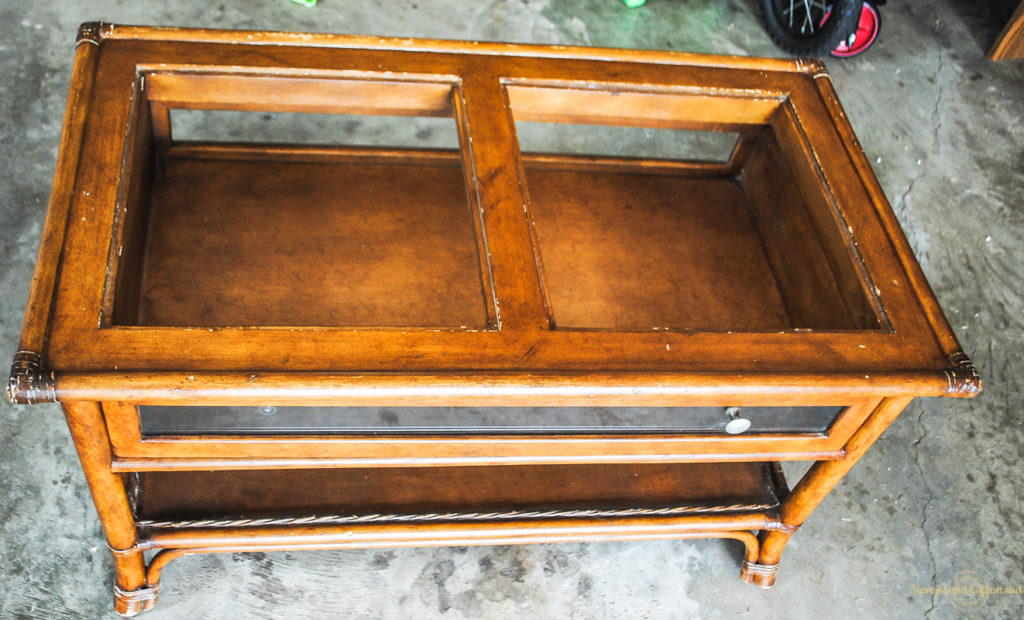
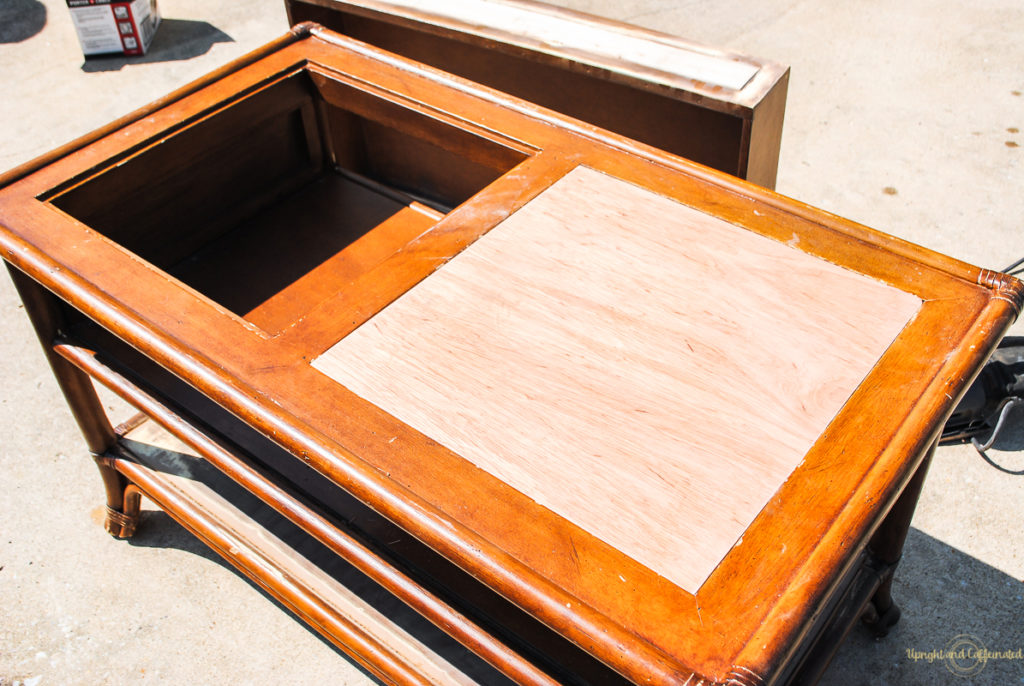
First of all, there was a glass front on the drawer. The drawer actually slides open from either side, which is awesome, but I needed to get rid of the glass. I was easily able to remove the little nail that held the glass in place and slid it out. I replaced the glass with a piece of wood (a furring strip from the hardware store fit perfectly). There were also two glass inserts on the table top that I removed. They were just setting on the recessed ledge, so all I had to do was push them out from underneath.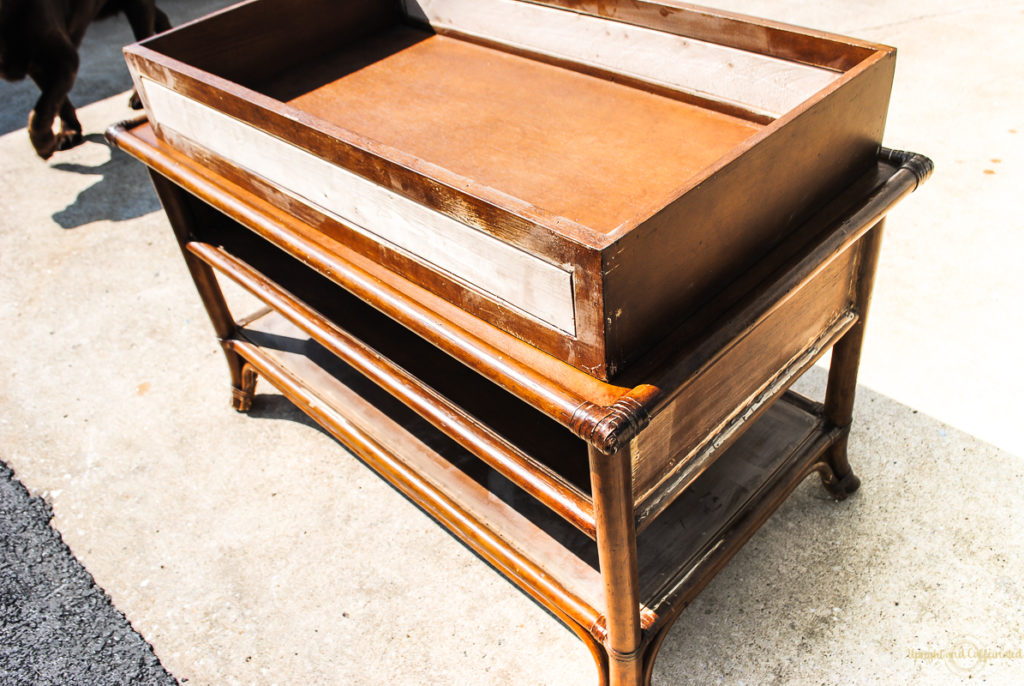 My father-in-law and I cut two squares of quarter inch plywood to fill the holes where the glass inserts were.
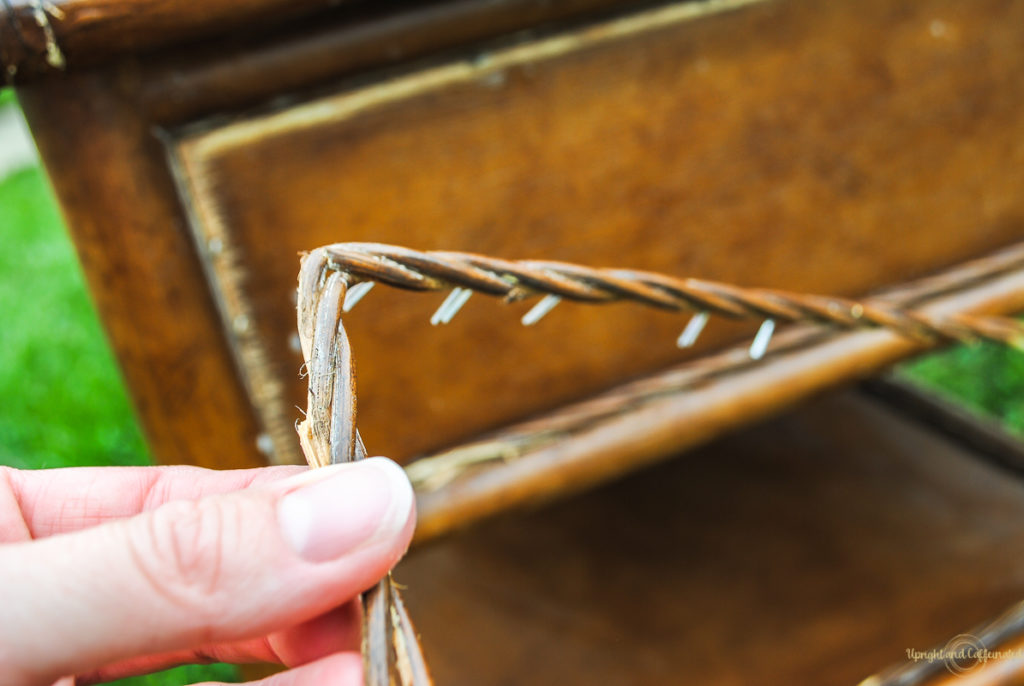
 The last thing I did to prep the table, was to remove the decorative braiding around the table.
 Once all the hazards were removed, I sanded the entire table and then painted it.
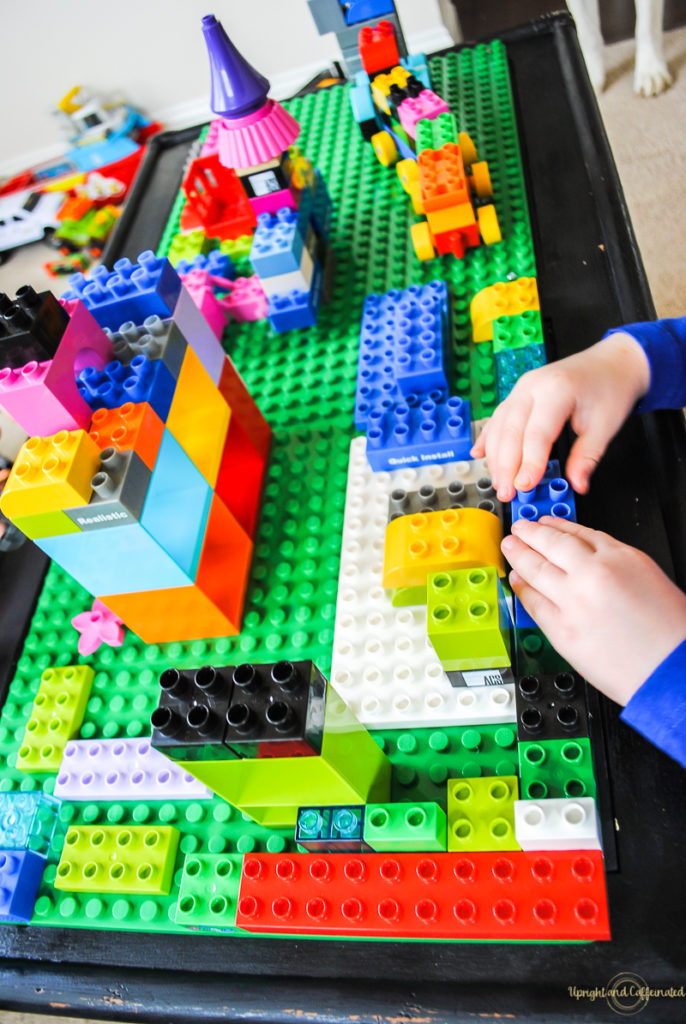
I went with black because I wanted the Legos to show up and stand out. First, I tried painting it with chalk paint, but it was taking forever, so I ended up just using black spray paint. I recommend using spray paint if you are doing a project like this. The coverage is better than painting with a brush. I have a full tutorial on how to paint furniture with spray paint HERE!
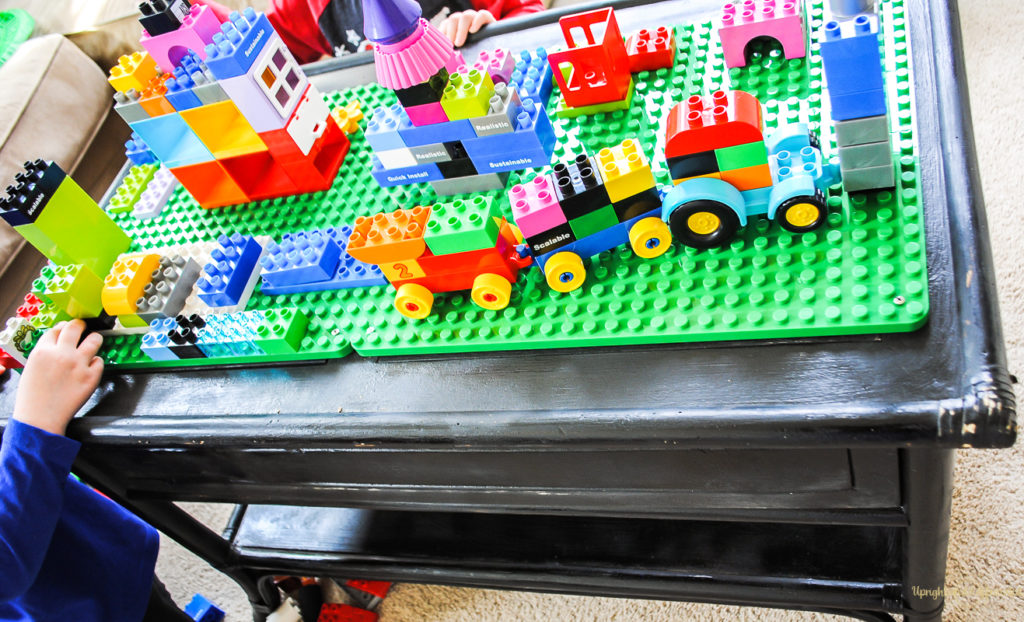 The square plywood is glued into the recessed area where the glass once sat. I then screwed the Lego base plates onto the top of the table. You could glue the base plates, but since my kids are little they have the larger Legos (for kids ages 2-5). I want this table to grow with them, so I want to be able to replace the base plate later on.
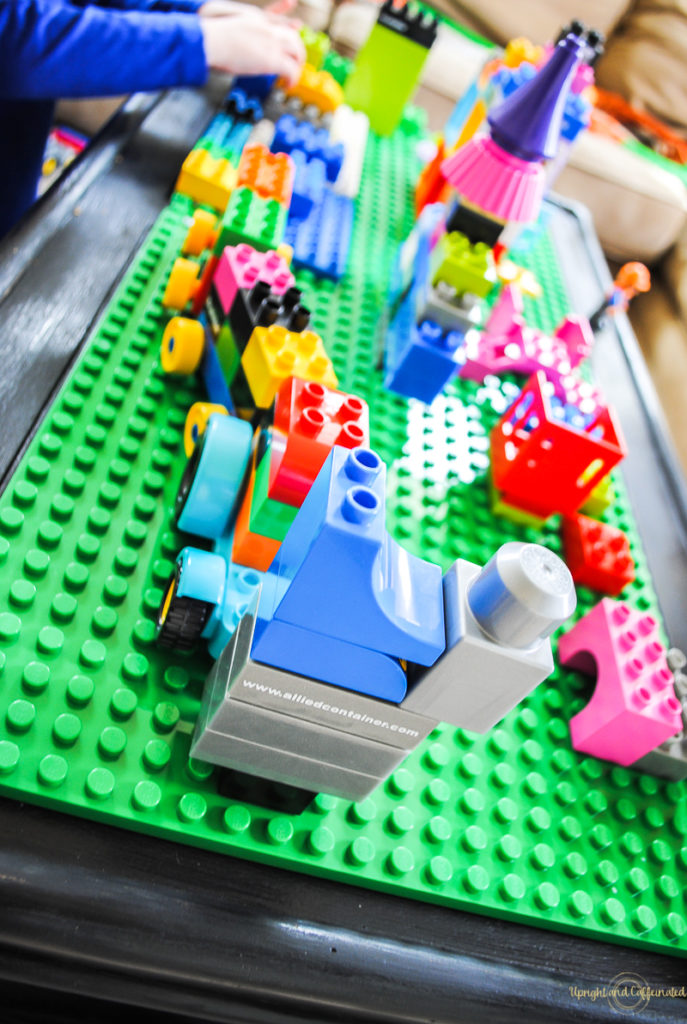 This was a really simple upcycle project. I loved being able to create something that serves a purpose and brings joy to my kids. Like I said, this solved the problem of not having a place to put or play with Lego toys and it is saving my sanity because I am not constantly stepping on Legos! This Lego table will work for girls or boys- any kid who likes to be creative and build with Legos!
Hope this inspires you to repurpose a piece of furniture. Have questions? Drop a comment below!
