Spring has sprung and than means the return of farmers markets. If you live in the city, you know the joy of going to farmers markets! We lived in downtown Washington DC for years and I loved going to Eastern Market, the farmers market in Penn Quarter and of course the Dupont Circle farmers market. Now that we live out in the country (right by those farms that produce all of those fruits and veggies) we can simply stop by the farm stand and pic up some fresh produce. If you plan on shopping at a farmers market, you need to bring a bag. Today, I will show you how to create a custom tote bag for hauling your produce from the farmers market.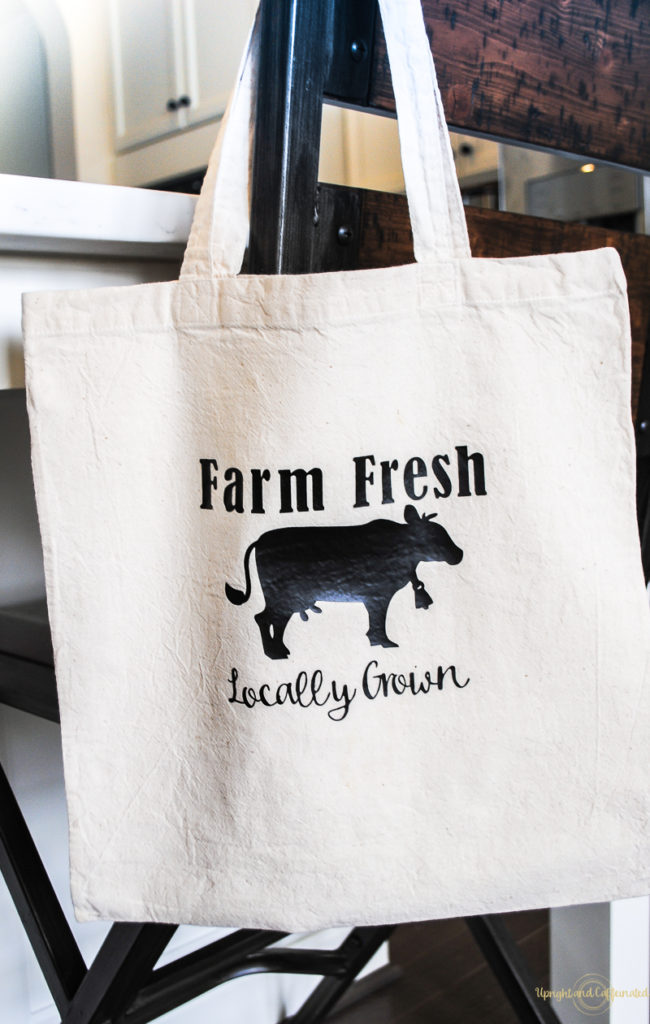
It is another month and another Craft and Create with Cricut. I have joined with my super-talented blogging friends to bring you some wonderful spring inspiration this month! Check them out below.
I have grown to love using heat transfer vinyl. I made an adorable t-shirt a few weeks ago and I get comments on it every time I wear it. It was simple to make and now I want to put words on all the things! If this is your first time using heat transfer vinyl, check out this post for a basic tutorial on how to make a custom t-shirt using heat transfer vinyl. 
What You Need To Make A Farmers Market Tote Bag
- Canvas tote bag
- Cricut Explore Air 2
- Heat Transfer Vinyl
- Iron and Ironing Board or Heat Press
- Weeding tool
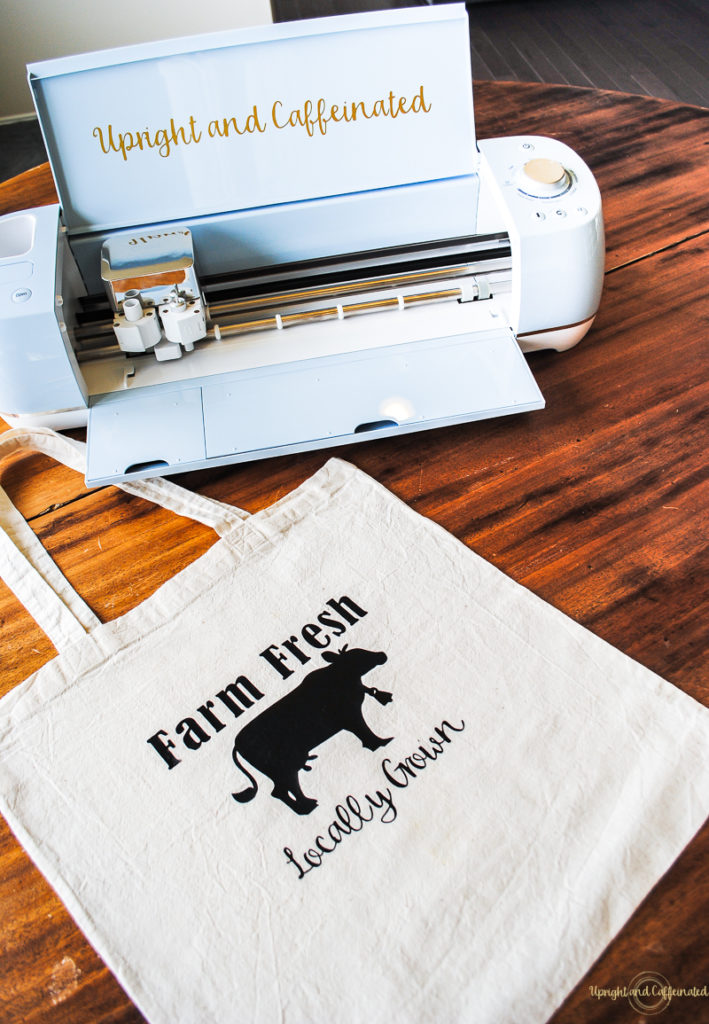
How To Make a Farmers Market Tote Bag
First, make sure you prep your material. Wash, dry and iron your fabric before applying heat transfer vinyl. Check out this quick video for more details on how to prep your fabric.
Head over to Cricut Design Space and create your image or words. I used Bernard MT Condensed and Silly Me fonts for this tote bag. The cow was an image in the Cricut Design Space. 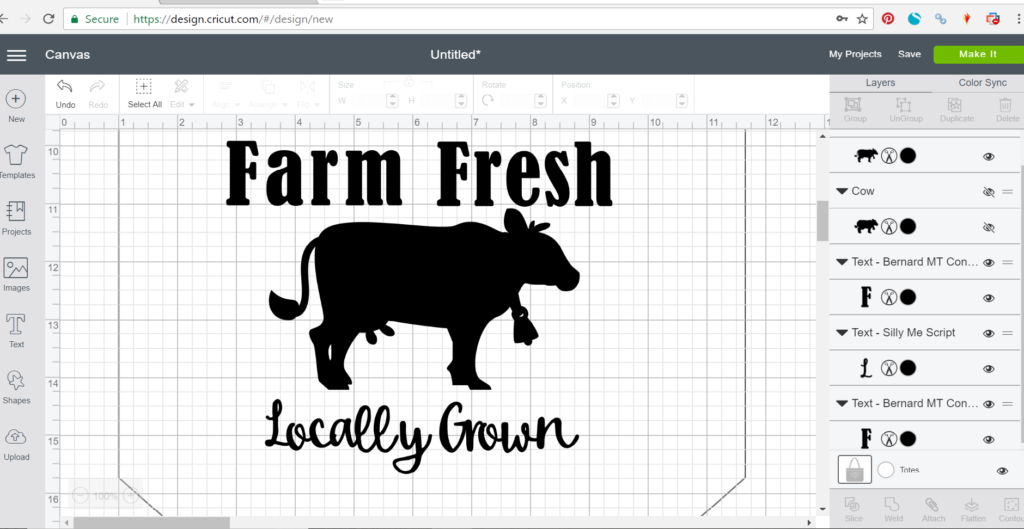
Next, set your vinyl on the cutting mat, making sure that the shiny side is down. Want to see what that looks like? Click here.
PIN IT ⇓
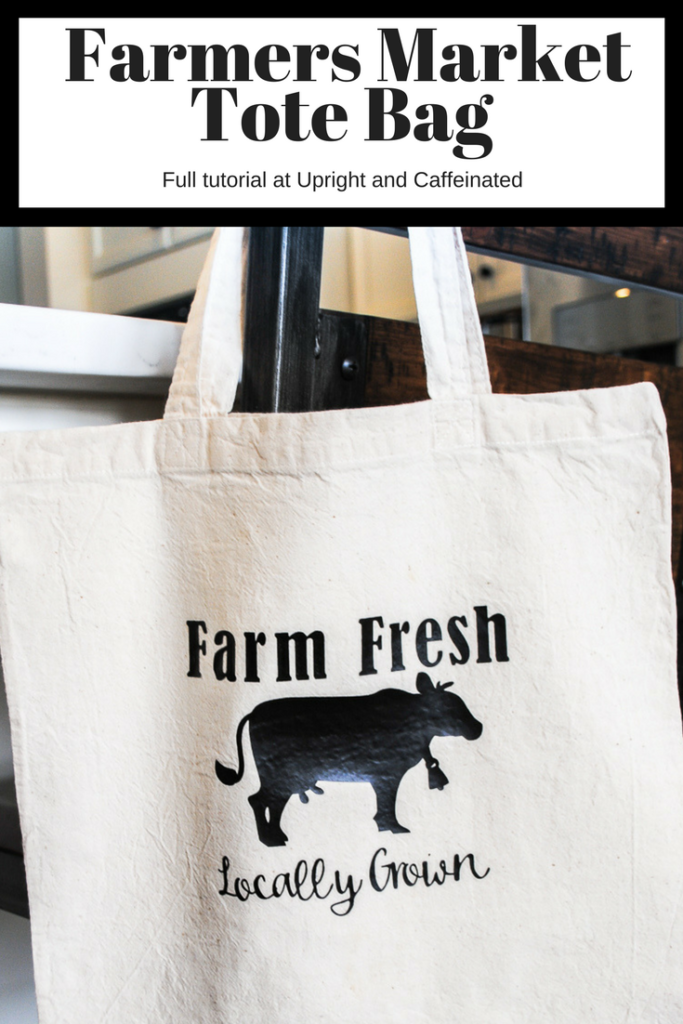
Now it is time to cut! Load the mat into the Cricut Explore Air 2. Two things to check before cutting. 1) Make sure you click the “mirror” button so that the Cricut cuts the mirror image. 2) Ensure the dial on your Cricut is set to Iron-on.
Follow the prompts on the Cricut and begin cutting. This video will show you how easy it is to follow the above steps.
Once the vinyl has been cut, you will need to weed out the excess vinyl. Watch this for a detailed tutorial.
Finally, it is time to iron on the vinyl. Heat up the material for just a few seconds, then lay the vinyl with the backing facing up directly onto the fabric. Place a towel over the heat transfer vinyl and with a little pressure, place your iron over the towel and hold for 25-35 seconds.
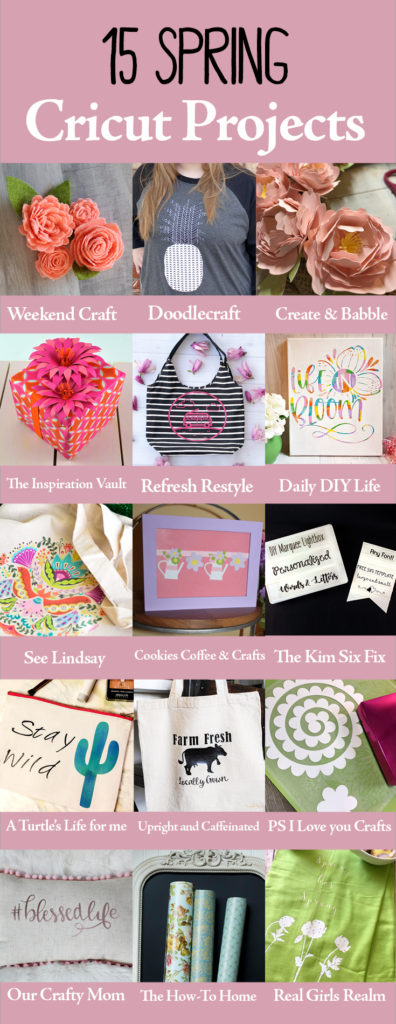
Don’t forget to check out the other projects this month!
Weekend Craft | Doodlecraft | Create & Babble
Inspiration Vault | Refresh Restyle | Daily DIY Life
See Lindsay | Cookies Coffee & Crafts | The Kim Six Fix
A Turtle’s Life for Me | Upright and Caffeinated | PS I Love You Crafts
Our Crafty Mom | The How-To Home | Real Girls Realm
Flip the fabric over and hold your iron on the back side for another 25-35 seconds. Once the vinyl has adhered to the fabric, carefully remove the backing. Watch this for more details.
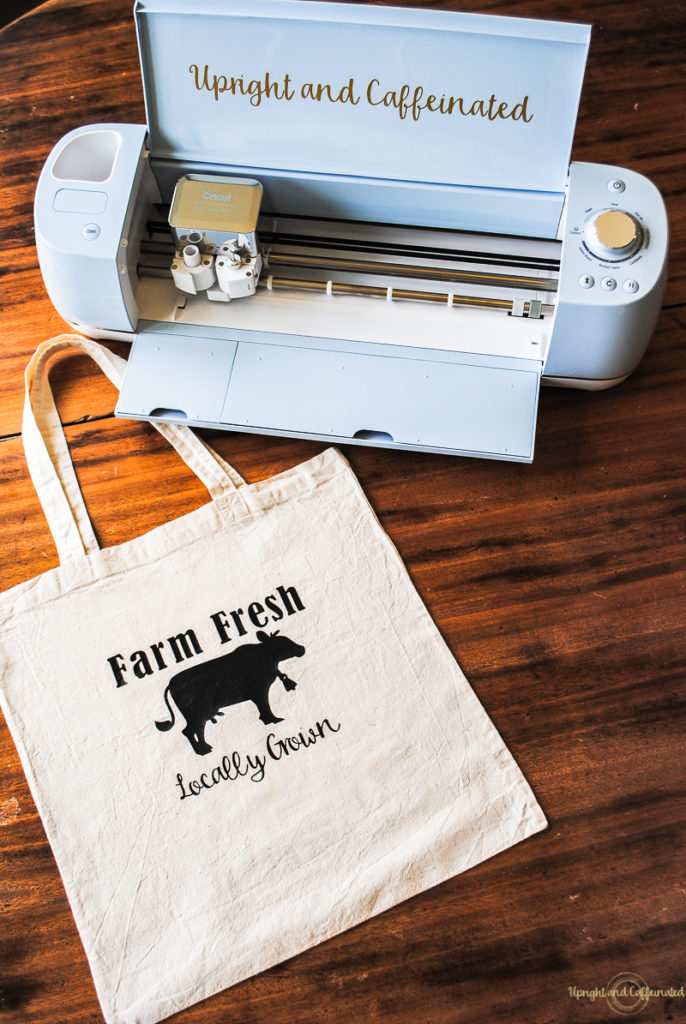
Ta-da! A custom farmers market tote bag, just in time for spring!!




Adorable!! Love the idea of making your own personalized bag too. I am so jealous of those with a good selection of farmers markets around them. We only have one good one, and it is kind of far. When I go I will definitely be making my own bag. What a fun project!!
This is such a cute idea! I love the design!
I want to put words on everything now to! I’m loving it! This bag is perfect for the farmers market. I’m going to have to make one.
I love this! I live walking distance to my local farmer’s market. I wake up and go every Saturday morning in the summer/fall. Definitely need to make myself a custom tote!
That’s the perfect design for a Farmer’s Market Tote. Love it!
Your bag is so insanely cute! It’s the perfect design for the Farmer’s Market, too. I can’t get enough of that cow!