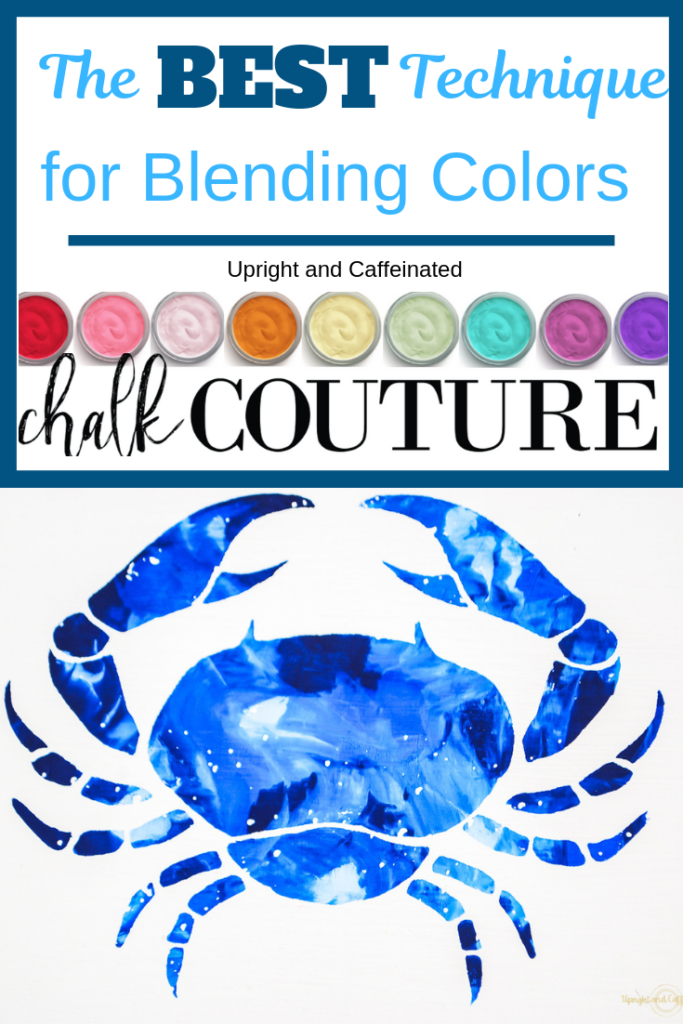
Did you know you can blend Chalk Couture colors? I will show you exactly the best technique to use to get a textured look by using a multi-color approach on your next project.
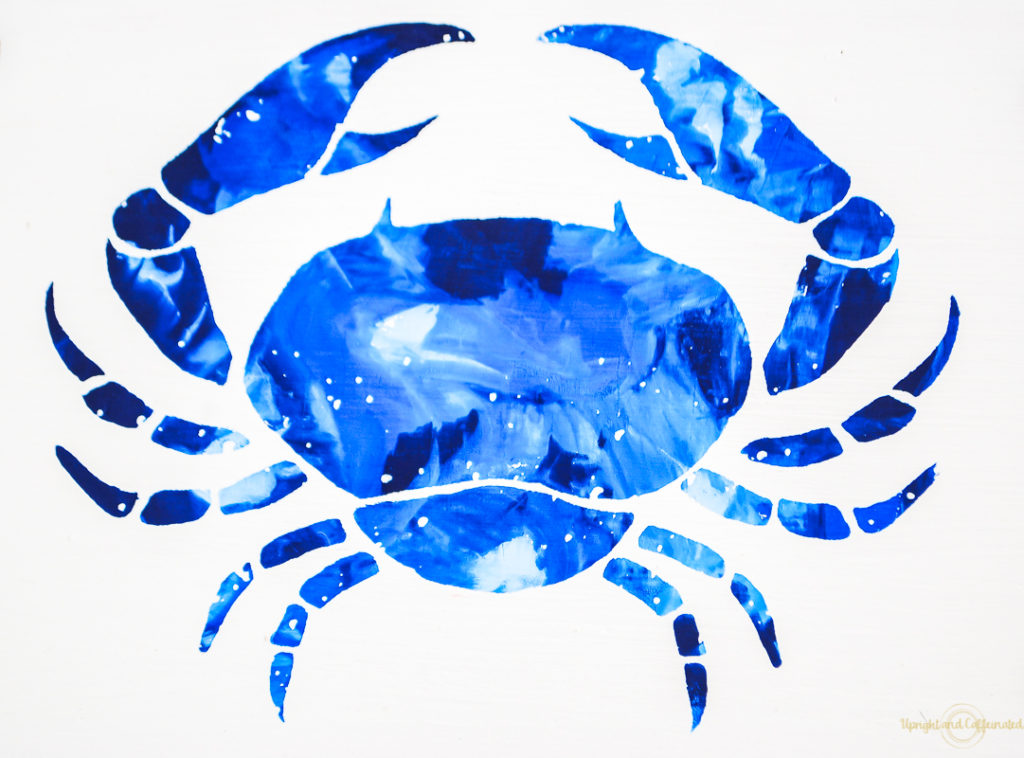
First, pick your transfer. I think the crab from the Fresh Catch Transfer is perfect for this technique. Next, pick your surface. I used a white surface for this particular project because I was using dark blues. If you are using bright colors, go with a chalkboard! Anything that will enhance the contrast will work. Now it is time to blend.
Make sure your chalk pastes are stirred up and have the right consistency. If they need a little water, just add a tiny bit of distilled or bottled water (try not to use water from your tap because of possible mineral and sediments in the water). Leave the stir sticks in the pastes, as you will need them to blend the colors.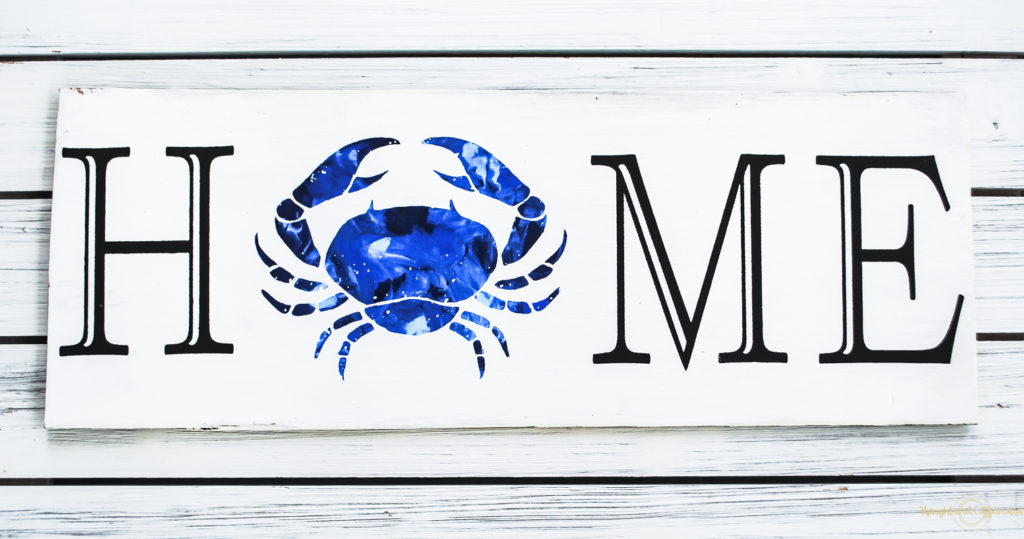
Starting with your first color, dab a bit of chalk paste in various areas of the transfer. Then repeat with the other two colors. Remember to work quickly as you don’t want the paste to dry while you are working.
Next, use a squeegee and begin to blend the colors. I find that starting at one end of the transfer and swirling the squeegee in a sort-of zig-zag pattern works best. Watch the video to see exactly how I do it.
Make sure you squeegee off the excess paste and discard it. Don’t scrape it back in a jar of paste because it has three different colors in it!
Remove the transfer to reveal a beautiful blended color look. I love how this technique of blending chalk couture colors gives a project texture. It almost brings the image to life by just using a simple technique and a few different colors.
Want to see more Chalk Couture ideas? CLICK HERE
PIN IT ⇓
