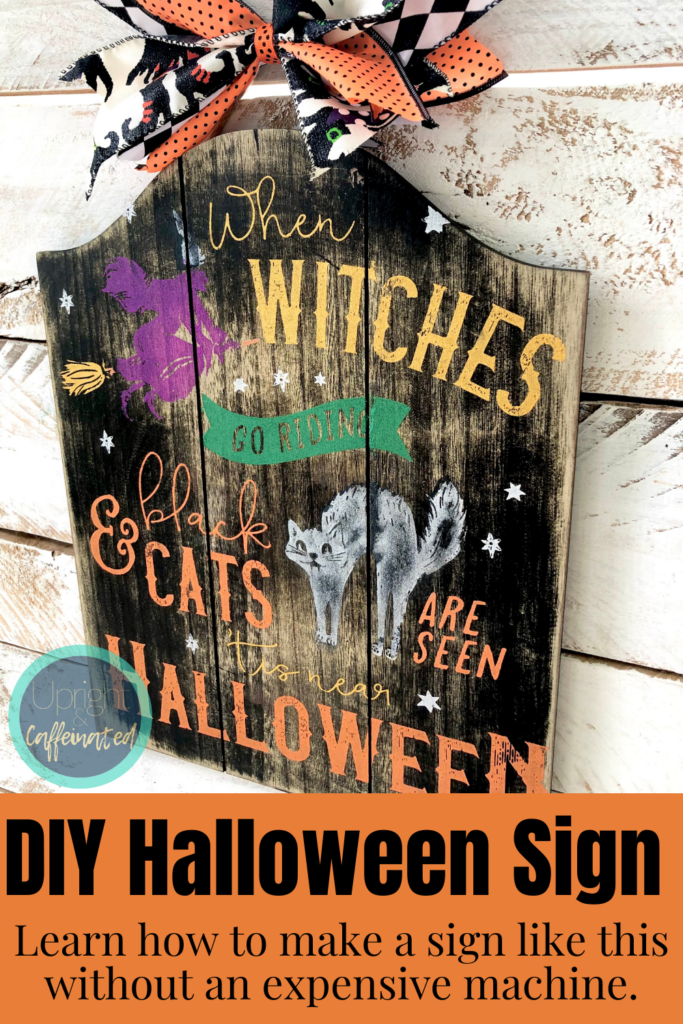
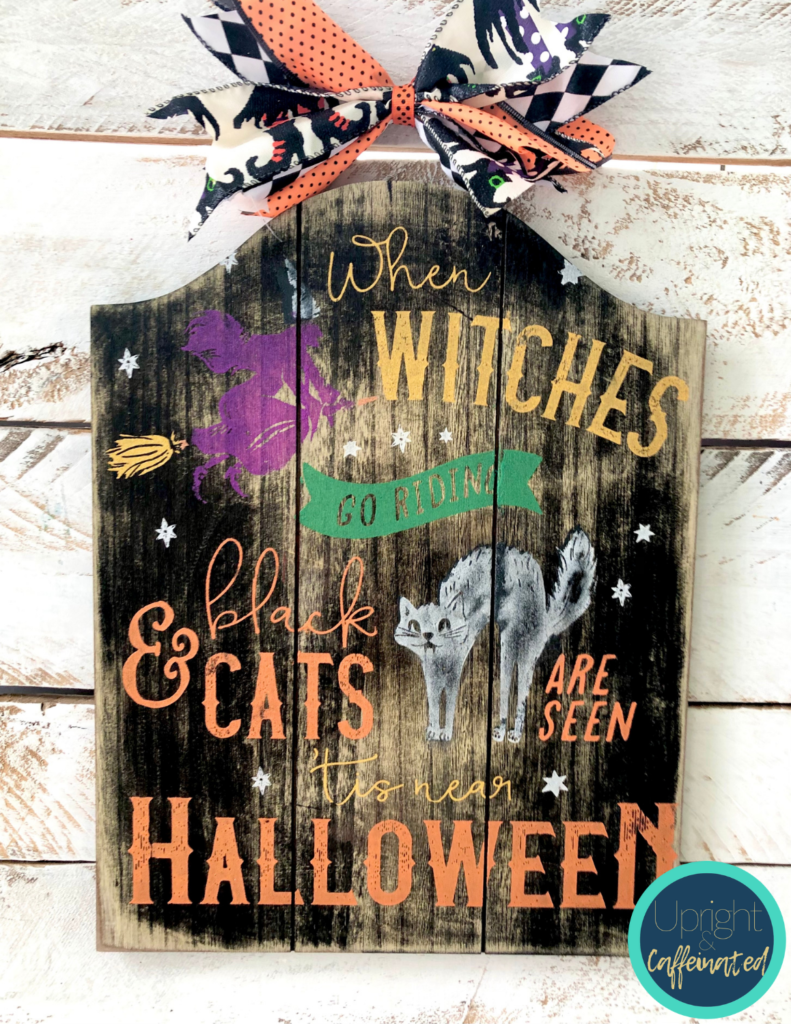
Happy Halloween! Are you already decorating? If you are looking for an easy tutorial on how to make a Halloween sign without an expensive vinyl cutting machine, you are in the right place! Today I will share exactly how I made this sign without a fancy machine.
For this sign, I used Chalk Couture. If you don’t know about Chalk Couture- START HERE! Here’s the short summary- Chalk Couture makes reusable silk-screen stencils (called transfers), removable chalk paste, permanent ink, surfaces and accessories.
There are so many transfer designs, you can check them out HERE. One of the things I love is mixing and matching the different designs to make a completely custom piece.
Today, I am showing you how to use this transfer- Witches go Riding.
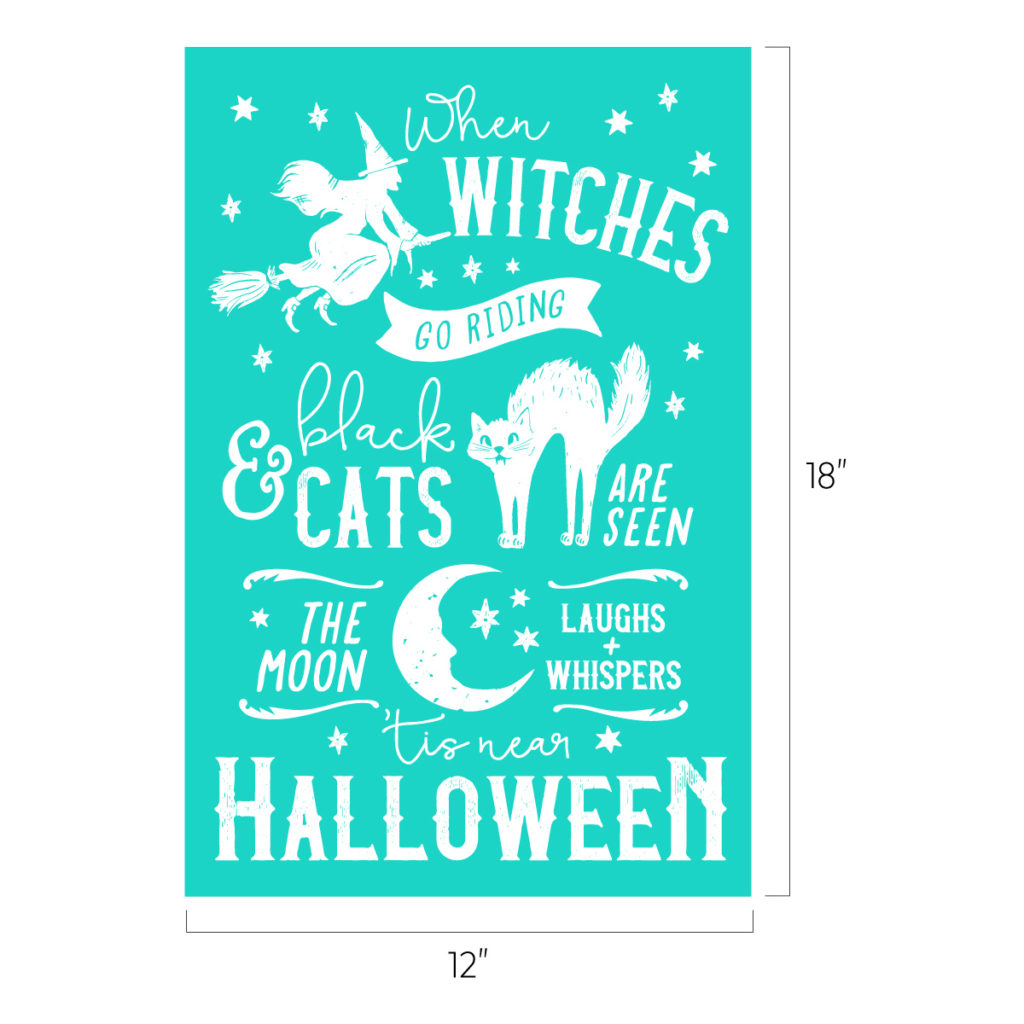
Here’s the thing, I didn’t use the entire transfer and that is one of the things I really like about these reusable stencils. You can use just a part of the stencil or the entire thing. I also made this t-shirt with just a portion of the Witches Go Riding transfer.
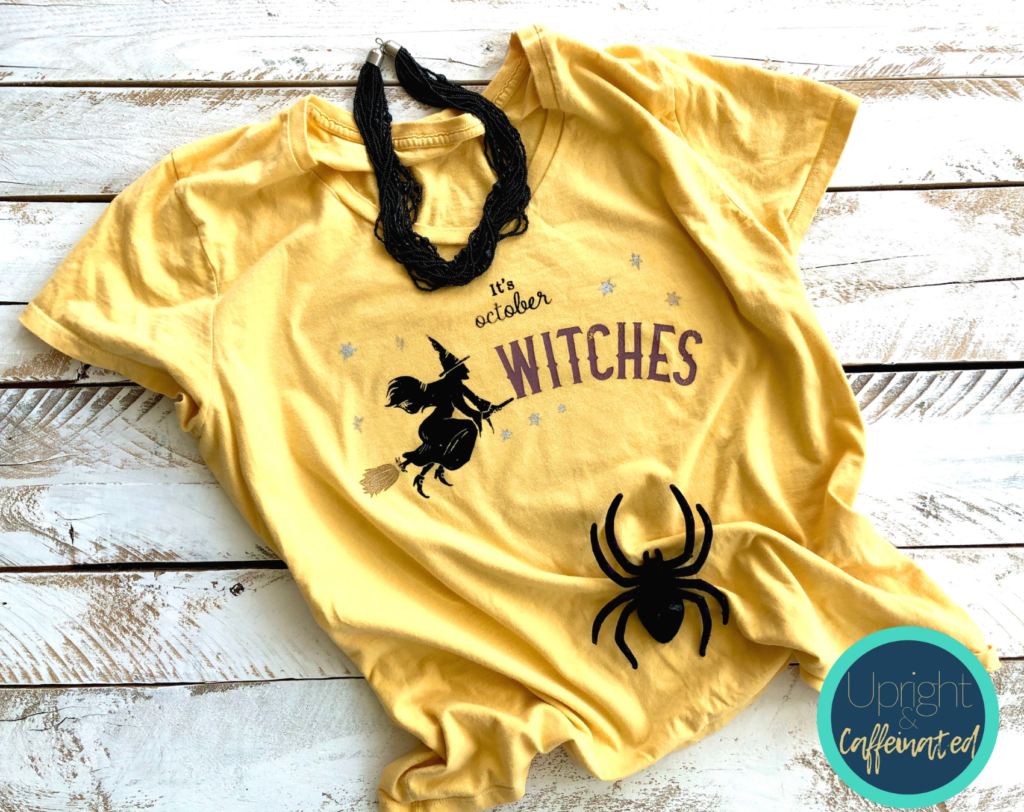
Let’s jump into how to make a Halloween sign without an expensive machine.
I found this old sign that had something written on it. This sign has been in my basement for years. I sanded the design off and was left with a distressed board that is perfect for Halloween.
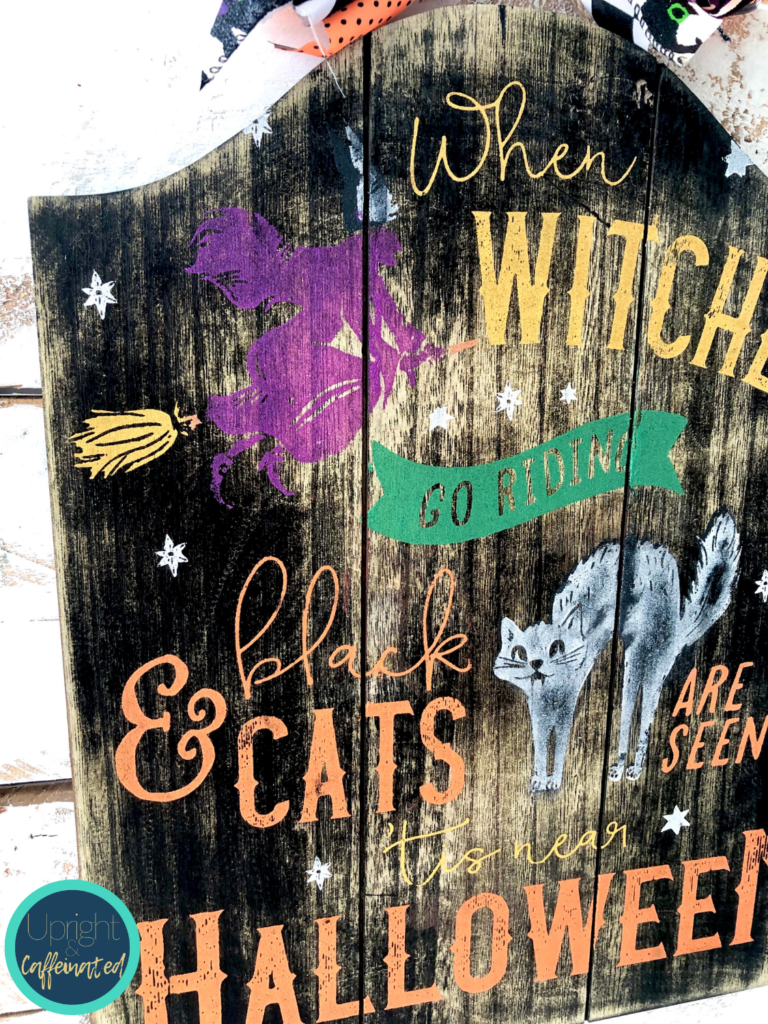
If you want to use a Chalk Couture surface, I highly recommend the chalkboard surfaces as the chalk paste is completely removable from the chalkboard surfaces. The wooden surfaces are a one-time use surface. THIS chalkboard is perfect for this transfer!
How to Make a Halloween Sign
Making this sign is easy peasy. Start by applying a little surface wax to the board. Whenever you are working with Chalk Couture products, you will want to wax wooden or painted surfaces to protect your transfer and make sure the paste sticks to the surface. Read all about prepping wooden surfaces HERE.
Next, simply peel the transfer off of the backing sheet and place it onto the board. Make sure you have a good seal around the silk-screen area. Now you can apply the chalk paste. I listed the colors I used above, but you can pick any colors you’d like to chalk in this transfer. I actually made this sign live over on Facebook. Check it out HERE.
WANT TO LEARN MORE ABOUT CHALK COUTURE? JOIN MY FREE CRAFTING COMMUNITY.
Once you have pasted the silk-screen, simply peel the transfer off and reveal your design. You’ll want to wash the transfer immediately in the sink, under cold running water. The best way to clean the transfer is to use a wet Chalk Couture Board Eraser on both sides of the transfer. Next, lay the transfer on a towel with the sticky side up and wipe it with a disinfectant wipe. Once the transfer is dry, apply the backing paper (shiny side to the sticky part of the transfer).
This Halloween sign is simple to make and the best thing is that you don’t need an expensive machine, rolls of vinyl or a complicated computer program to make it.

