Are you new to Chalk Couture? Wondering what you can chalk on? Heard horror stories of people ruining transfers because they used them on un-treated wooden surfaces? If you answered yes to any of these, you are in the right place. I will show you exactly how to prep wooden boards for Chalk Couture.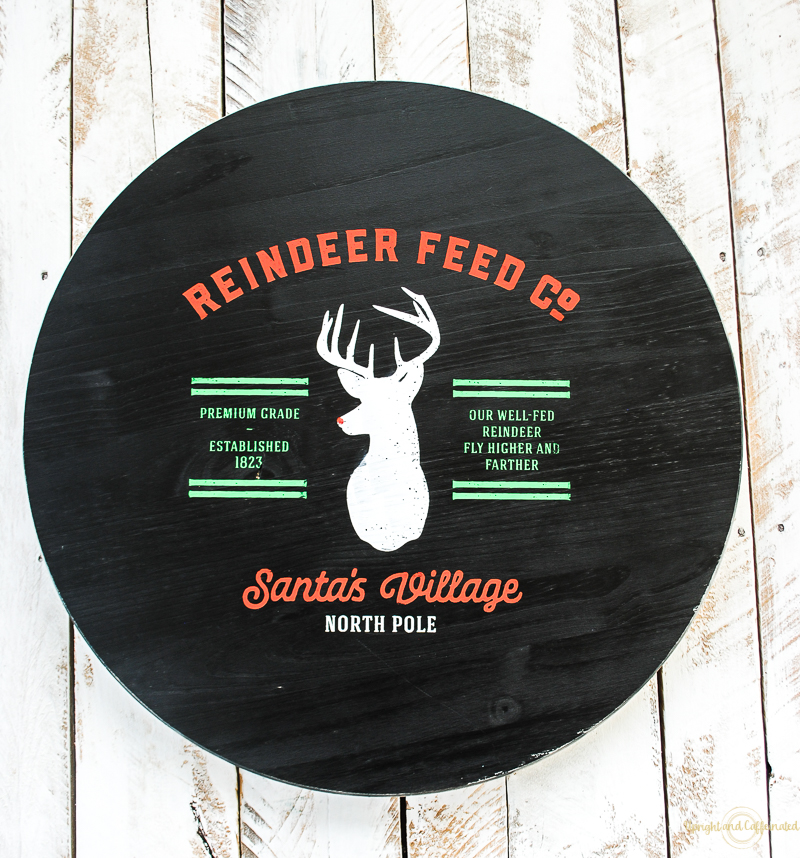
When I first joined Chalk Couture as an independent designer, I had no idea the products were so versatile. You can chalk on almost anything; chalkboards, wood, plastic, metal, glass…I have even seen people chalk on their refrigerators and dishwasher! So Cool! Read more about Chalk Couture here.
WANT TO LEARN MORE ABOUT CHALK COUTURE? JOIN MY FREE CRAFTING COMMUNITY.
But today, I want to discuss using Chalkology paste on wooden surfaces. Some of my favorite projects have been done on wood, but they have all been properly prepared.
PIN IT ⇓
Let’s start with the WHY. Why should you prep wooden boards before using Chalk Couture?
- To protect your transfer. If you lay your transfer on a board that has not been properly prepped, you risk ruining the transfer. For instance, if a wooden board has been painted with a chippy paint or spray paint, but not sealed, the paint could come up with the transfer when you remove it. This will ruin both the project and transfer. You want to get the most uses out of your transfer, so prepping wooden boards will ensure you get the most life out of your transfer.
- You want your chalk paste to stick. Without properly prepping wooden boards, you could run the risk of your chalk paste not sticking to the board. If the chalk paste doesn’t stick, the project will not turn out.
- You want the project to look its best! Obviously you want the best looking results from your Chalk Couture products, so properly prepping wooden boards will ensure your project looks its best.
If you want to skip reading…just watch this video!
Now let’s talk about HOW to actually prep wooden boards.
Sand FIRST. If you are working with a raw piece of wood, and your board is rough or has a lot of splinters, you will want to sand it first. This is not recommended if the board is painted or stained. Sand a rough board only if you are working with raw wood. You want to avoid any splinters sticking to your transfer, so make sure you sand if you have a rough piece of raw wood. I use a sander with a fine grit sandpaper.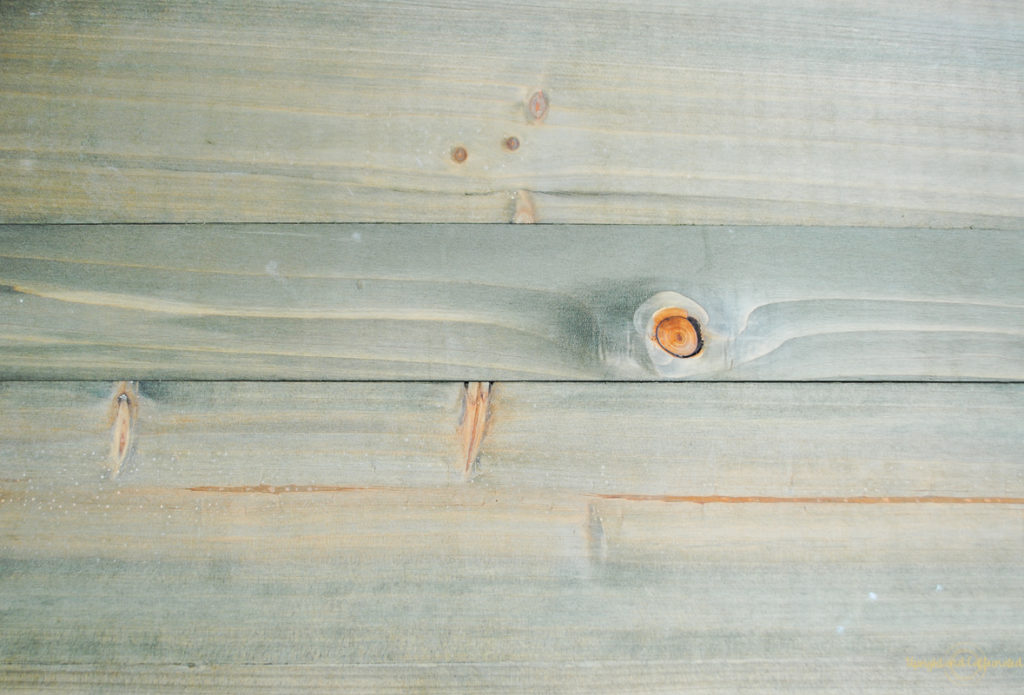
Paint or Stain Next. If you want to paint your board, now is the time to do it. I have used all kinds of paint, but the two I use most often are chalk paint and chalkboard spray paint. I also stain wooden boards as well.
SEAL SEAL SEAL I can not stress this enough that you need to seal your wooden surface. If your surface has paint on it, you need to seal with a polycrylic to ensure the paint sticks to the board and not to your transfer. If you are simply staining, or using a raw wood surface, you can skip this step. To seal, use polycrylic. Apply the polycrylic with a foam brush or paintbrush. Allow the polycrylic to completely dry, then use a fine grit sandpaper and sand the surface. Apply a second coat of polycrylic and sand again. I always do two coats of polycrylic to ensure the paint is completely sealed.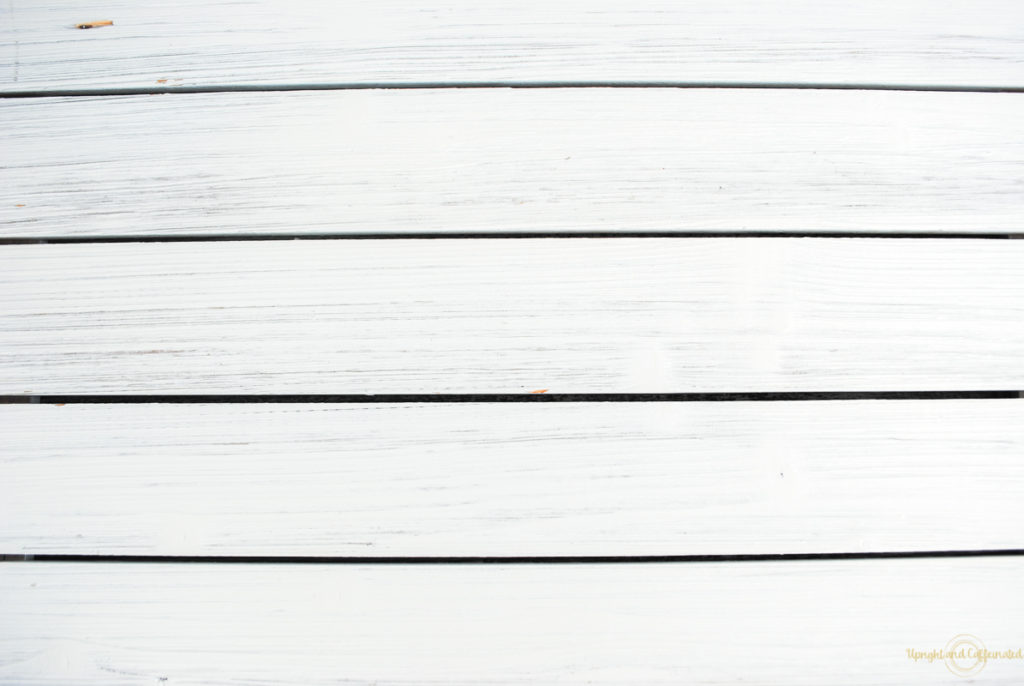
If you are working with a board that you purchased from a craft store…like this one I purchased from Michael’s, and it looks like it is painted, you need to seal with the polycrylic.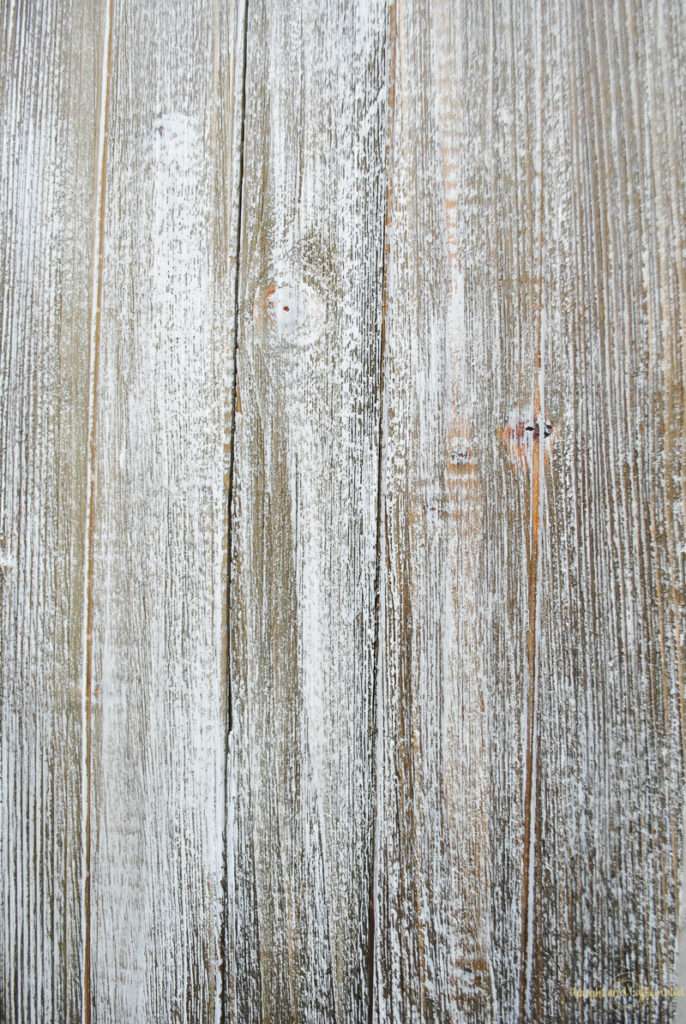
I also seal surfaces that have a lot of groves. I find that a couple coats of polycrylic help fill in the groves and allow the paste to lay on the board in a more even manner.
Finally, WAX! The final step in prepping wooden boards is to wax. Chalk Couture makes this wax that you can purchase (at a very affordable price). I have Annie Sloan Clear wax, so I use that and it works great! The waxing is what allows the chalk paste to stick to the board and will also ensure easy removal of the transfer. You want to wax EVERY wooden surface- raw wood, stained wood, painted and sealed wood. All wooden surfaces need to be waxed! To wax, simply apply the wax with a cloth, (or if you use the Chalk Couture wax, apply it directly from the tube to the board). Then with a clean cloth, wipe away excess and buff into the wood. Make sure you allow the wax to cure on the surface before using Chalk Couture products on them. I allow 24 hours for my wax to cure.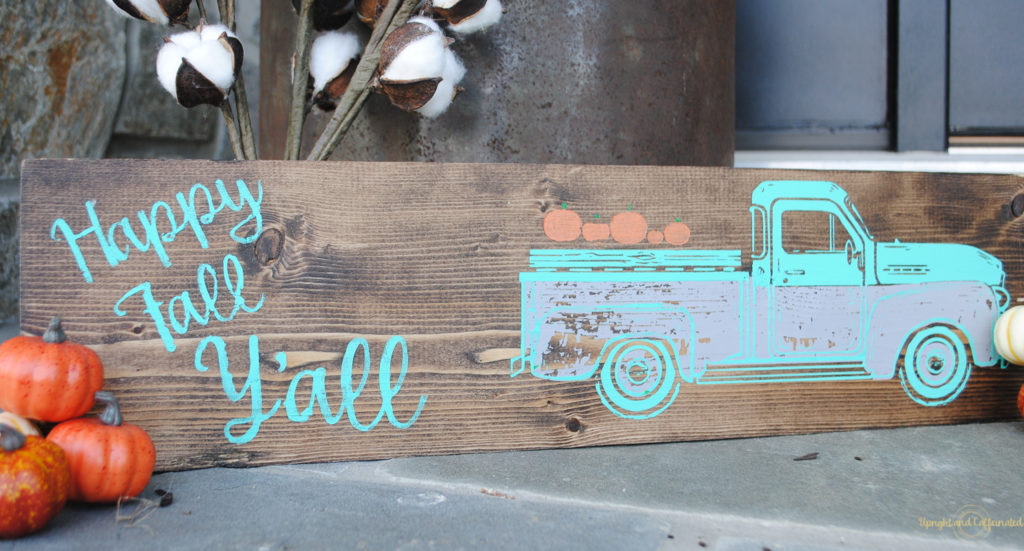
If you purchase the wooden boards from Chalk Couture, you need to wax them. They do not come pre-waxed.
If you prep your wooden surface properly, you will get better results with your Chalk Couture projects and ensure future use of your transfers.
Happy Chalking!



[…] start by preparing your wooden board. I have an entire tutorial on how to properly prep wooden boards for Chalk Couture here. Basically, you need to paint, seal, then wax before you can use your Chalk Couture products to […]