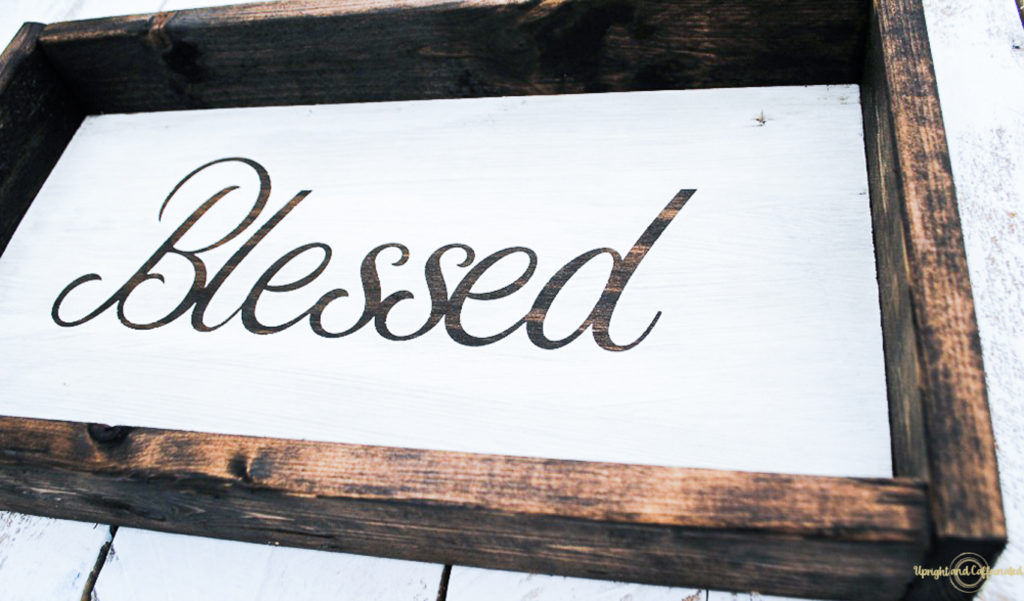
Good day my friends! I am very excited to share this DIY wooden sign tutorial with you today. I made this wooden sign for our local Volunteer Fire Company’s annual fundraising auction. This is a simple DIY with a simple message.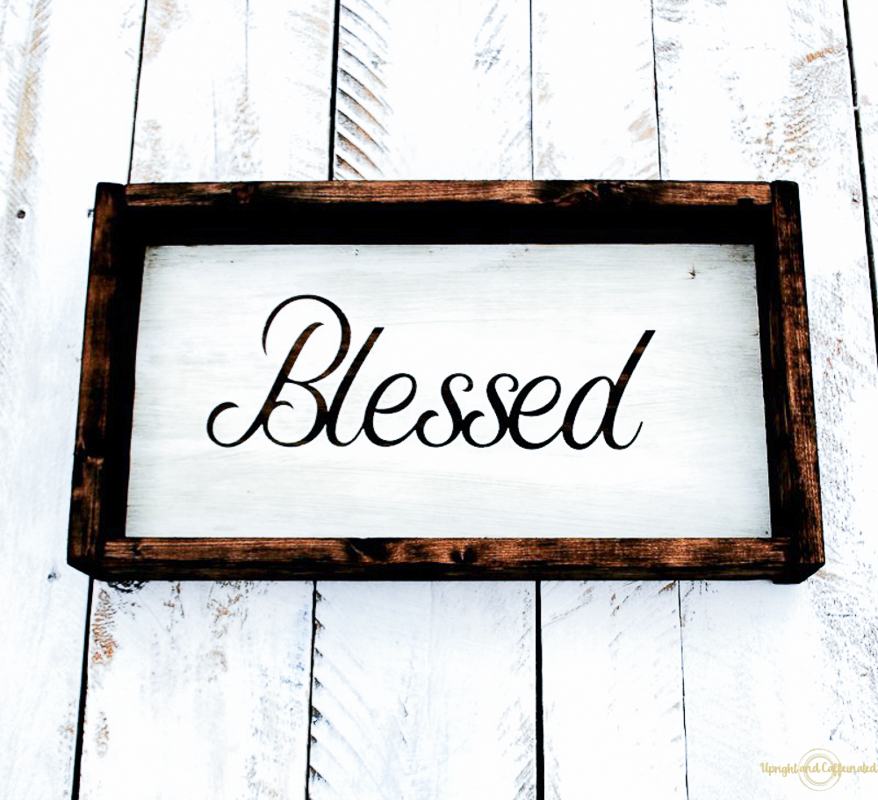
I love the look of wooden signs. They have really grown in popularity lately along with the farmhouse trend. I also like that you can make your own and customize it to say anything you want! This particular wooden sign was made with stain and paint and I love the simplicity of the look.
What You Need :
Furring Strips
Wood Stain
Cricut Explore Air 2
Stencil Vinyl
Transfer Tape
Paint
Brad Gun and Brads
How to Make a Wooden Sign
First of all, cut your wooden board to the size you want. Because you are making a custom wooden sign, this is completely up to you and the space you are working with.
Once your board is cut, stain it. Of course, if you want two different color paints, you can paint the board instead of staining it. Keep in mind – whatever color you make the board will be the color of the word.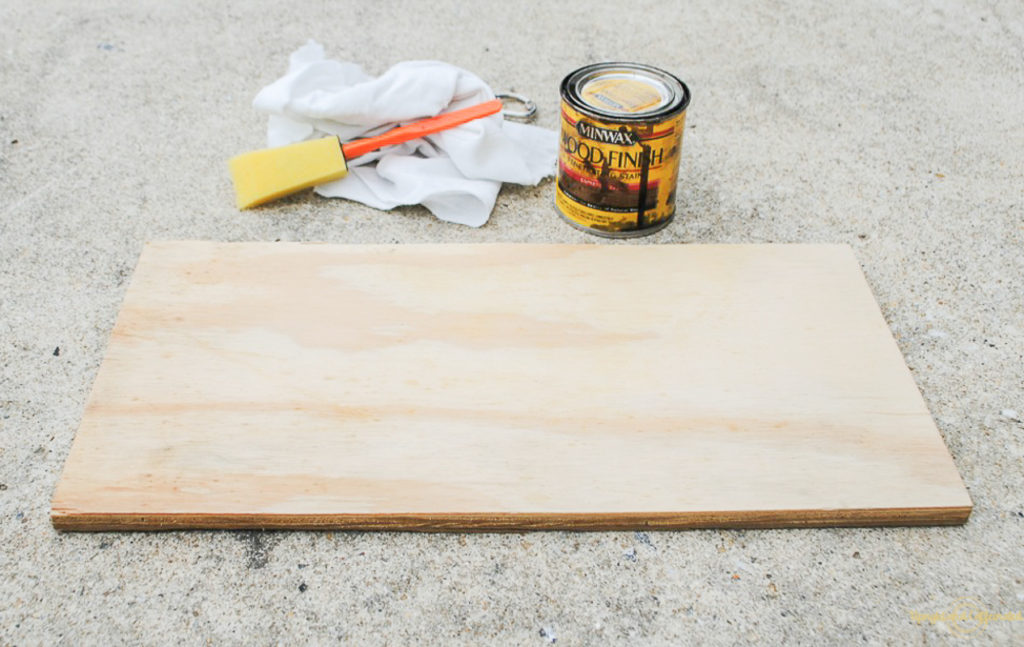
Once the stain has dried, you can start working on cutting the vinyl. First, go to Cricut Design Space and create the text that you want on your sign. Keep in mind, it is much easier to create a sign with one large word or a couple of large words rather than a sign with a sentence. Working with little words can be quite difficult. Of course, if you are working with a very large board, then you can put an entire saying on the board without the words getting too small.
Make sure you measure your board and create your word to fit the board. If you are using a script font, you will need to reduce the spacing between the letters using the spacing tab at the top of design space. Watch the video below to show you EXACTLY how to connect the letters! Just click the little down arrow until the letters are touching. Next, you will need to weld the letters so that the word prints as one, connected word.
PIN IT ⇓
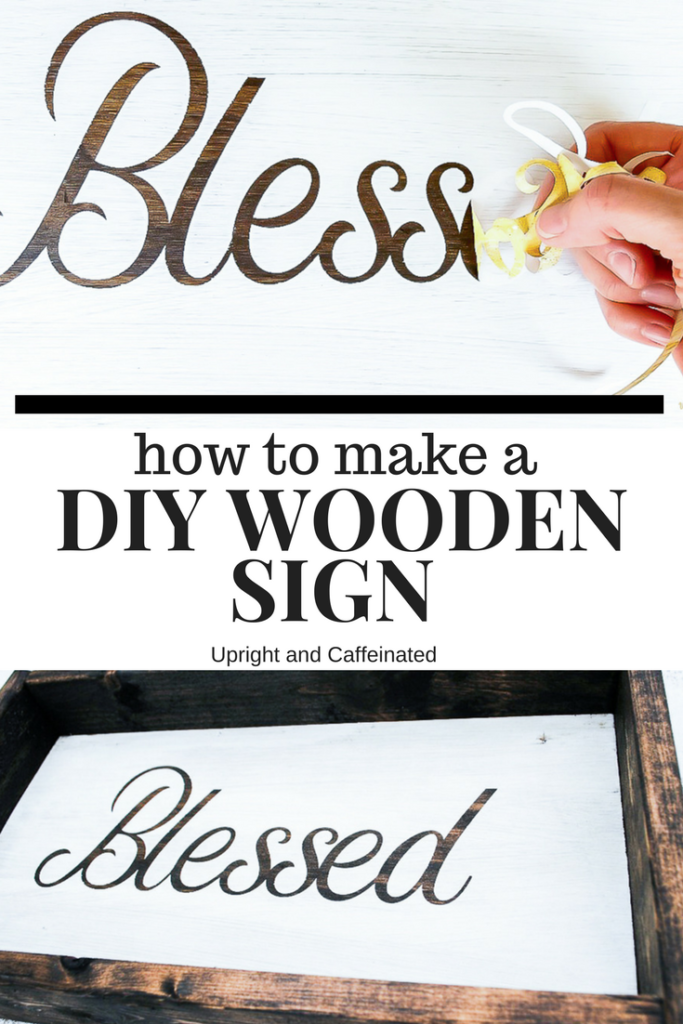
Next, it is time to cut. Ensure you have your Cricut machine set to vinyl and follow the instructions to cut.
Once you have your word cut, you will need to weed out all of the excess vinyl. You will be left with just the word on the vinyl backing. Next, peel the backing off of the transfer tape and place the transfer tape on the vinyl letters. Using the scraper tool, rub on top of the transfer tape to ensure the tape sticks to the vinyl letters. Carefully, peel back the transfer tape (the vinyl letters should be securely stuck to the tape). Place the tape with the vinyl letters exactly where you want them on the board. 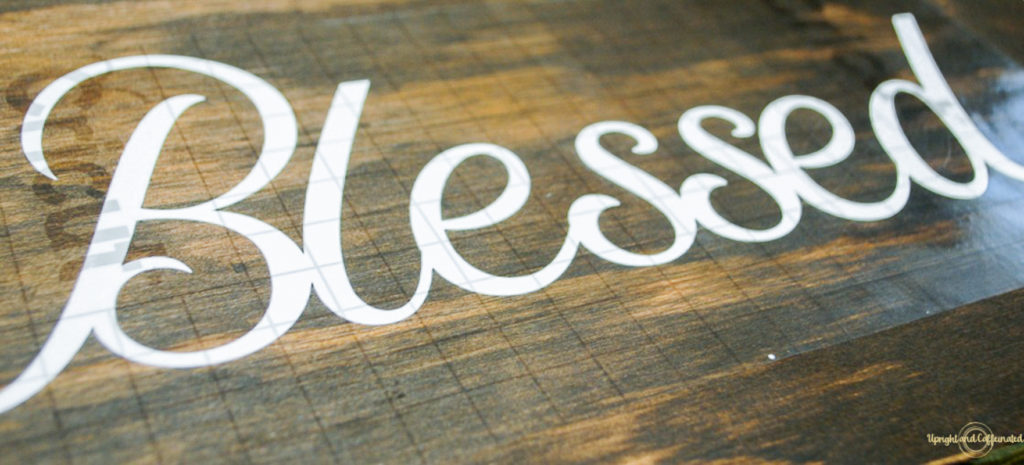
Again, using the scraper tool, rub all over the transfer tape where the vinyl letters are to help the vinyl letters adhere to the board. Carefully peel back the transfer tape- leaving the vinyl letters attached to the board.
Take your fingers and run them along the vinyl letters to ensure they are completely stuck to the board before you begin painting.
Now it is time to paint. Using a paint brush or a foam brush, paint a light coat of paint over the entire board. 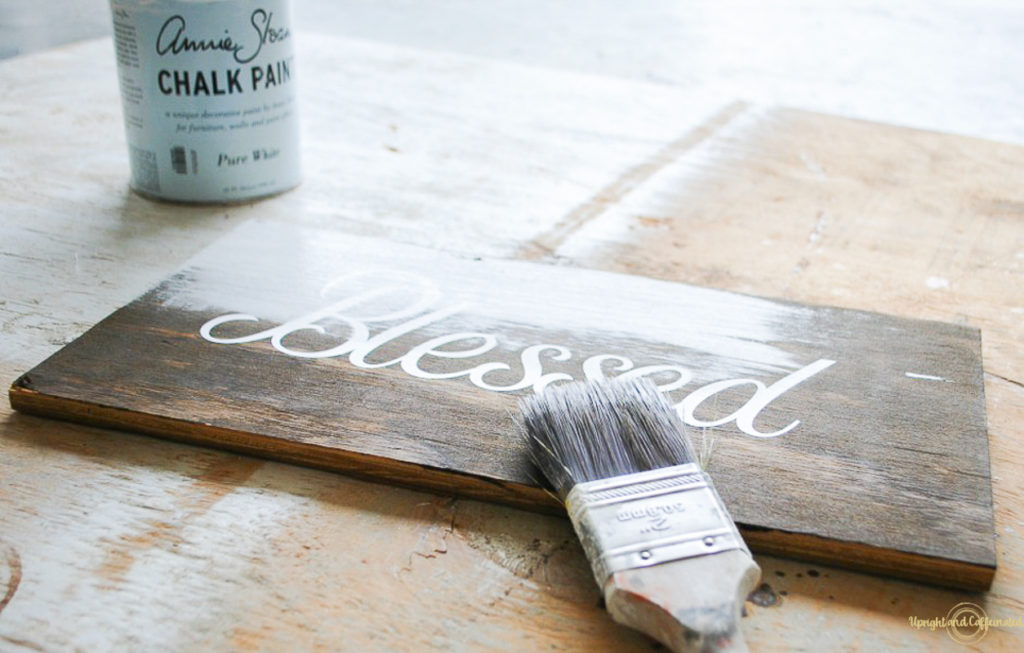
For this particular project I did two coats of paint, allowing about 30 minutes of dry time between coats. After the paint has dried, you can carefully peel off the vinyl to reveal your word!
If you are going for a distressed look, you can sand the board to distress the paint.

Wooded Sign Frame
If you want a frame for your wooden sign, it is very simple to make one using these steps. I prefer to use furring strips for a frame because they are so inexpensive. Cut two furring strips to the length of the long edge of your sign. 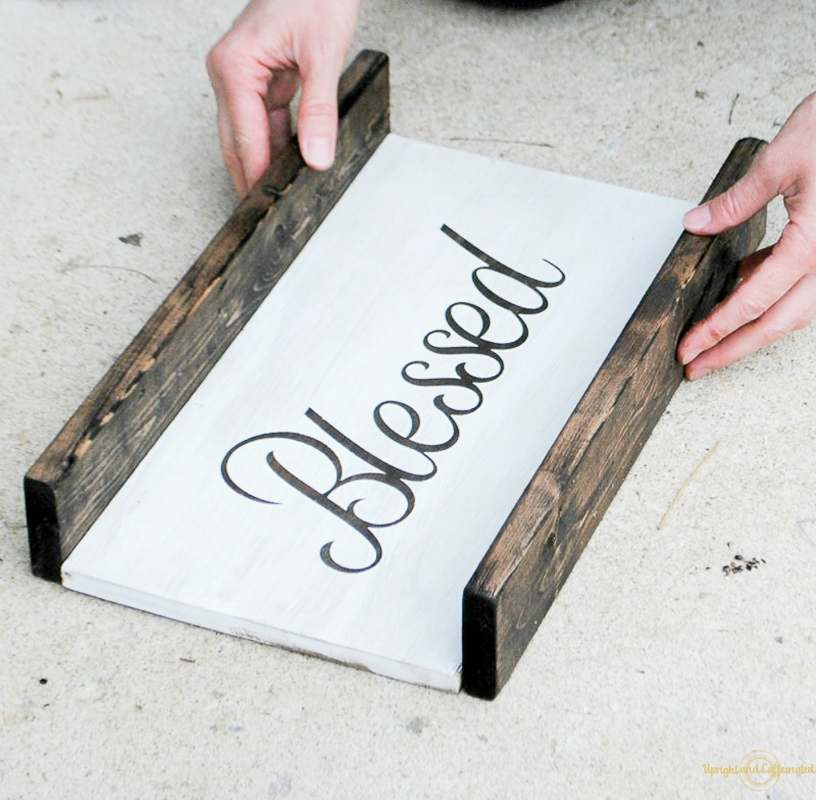
Next, cut the sides of the frame, measuring from the outside of the furring strips on the long ends. Stain or paint the furring strips to your liking and then attach the long ends first using the brad gun and then attach the short ends.
How simple is that?! Now you have a custom sign for your home. I have made so many signs for friends and to give away for fundraisers. Because the materials to make this sign are inexpensive, this makes a great giveaway or auction item! 