I love decorating for Fall and I love anything monogrammed. How about you? I’m guessing you do too since you have landed on this post! Today I will show you how to create a no-carve, Fall monogram pumpkin using Chalk Couture. If you have never heard of Chalk Couture, START HERE. Let’s jump right in, shall we?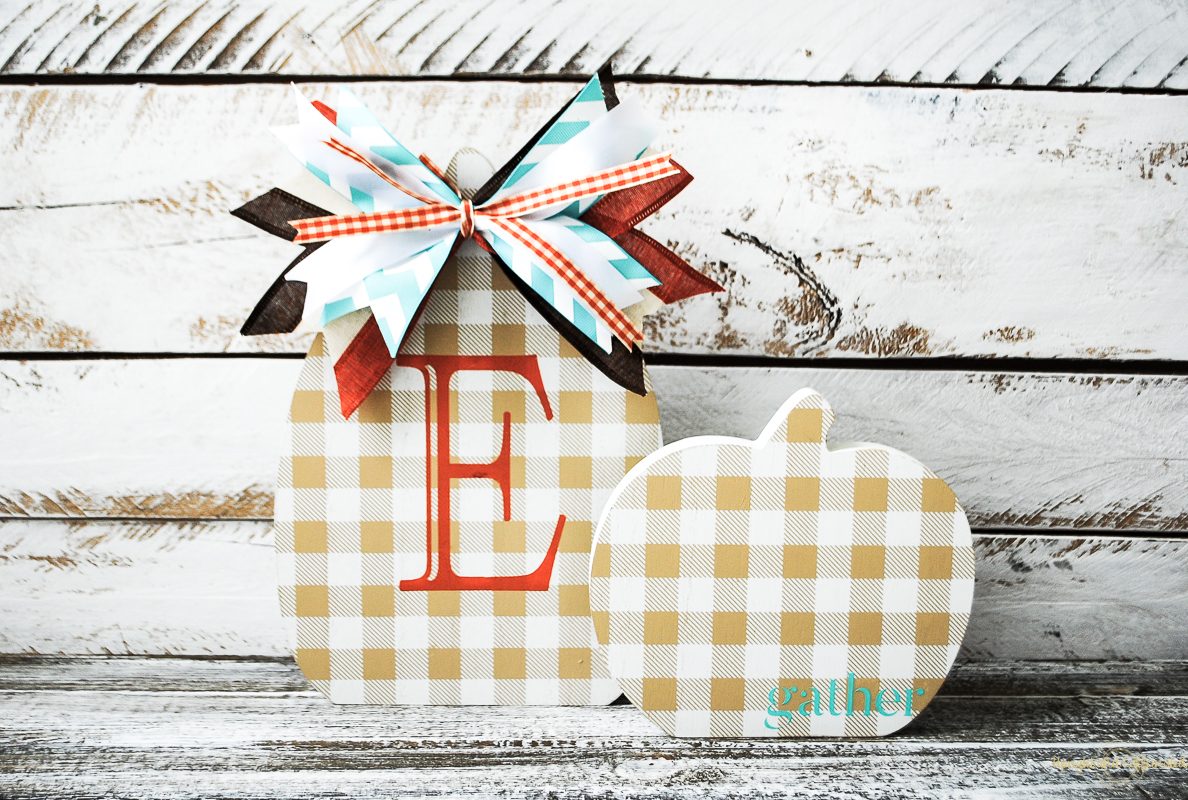
I love decorating for fall, but I’m not big into carving pumpkins. Mainly because I’m not good at it and I don’t really trust my kids with a knife! So whenever there’s an option to decorate a pumpkin without having to carve it, I’m usually willing to try. Chalk Couture came out with these adorable pumpkin cutouts this summer and I am in love with them. I’ve already created these Halloween themed ones too!
WANT TO LEARN MORE ABOUT CHALK COUTURE? JOIN MY FREE CRAFTING COMMUNITY.
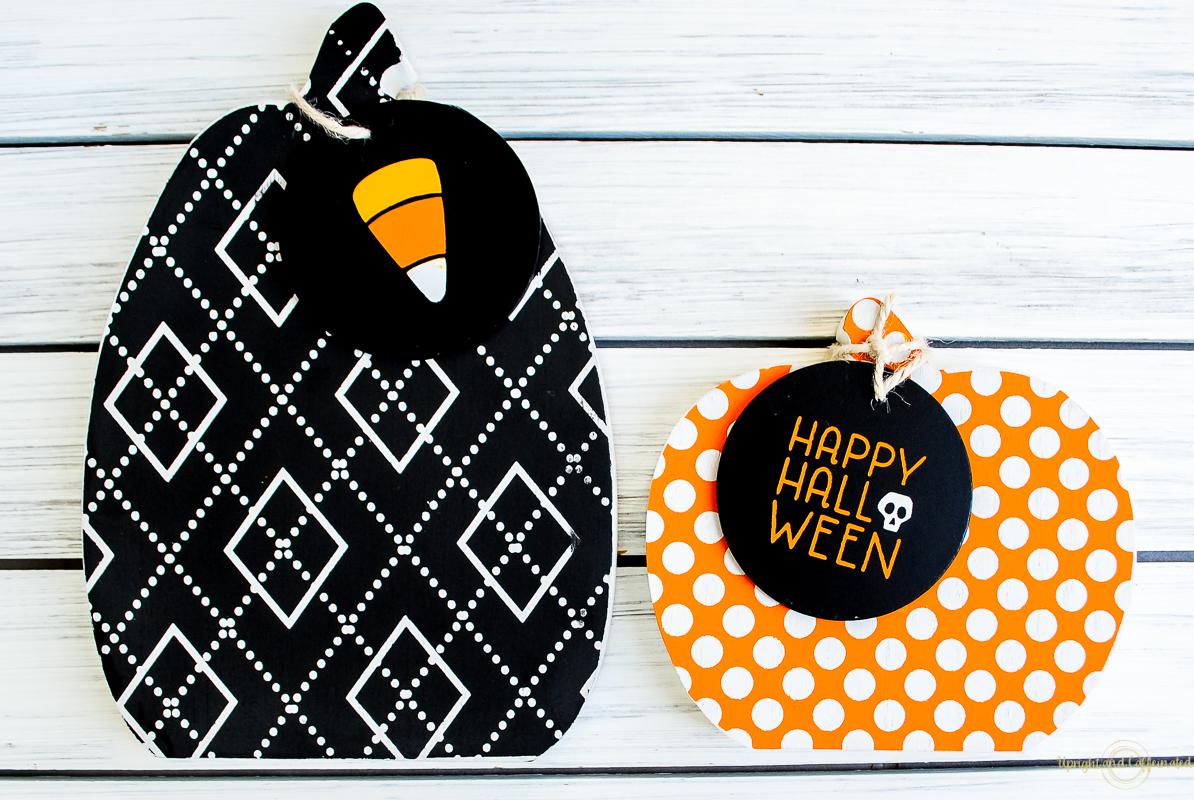
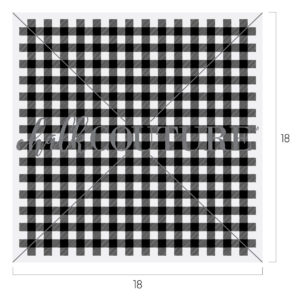
The thing I like about these (besides the fact that I don’t have to gut a pumpkin) is that you can completely customize them with different patterns, colors and little accessories. For this monogrammed pumpkin, I used the mini buffalo plaid transfer. I cut it in half to make it easier to work with. You can find the mini buffalo plaid transfer HERE.
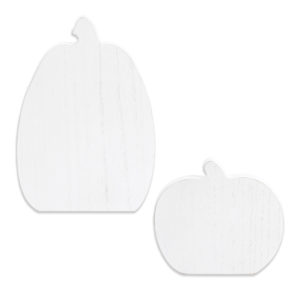
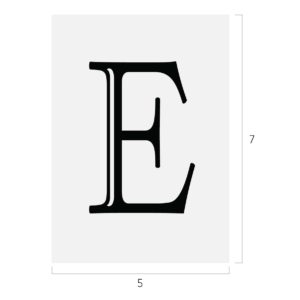
What You Need to Make a Monogram Pumpkin
Click on the picture to take you directly to the shop link for each item!
 |
 |
 |
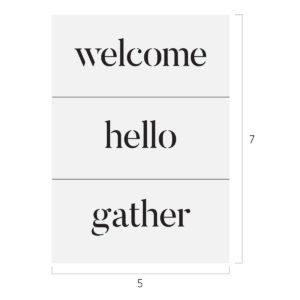 |
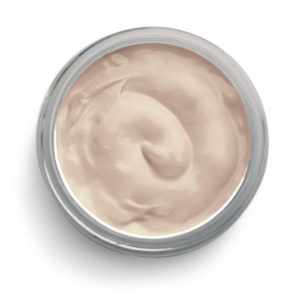 |
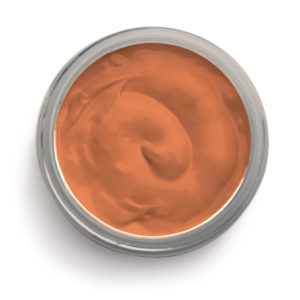 |
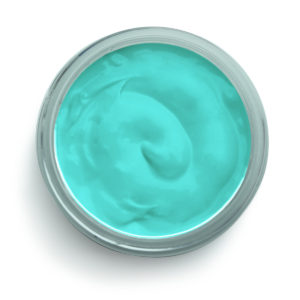 |
 |
Want to skip the next part? Just watch THIS VIDEO to see exactly how I made the pumpkin with the monogram!
First, you will need to prep your pumpkin cutouts. Use a paste wax like THIS ONE. Apply the wax and then buff off with a clean cloth. I usually wait 24 hours after I wax before I chalk on any wooden surface. Want more info on prepping wooden surfaces for Chalk Couture? READ THIS. Next, chalk the pattern part. For this project I used the mini buffalo plaid transfer, but you could also use any of the pumpkin patterns. See all the pumpkin patterns HERE. Once the patterned part is dry, use your monogram transfer. Here’s a few tips for layering:
- Make sure the first layer is completely dry. You can use a hair dryer on low heat to speed up the drying process.
- When applying the next layer, don’t press hard on the transfer. Use a light touch and only smooth out around the silk screen part.
- Don’t press hard with your squeegee when applying the paste. This will help prevent the transfer pulling up the chalked pattern.
I used this technique to add the “gather” to the smaller pumpkin too!
PIN IT
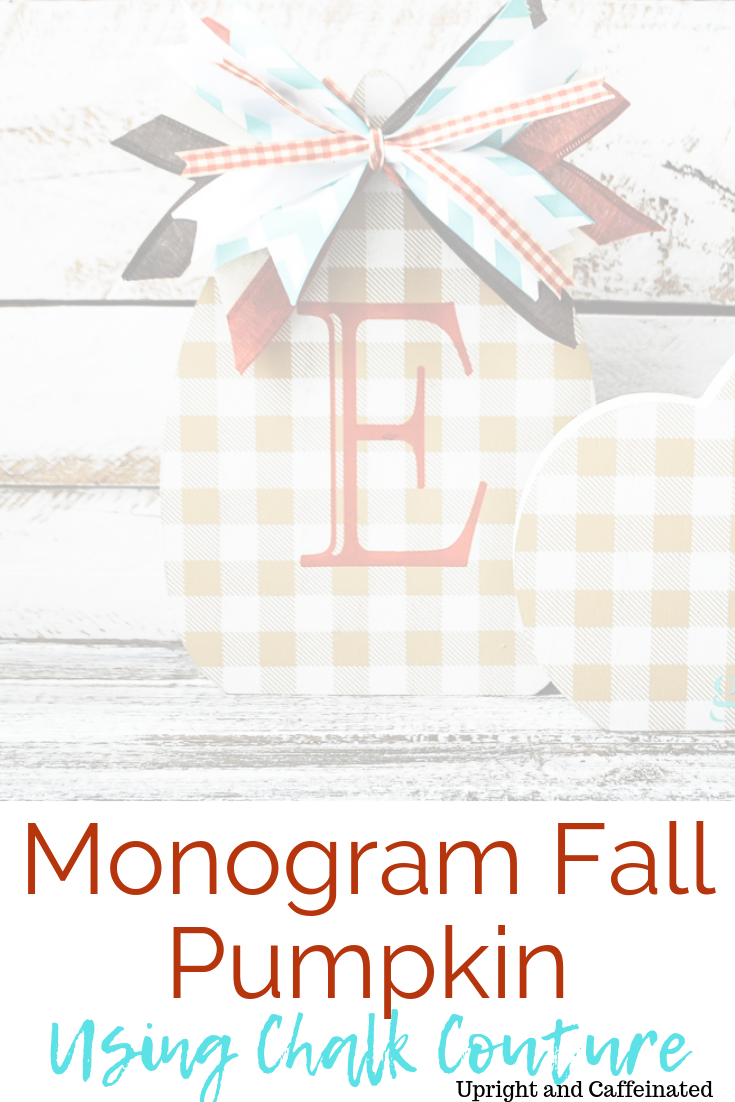
Finally, add a little bling to the top! I made this bow on a Facebook Live video. It was my second attempt ever to make this kind of bow and it turned out great! I used a mix of ribbons I bought at Michael’s. Make sure to watch the video linked above to see how I made it!

