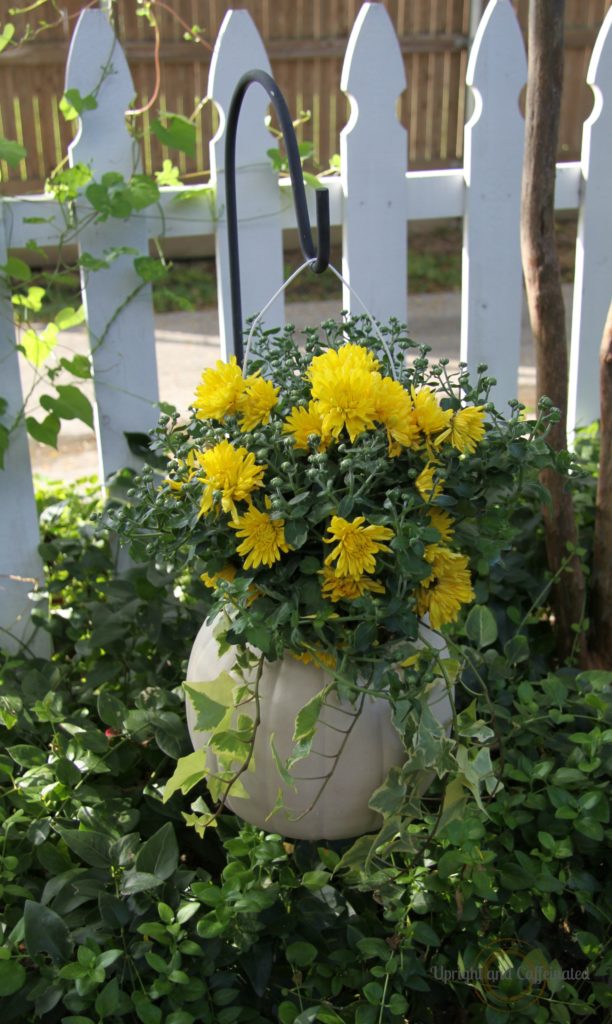
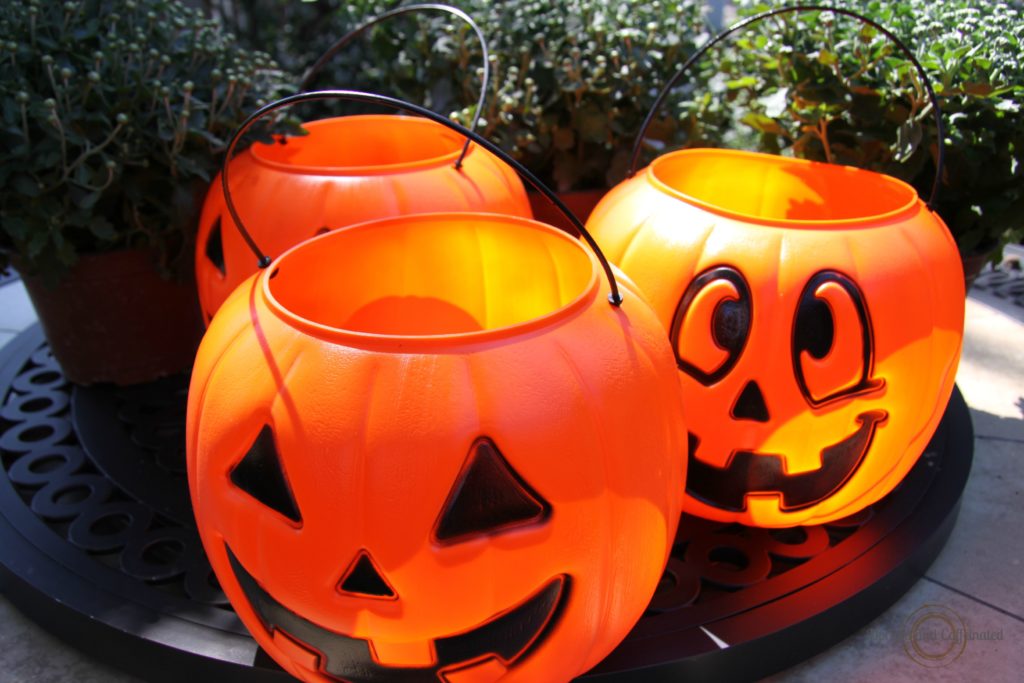
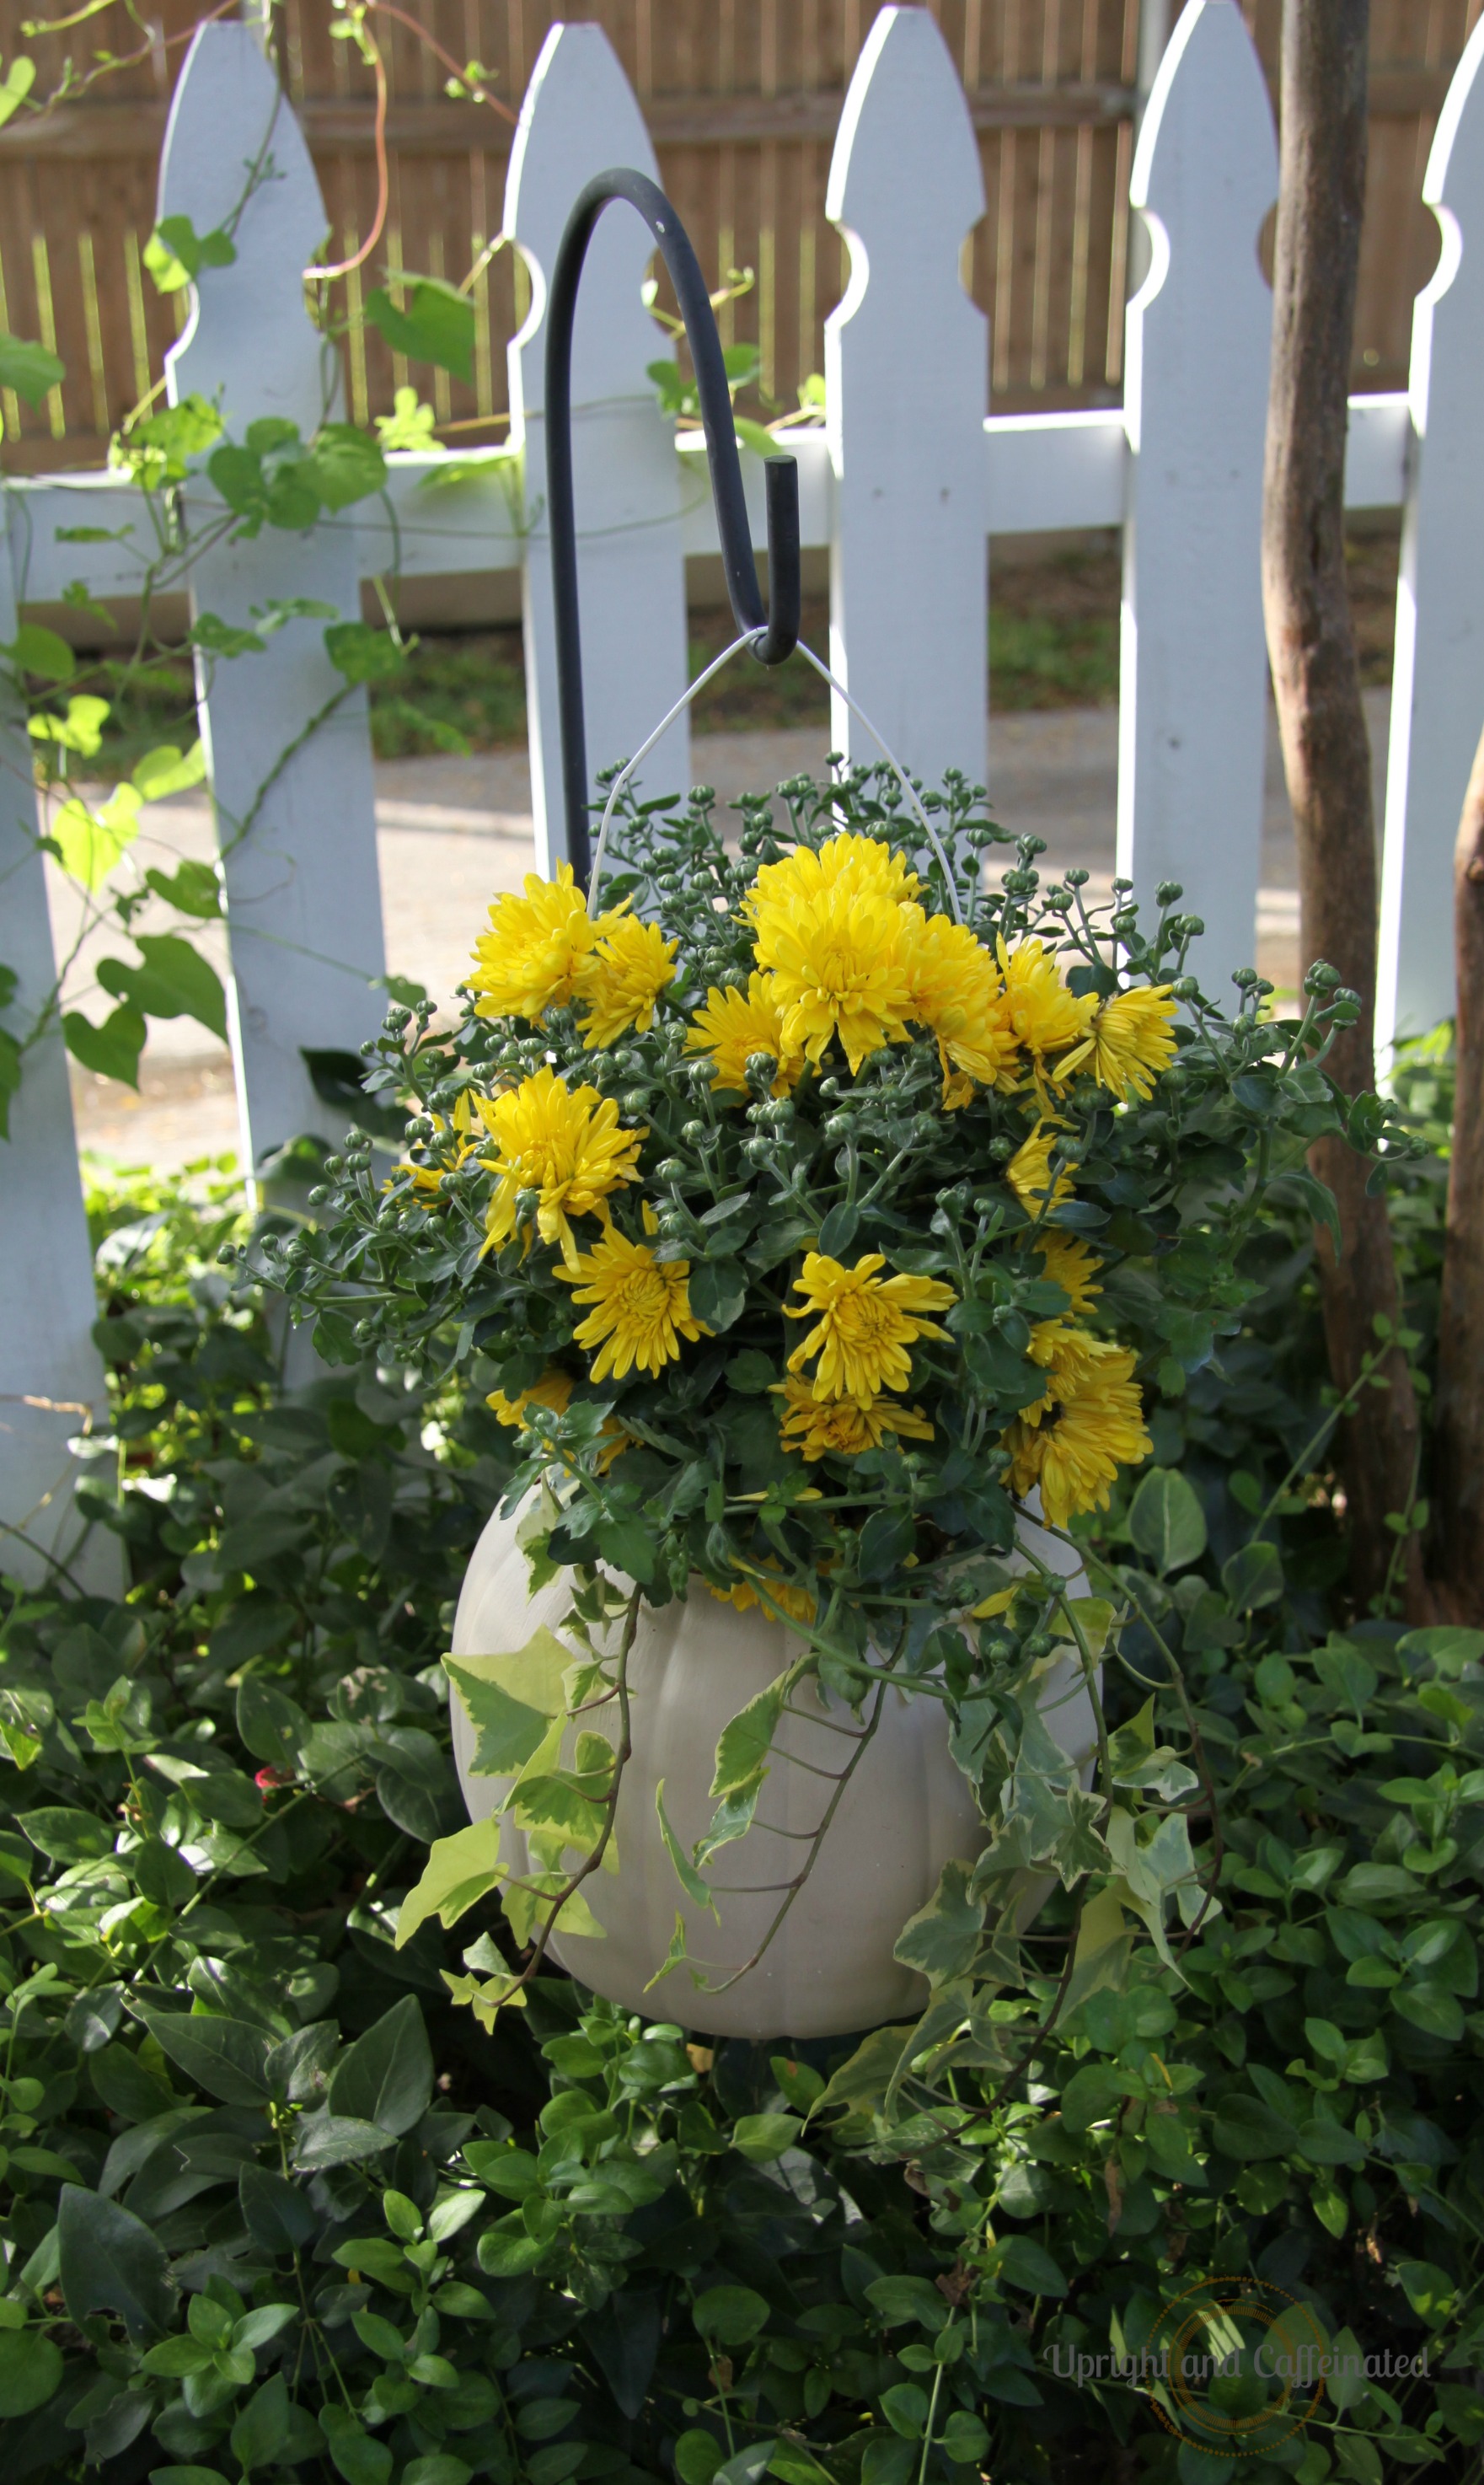
Looking for an easy and fun way to transform inexpensive plastic pumpkins? How about using chalk paint to create a painted plastic pumpkin? This tutorial will show you how to use Annie Sloan Chalk Paint to completely makeover a one-dollar plastic pumpkin bucket.
 What you need
Plastic pumpkin bucket
Chalk Paint
Paint Brush
Wax
White cloth or an old t-shirt

DIY Painted Plastic Pumpkin
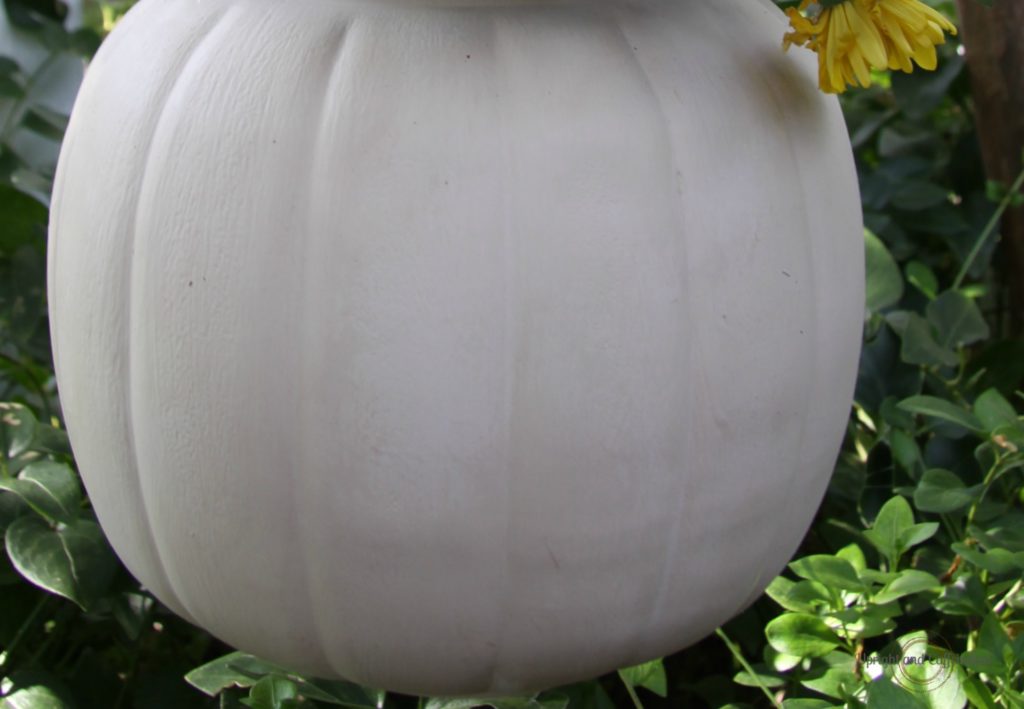
Begin by painting a thin coat of chalk paint onto the plastic pumpkin bucket. To keep from drips on your pumpkin, don’t load the paint brush with too much paint. Let the first coat dry and add thin coats of paint as needed. For a more dramatic look, experiment with different shades of the same color palette and use a chip brush to apply the paint. Once the paint is completely dry (at least 2 hours- I usually allow it to dry overnight) apply wax to the plastic pumpkin with a wax brush and wipe off with a white cloth.

This is a great way to add custom-colored pumpkins to your Halloween décor by using inexpensive plastic pumpkins and chalk paint


