I am a big fan of paper flowers! I started making paper flowers last summer and have used them in all kinds of ways! Check it out! Today I am sharing how to use patterned paper to create beautiful 3D flowers using a Cricut!
It is time for another month of Craft and Create with Cricut! Make sure you scroll down to see the other projects!
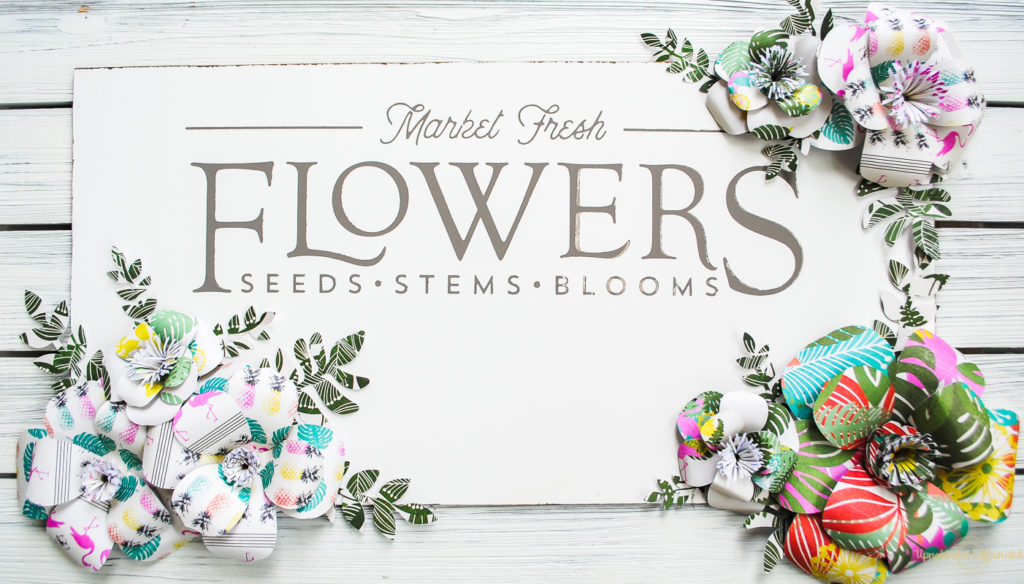
I love the idea of using patterned paper because it gives the flowers another level of intrigue. Instead of a single-color bloom, using patterned paper to make paper flowers just makes the flowers look striking. For this particular project, I used tropical paper from the Bahama Mama printed cardstock book. These books are amazing! I grabbed one at Michaels for $5!
PIN IT
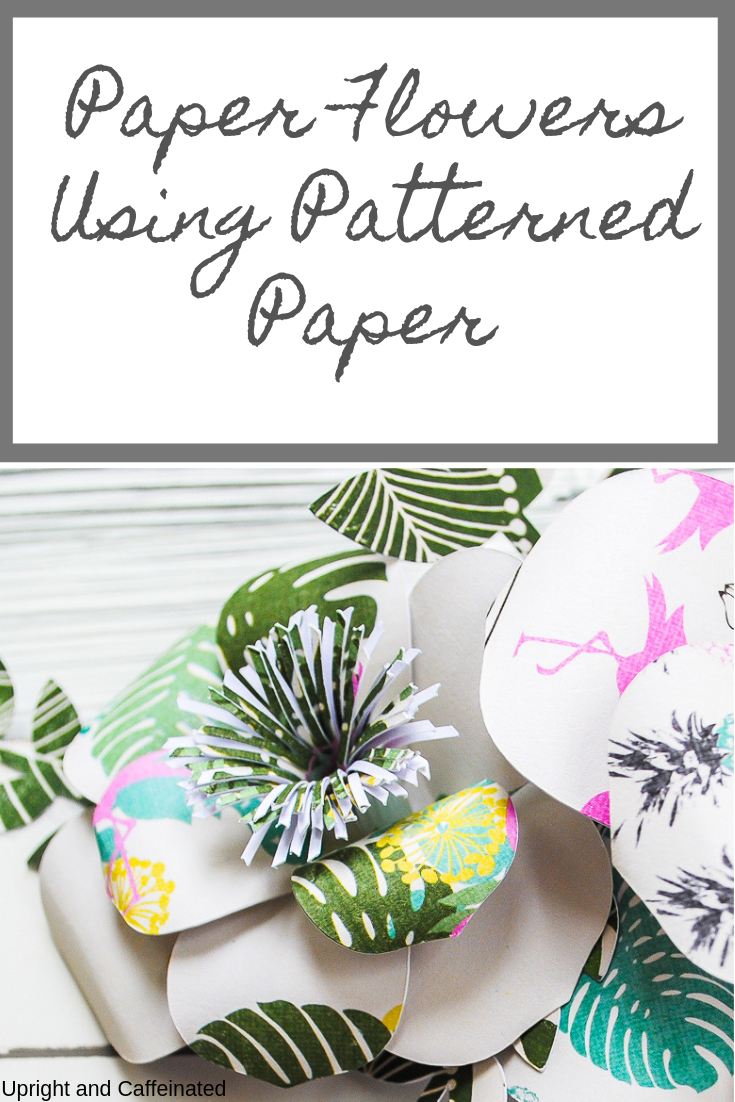
I picked three different pages to use for the flowers and one page to use for the leaves. The cut file was a free file in Cricut Access. I was able to change the size so that I could have a variation in the size of the flowers. The project ended up with one large flower, three medium flowers and three small flowers.
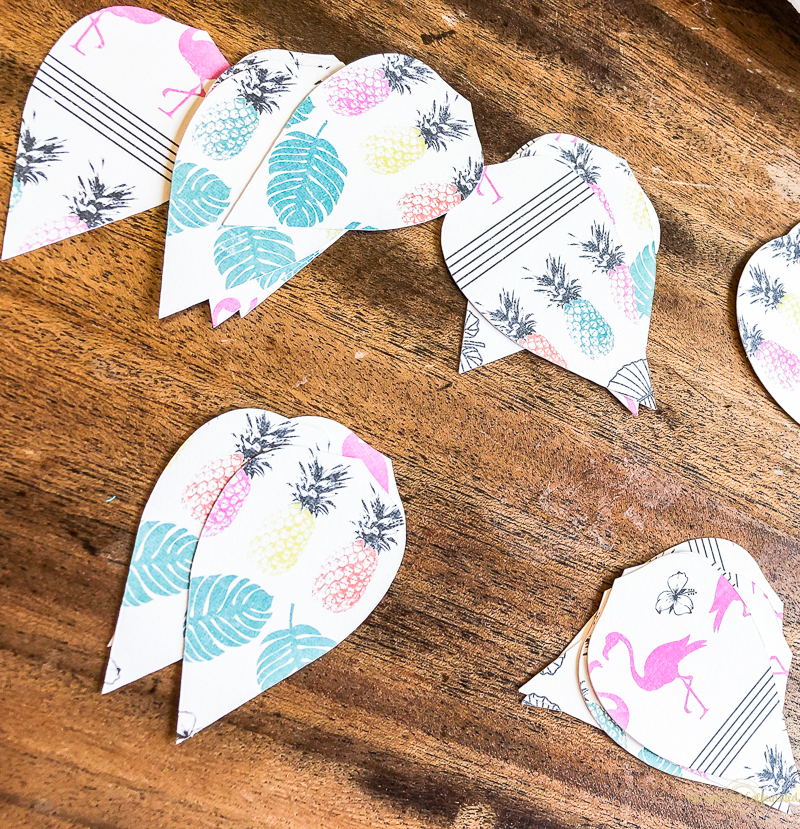
When you cut the pieces, it will look like this…just a bunch of petals, a base and a center.
⇓SKIP THE STEPS AND WATCH THE VIDEO BELOW⇓
Start with curling the petals. To do this, simple curl the “fat” part of the petal around a pencil. If you are working with larger petals, or don’t want much of a curl, you can use a larger writing utensil, like a marker or sharpie. Make sure the point of the petal is flat, this will be the part you glue to the base.
Once your petals are curled, begin with the large petals first. Use hot glue to glue the tips of the petals to the base. Next, glue the medium size petals to the base, in between the large petals. Repeat the same steps for the small petals.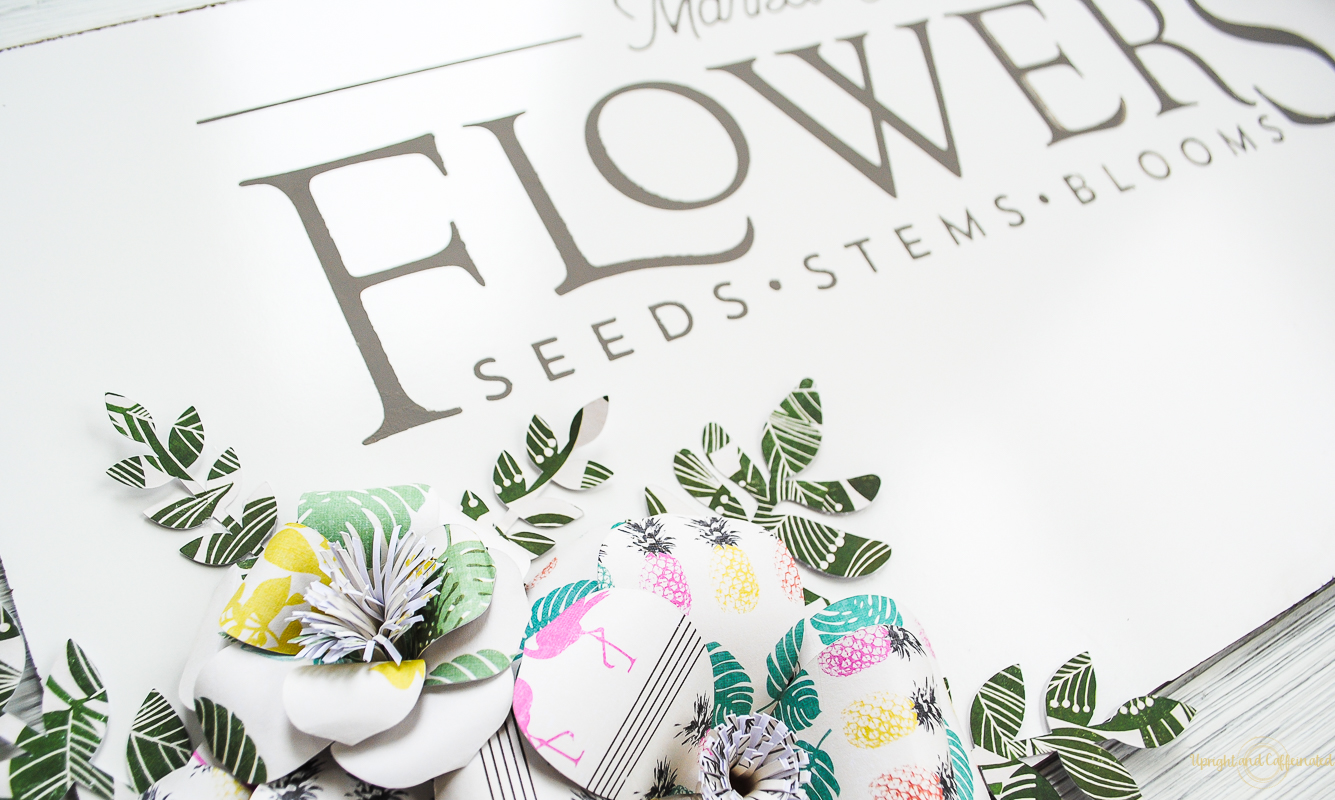
Now it is time to work on the center of the flower. When using patterned cardstock, only one side has the pattern, the other side is white. Fold the center part in half so that the white side of the paper is “hidden”. Curl the tassels of the paper and begin curling the center. Hold the end together with a little hot glue and then glue it in the center of the flower.
For this particular project, I searched Cricut Design Space for a leaf that looked a little tropical. I cut a bunch of leaves in a few different sizes to fill in around the flowers.
Watch this for a quick tutorial of how to put the flowers together.
Once the flowers were completely put together, I made this simple DIY sign using a Chalk Couture transfer and storm Chalk Paste. Finally, I hot glued the flowers and leaves right onto the board!
WANT TO LEARN MORE ABOUT CHALK COUTURE? JOIN MY FREE CRAFTING COMMUNITY.
I absolutely LOVE how this looks. The patterned paper flowers give this project a tropical look and take a simple DIY sign to the next level.
Watch this to see how it all came together.
Don’t forget to check out the other Cricut flower projects!
How to make large paper flowers from Weekend Craft • DIY Wedding Rehearsal Bouquet with your Cricut from Happily Ever After, etc • Cherry Blossom Centerpiece from Sustain My Craft Habit • Create 3D Art with Print, Cut and Draw Features of Cricut from Dragonfly & Lily Pads • Beautiful Patterned Paper Flowers from Upright and Caffeinated • Embroidery Hoop Sign With Felt Flowers from Our Crafty Mom • Paper Flowers Made with Cricut from Create & Babble • How to Make an Easy Paper Daisy from Cookies Coffee and Crafts



[…] • Create 3D Art with Print, Cut and Draw Features of Cricut from Dragonfly & Lily Pads • Beautiful Patterned Paper Flowers from Upright and Caffeinated • Embroidery Hoop Sign With Felt Flowers from Our Crafty Mom • Paper Flowers Made with Cricut […]