You have probably heard that Chalk Couture makes both removable chalk paste and permanent ink, but you might be confused when to use Chalk Couture ink and when to use Chalk Couture paste. You are in the right place, because this post will explain when to use ink or paste depending on what type pf project you are working on.
First of all, if you don’t know much about Chalk Couture, START HERE! Chalk Couture products include, paste, ink, silk-screen transfers, surfaces and accessories. You can use the transfers with either paste or ink! 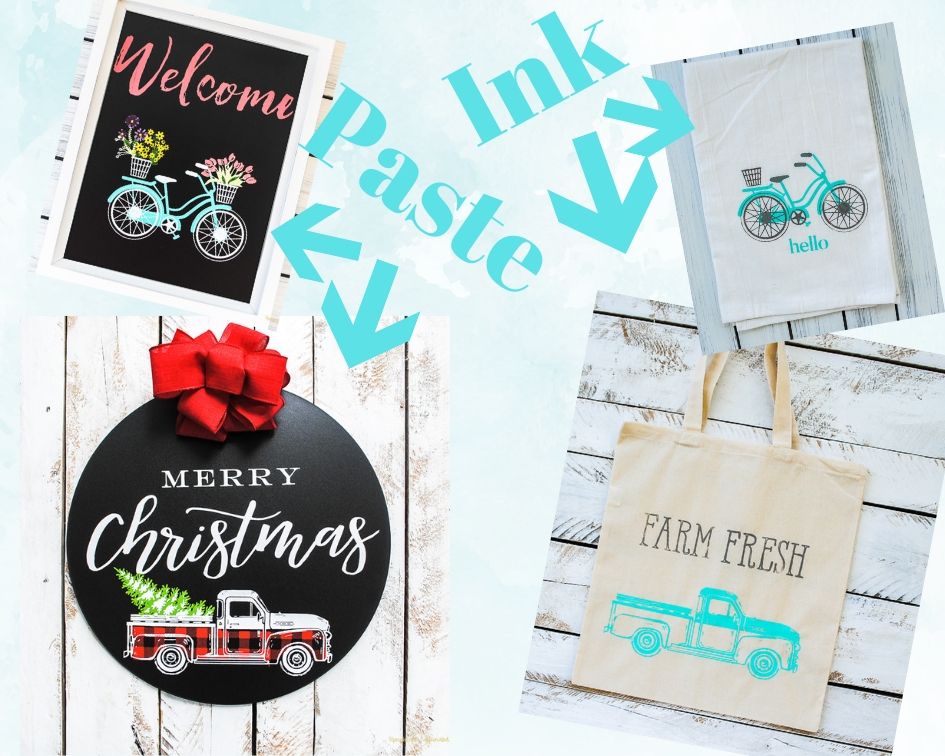
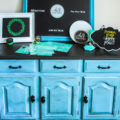
So let’s start with the Chalk Couture paste. The past product is the most popular BECAUSE of it’s removability. Paste can be used on almost any hard surface and it is usually removable from each of those surfaces. You can use Paste on a chalkboard, wood, tin, glass, plastic, tile….I have even seen people use paste on their front door, outside of their oven, chairs and furniture.
GET THE PASTE HERE

Like I said, the paste is removable from most hard surfaces. You definitely will want to prep any wooden surface. Read all about prepping wooden surfaces for Chalk Couture HERE.
I love using the paste on signs in my house. The fact that I can wipe them off and change the design out by season is awesome! Paste is also great when working with kids or people who have not worked with Chalk Couture before. You can wipe off any mistakes, or even wipe the entire board and start over!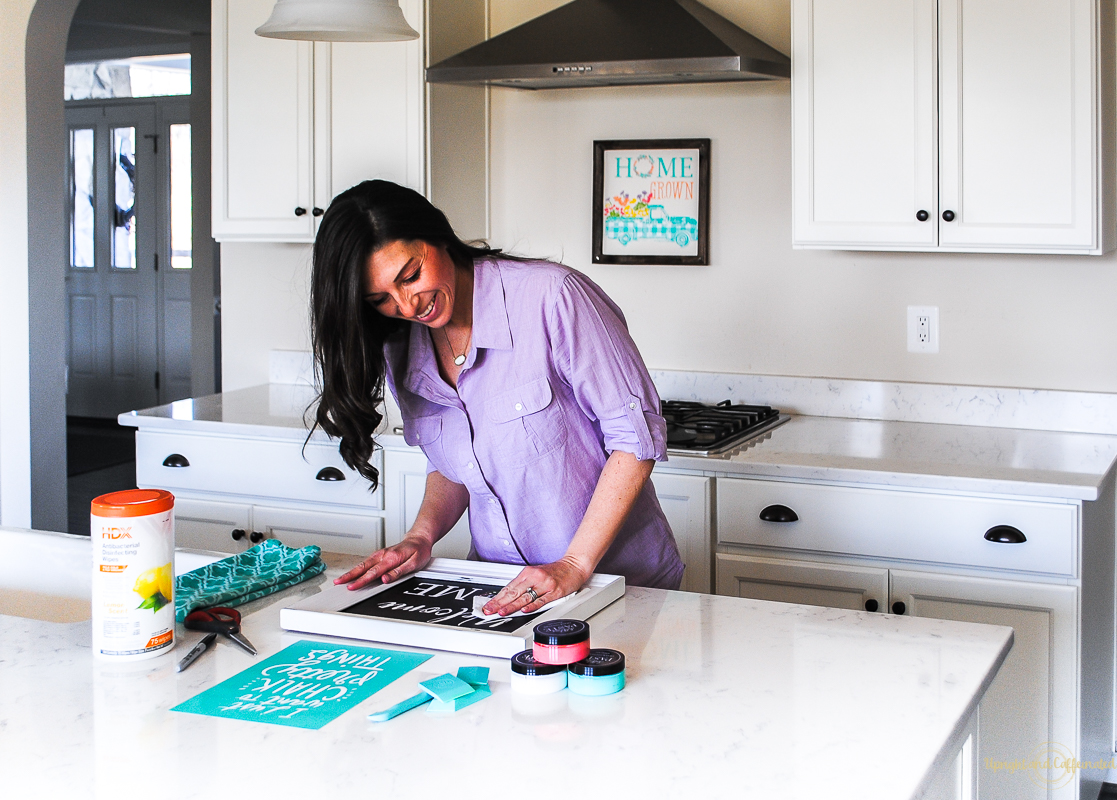
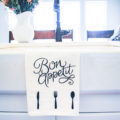
Now let’s talk about ink! The ink is permanent and can be used on fabric or hard surfaces that you can heat set. This video will show you exactly how to use Chalk Couture ink on fabric.
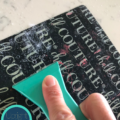
The ink works the same way as the paste with the same transfers and same squeegee! No need to buy additional stencils. You will need an ink mat when working with fabric. This will ensure your fabric stays flat and will also prevent the ink from bleeding through the fabric when working with shirts, pillows or bags (anything with a back side of fabric). 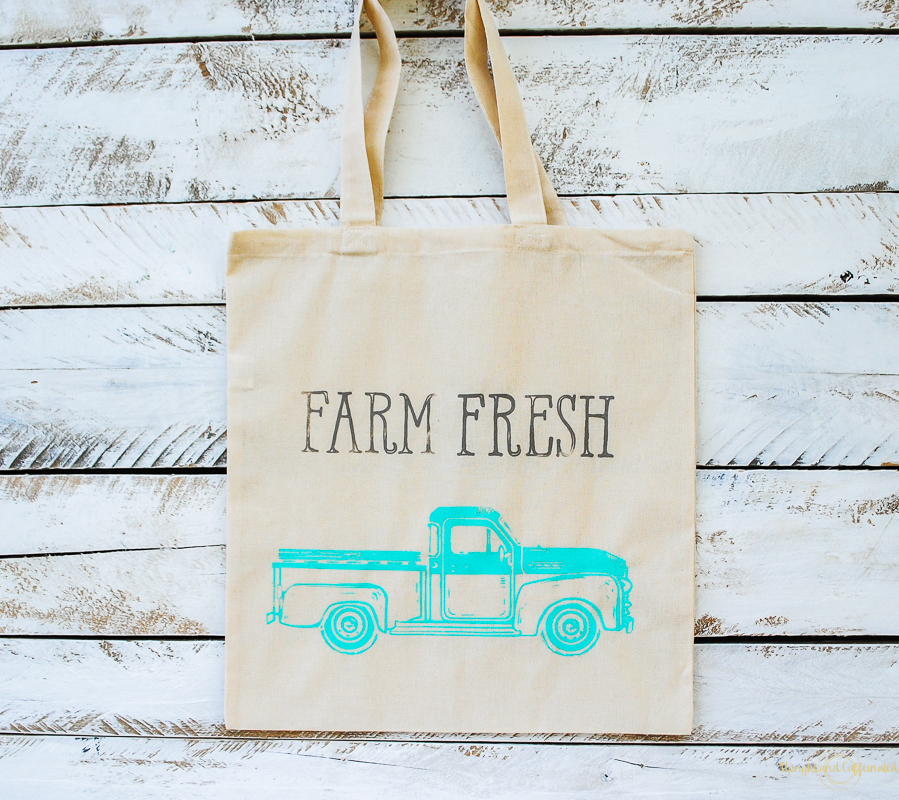
To heat-set the ink on fabric, simply use an iron on medium heat for 4 minutes on both sides. Make sure the ink is completely dry before heat setting and remember to continuously move the iron to prevent scorching the material. *You can also use a Cricut EasyPress to heat set. 30 seconds on each side- check the EasyPress settings for the right temperature for the material you are working with. 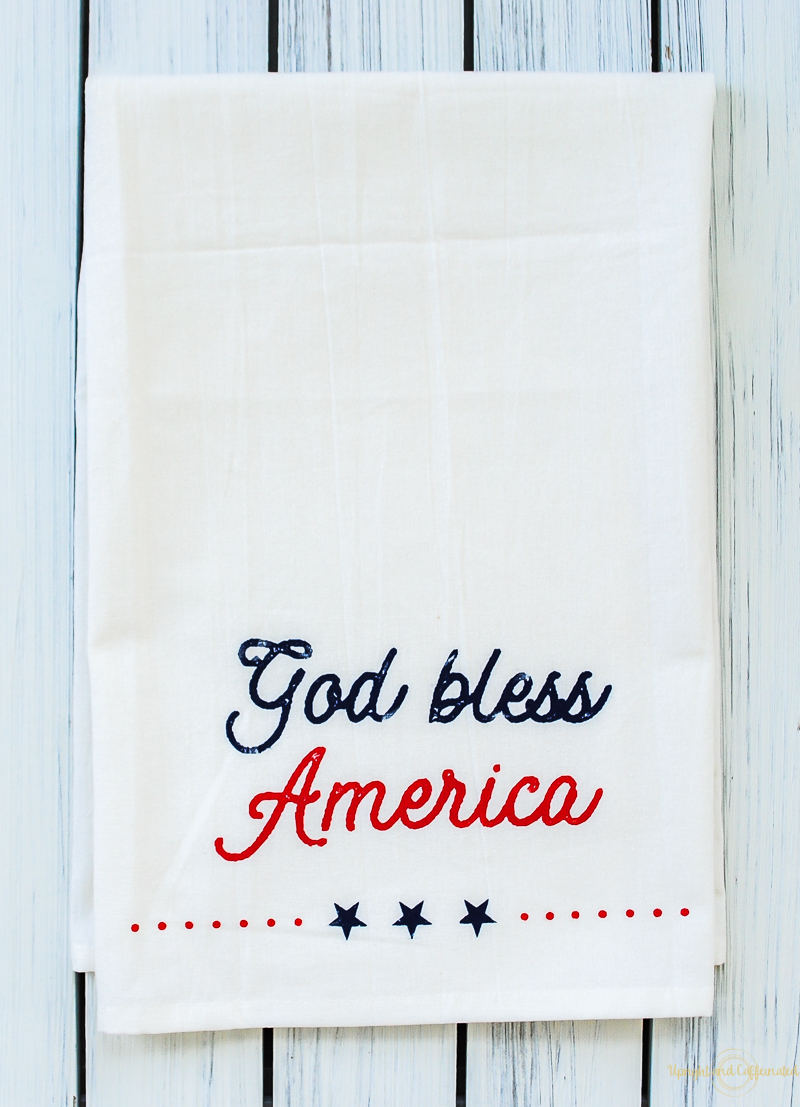
GET THE INK HERE
If you want to use Chalk Couture ink on ceramics, you can heat set those as well. Use the ink on coffee mugs, display plates, drink tumblers… The ink is not food-safe, so don’t use on a plate that you plan to serve food on. The key to heat setting ceramics, is to make sure the ink is completely dry before heat-setting. I usually let the ink dry about 48 hours before heat-setting on ceramics. Once the ink is completely dry, put the item in a cold oven and shut the door. Turn the heat to 350 degrees. Once the oven has reached 350 degrees, set a timer for 30 minutes. After 30 minutes, turn the oven off, but DO NOT OPEN THE OVEN DOOR. Allow the item to completely cool in the oven. I usually heat set at night and allow the item to cool overnight.
WANT TO LEARN MORE ABOUT CHALK COUTURE? JOIN MY FREE CRAFTING COMMUNITY.
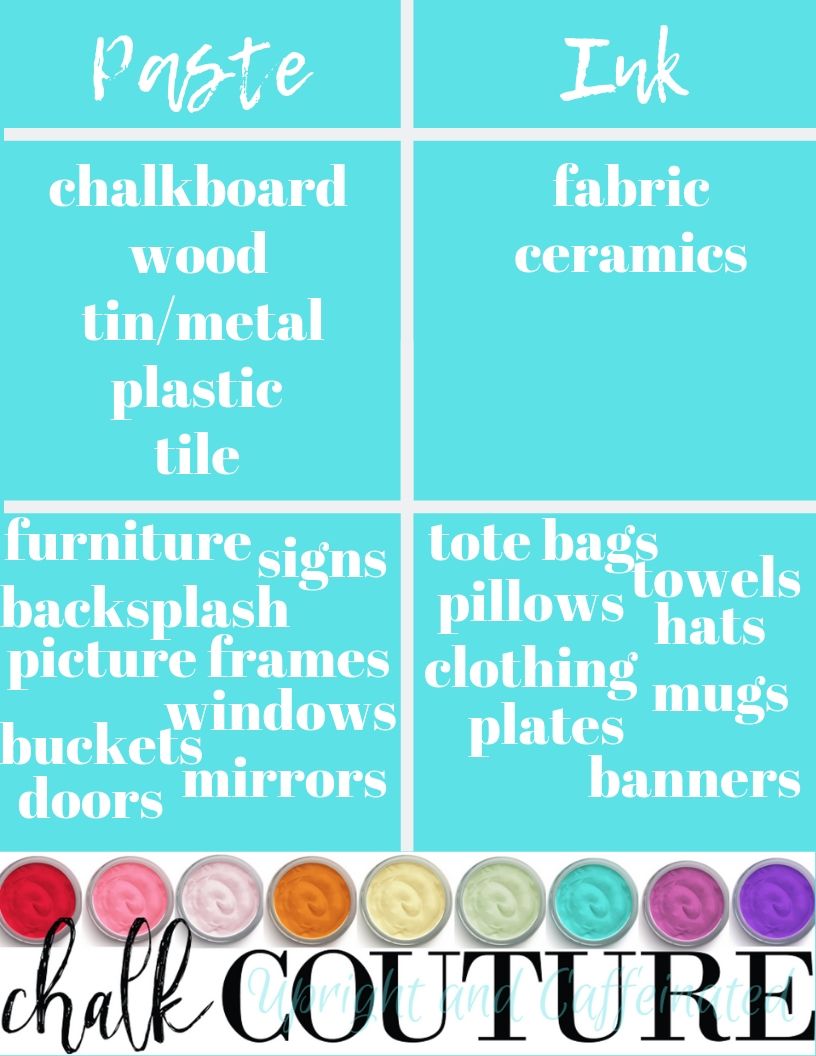
Have I clarified the difference? If you are still a little confused, here’s a little graphic. This shows the different surfaces you can use with paste and ink as well as some examples on which to use paste or ink.
⇓ PIN THIS FOR LATER! ⇓
If you still have questions? Reach out to me! I am usually over on Facebook!
Thinking about joining Chalk Couture as a Designer? I would love to chat with you about this amazing opportunity. CLICK HERE to join my Chalkortunity group on Facebook!


